Alright, so this is a long overdue guide to expand on my guidance provided back in March of this year, apologies for the wait.
I’m going to try my hand at creating a detailed guide here. It may go alright and it may seem a bit ropey to you guys, so just let me know if anything seems out of order.
—INTRODUCTION—
So you’ve gone ahead and downloaded some vehicle, and you have unpacked the .RPF into a resource, started it and the joined your server. You then notice upon spawning the vehicle that the textures do not look quite right, they appear to be random textures that occasionally flicker and change.
Upon inspecting the /stream folder of your resource you immediately identify the culprit, a YTD file that is larger that 16Mb. But instead of compressing each individual texture within the YTD file, we will split that one YTD file into multiple YTD files which will all have a file size less than 16Mb.
The benefits of splitting YTD files are clear; there is no loss of texture quality brought on by compression and it is also a lot less time consuming once you get a bit of practice doing it.
For this tutorial, I will be using [YCA] SCRAT’s Ford Focus RS again to keep things simple:
–UNPACKING THE LARGE YTD FILE–
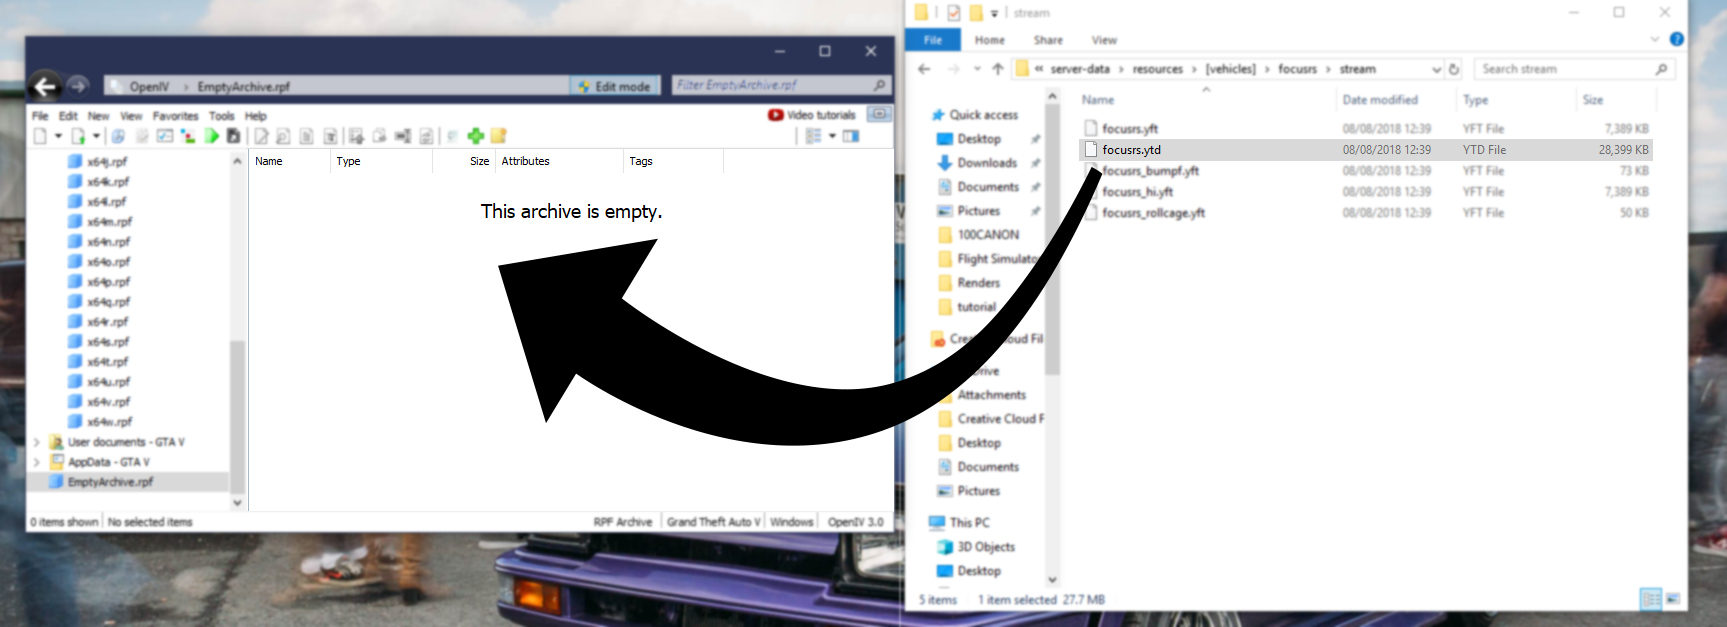
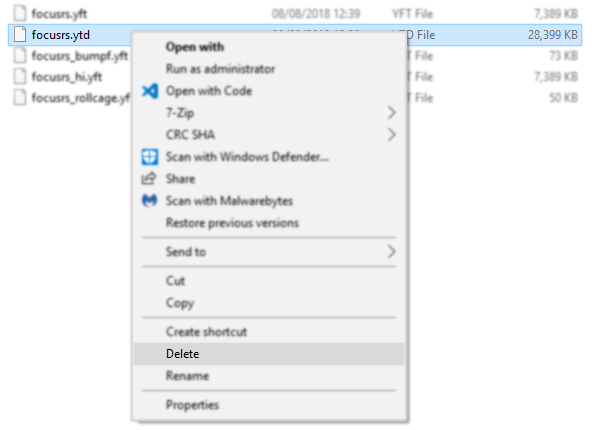
The image below shows that focusrs.ytd is approximately 28.4Mb, which is a far cry from the 16Mb streaming limit, so we will have to split this file.

You will need OpenIV for this process, if you do not already have it installed, click here to download it from their website.
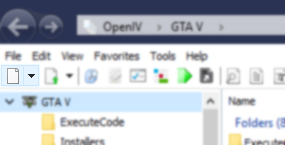
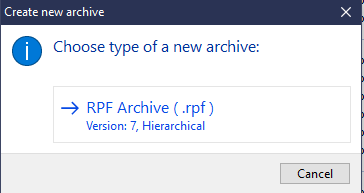
Go ahead and open up OpenIV and choose “Windows” under “Grand Theft Auto 5”, once OpenIV has loaded, click the white paper icon on the top left of the OpenIV window and click “RPF Archive (.rpf)” on the pop-up window that is displayed.
And once the “Save As” window is displayed, go ahead and save your new .RPF archive anywhere, just as long as you remember where you put it, honestly I’ve got hundreds laying dormant somewhere on my HDD.
For this tutorial I’ve just saved it onto my Desktop. It will be there temporarily.
Once you save the archive, you will see this pop up window:
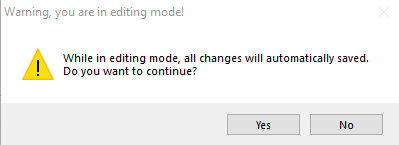
Just go ahead and click “Yes” on that, as it will give you the ability to edit the RPF archive we just created.
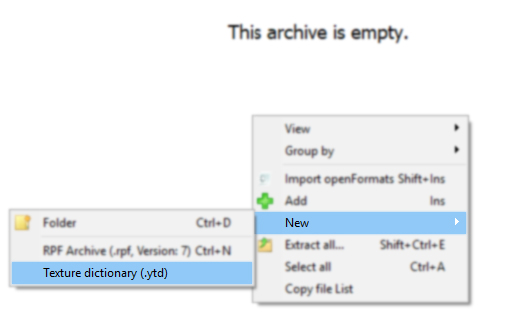
Once in the RPF archive, go ahead and drag and drop your large YTD file into the OpenIV window where it says, “This archive is empty.”
Now create a new folder in a place you can easily access it, as this is where we will be storing the textures from the large YTD file. Within that folder, create another folder titled something along the lines of, “Original Textures”

Now return to OpenIV, and double click on the YTD file, then click “Export all textures” located on the bottom left of the window that opens afterwards.
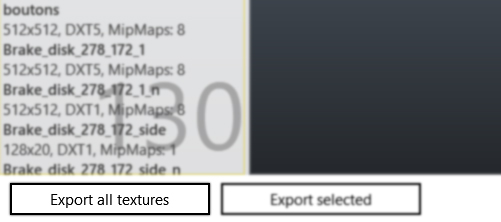
The window will then allow you to pick a format to export the files as, so go ahead and choose DirectDraw Surface:
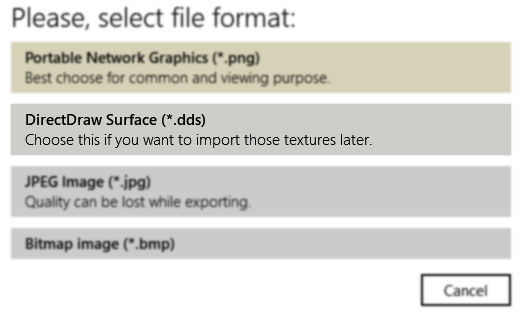
After you click this, save the files in the “Original Textures” folder we created earlier, and all the files will be in this one folder.
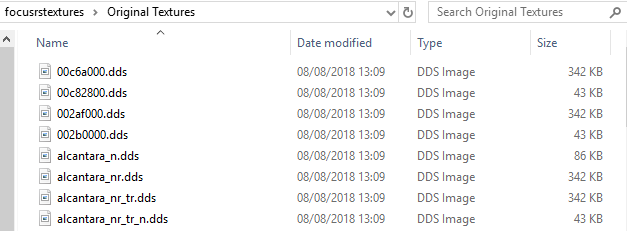
—SPLITTING THE FILES—
In our case, we have 130 DDS textures within our “Original Textures” folder, and our original YTD file size was 28.4Mb. Dividing the textures in half will potentially give us two files which are around ~14.2Mb, but this won’t always be the case as there may be more larger sized files in one YTD compared to the other. (We could basically end up having a 16.1Mb file and a 12.3Mb file (or worse), so the other would not get streamed)
To avoid this, just divide them into more separations. Dividing 28.4 by 3 gives us a potential file size for each smaller YTD file around 9.47 Mb, of course as stated before this won’t be the case, but it gives us a lot of room in case one of the YTD’s we create ends up having a few more files with larger file sizes.
Do not worry about the large file sizes of the DDS files as OpenIV will automatically compress them when compiling our new YTD file.
Because of course all the DDS files won’t be the same size that’d make our world too perfect…
For larger files you may need to split the files into 4 or more separate YTDs.
More on this later!!! – You’ll see what I mean when the process is finished.
Yeah that was a bit awkward to explain, my apologies but let’s move on.
So we’ve concluded that dividing the textures into 3 separate files will yield the best results, so in the same folder where your “Original Textures” folder is located, create three folders called “focusrs”, “focusrs1” and “focusrs2”.

So as stated before, in this case we have 130 DDS files, dividing that by 3 (for our three folders) gives us 43.33 recurring, but we’ll just accept 43 - 44 DDS files per folder.
Select 43 files from the “Original Textures” folder, and copy them into the first “focusrs” folder we created. Repeat this until all three folders we created, “focusrs”, “focusrs1” and “focusrs2” have 43 files in them.
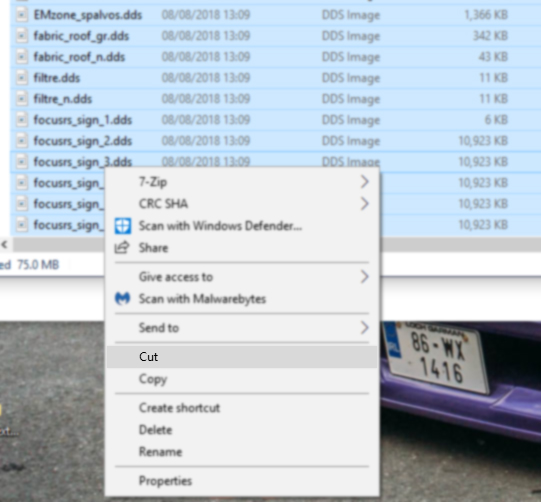
If you have any left-over DDS files within the “Original Textures” folder, then just copy them into the folder with the smallest total file size
Now return to the RPF archive we created in OpenIV, and delete the original, large YTD file. Once that has been completed, right click an empty area in the window and select New > Texture dictionary (.ytd)
Name the file, “focusrs” and add the file. Repeat this twice for “focusrs1” and “focusrs2”

—[[IMPORTANT! Do not skip this part.]]—
It is vital that you ensure that each folder has the same total file size, currently they will sit at 75Mb, 61.2Mb, and 40.6Mb.
Take some of the larger files out of the folder with the largest total file size (Select all files within the folder to view that), and put them into folders with smaller total file sizes, or else (as I discovered late when writing this) that the first “focusrs” folder will have a .YTD with a file size of 18+ Mb.
I extracted two 10Mb files from “focusrs” and placed them into “focusrs2”
–ADDING THE SEPARATED FILES TO THE NEW YTDS–
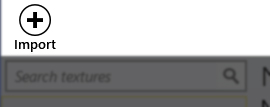
Now we can go ahead and import all the textures we extracted. To do this, double click on the first “focusrs” .YTD file within the OpenIV window, then click “(+) Import” located on the top left of the window:
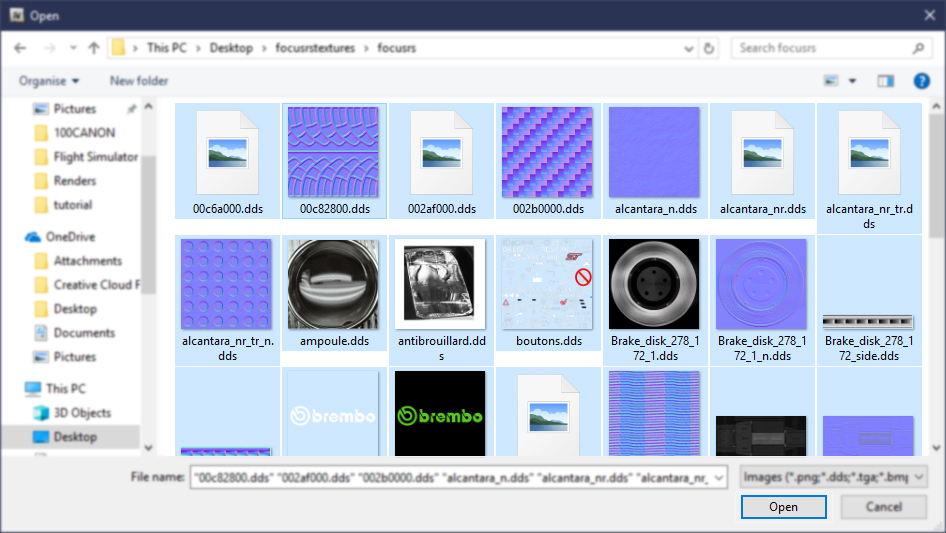
Navigate to the “focusrs” folder we created earlier, and select all of the files within the “focusrs” folder, then click “Open”
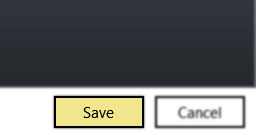
A modal titled, “Choose import options” will be displayed, ignore all the options and just click, “OK”, then click the “Save” button located on the bottom right of the window.
Wait for the process to finish, the program may freeze momentarily but don’t worry!
After the file is saved, go ahead a repeat these steps for “focusrs1” and “focusrs2”.

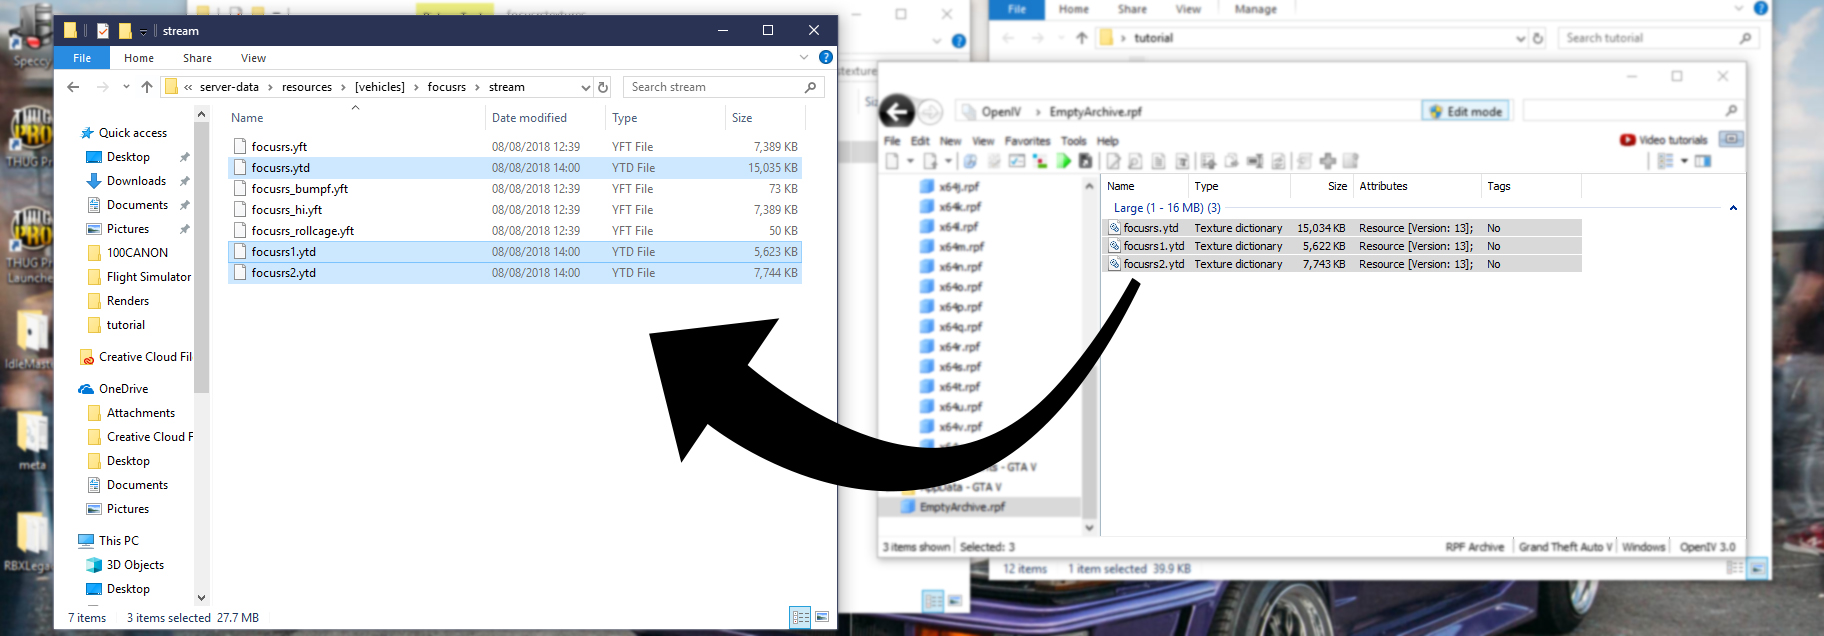
As you can see, after this part of the process is finished, we narrowly avoided the stream limit with “focusrs.ytd”, which would have been 18Mb had we not taken some of the larger files from it and put them into either “focusrs1” or “focusrs2”.
If you end up with a split file that is still larger than 16Mb, just take some of the textures with larger file sizes and put them into one of the other texture directories.
This is what I meant by, “The files will not all be the same size despite splitting them evenly”, as there are clearly larger files within “focusrs”, whereas “focusrs1” and “focusrs2” come in at around 5 - 7 Mb, this is something you should always watch out for.
–MODIFYING THE RESOURCE–
Now return to the /stream folder of your vehicle resource, and delete the original 28.4Mb YTD file
We can now drag the YTD files we created in OpenIV back into the /stream folder of our vehicle resource.
Not feeling a bit ropey yet no?
Now for the final steps! Hopefully you’ve managed to keep up with me so far so let’s get straight into what needs to be done.
You will have a, “vehicles.meta” file in your vehicle’s resource folder, so go ahead and open that up and scroll down to the bottom of the file. until you see the following:
<txdRelationships>
    <Item>
      <parent>vehicles_dom_interior</parent>
      <child>focusrs</child>
    </Item>
  </txdRelationships>
This is where the underlying magic shows it’s powers using txdRelationships, allowing us to link many texture directories together.
Go ahead and replace “focusrs” with “focusrs2”, as for some reason, we have to work backwards.
<txdRelationships>
    <Item>
      <parent>vehicles_dom_interior</parent>
      <child>focusrs2</child>
    </Item>
  </txdRelationships>
Now we need to link “focusrs1” to “focusrs2”, so copy the lines under but not including, <txdRelationships>, and set the parent to “focusrs2”, and the child to, “focusrs1”
The txdRelationships should now look like this:
<txdRelationships>
    <Item>
      <parent>focusrs2</parent>
      <child>focusrs1</child>
    </Item>
    <Item>
      <parent>vehicles_dom_interior</parent>
      <child>focusrs2</child>
    </Item>
  </txdRelationships>
Now repeat this step once more for the “focusrs” texture directory, and you should eventually end up with this at the bottom of your “Vehicles.meta” file:
<txdRelationships>
    <Item>
      <parent>focusrs1</parent>
      <child>focusrs</child>
    </Item>
    <Item>
      <parent>focusrs2</parent>
      <child>focusrs1</child>
    </Item>
    <Item>
      <parent>vehicles_dom_interior</parent>
      <child>focusrs2</child>
    </Item>
  </txdRelationships>
And if needed, you’d just keep adding onto that if you have more than 3 YTDs if you had to split it into 4 or more files to stay within the limits
And that’s it!
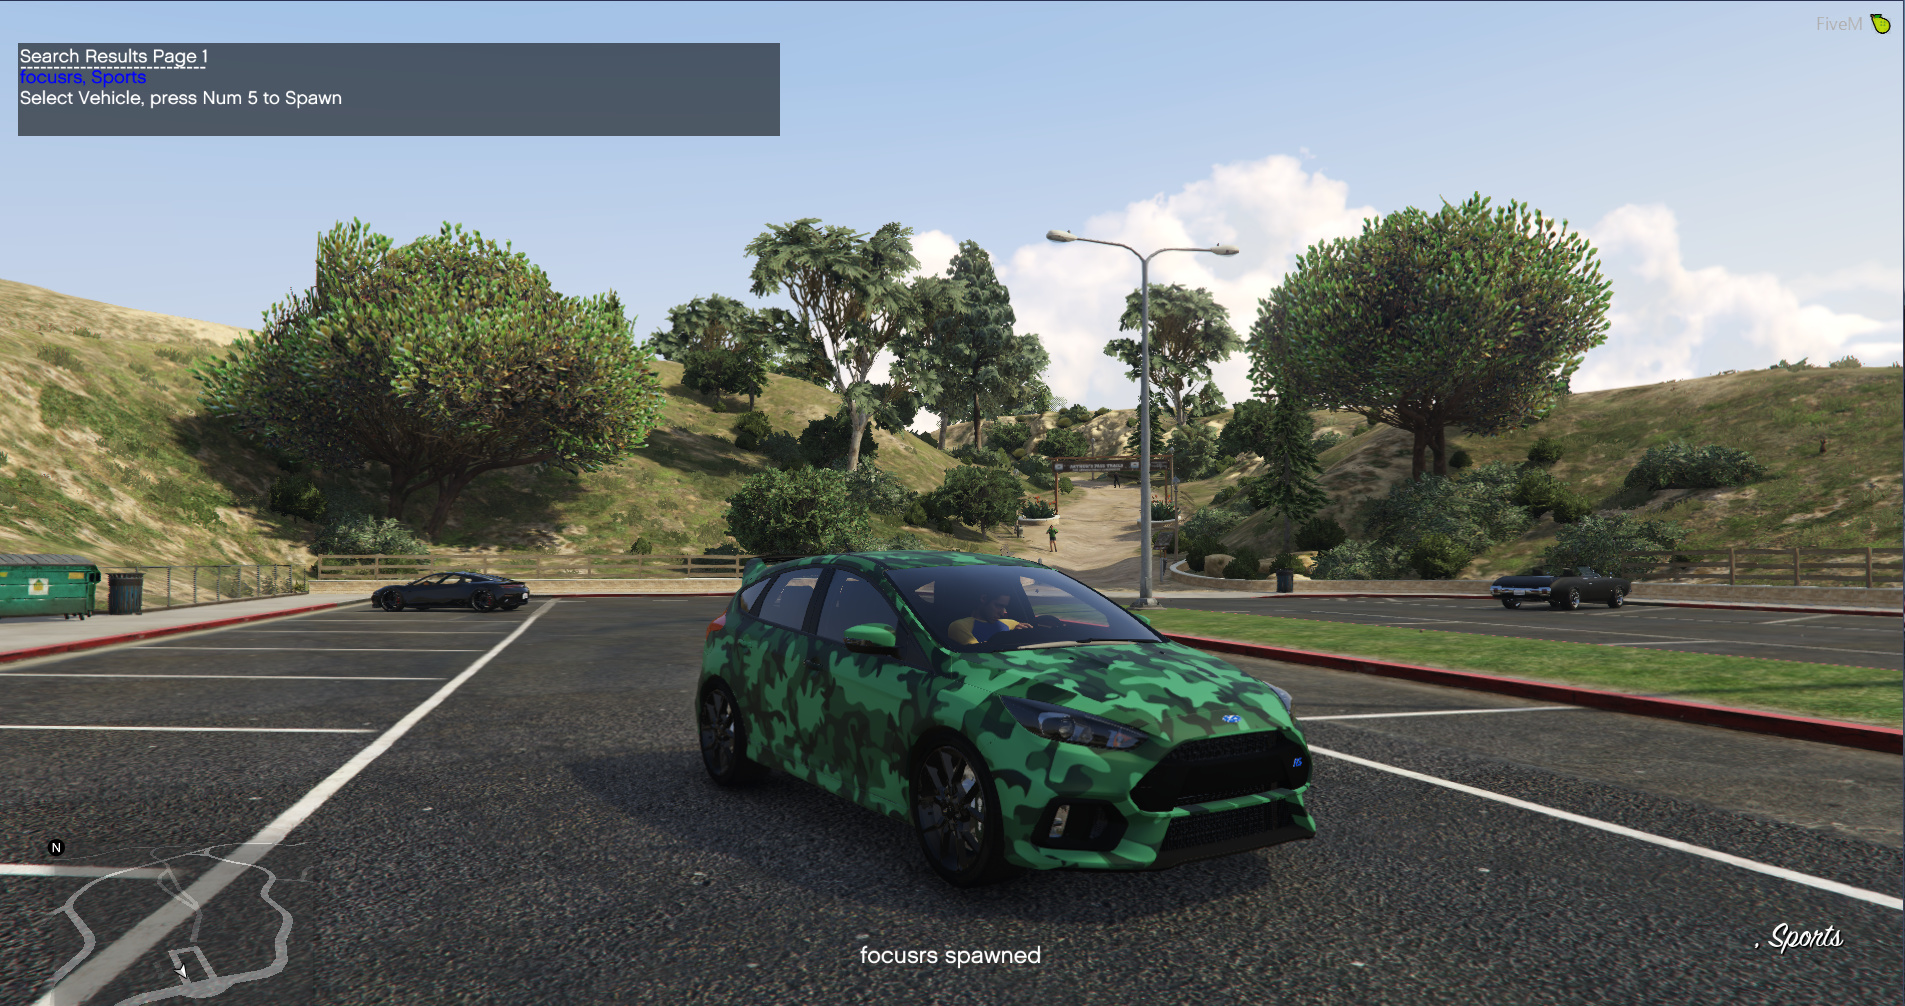
Go ahead and clear your server’s /cache directory and launch the server with your resource.
Spawn the vehicle in, and it should should look right and run perfect.
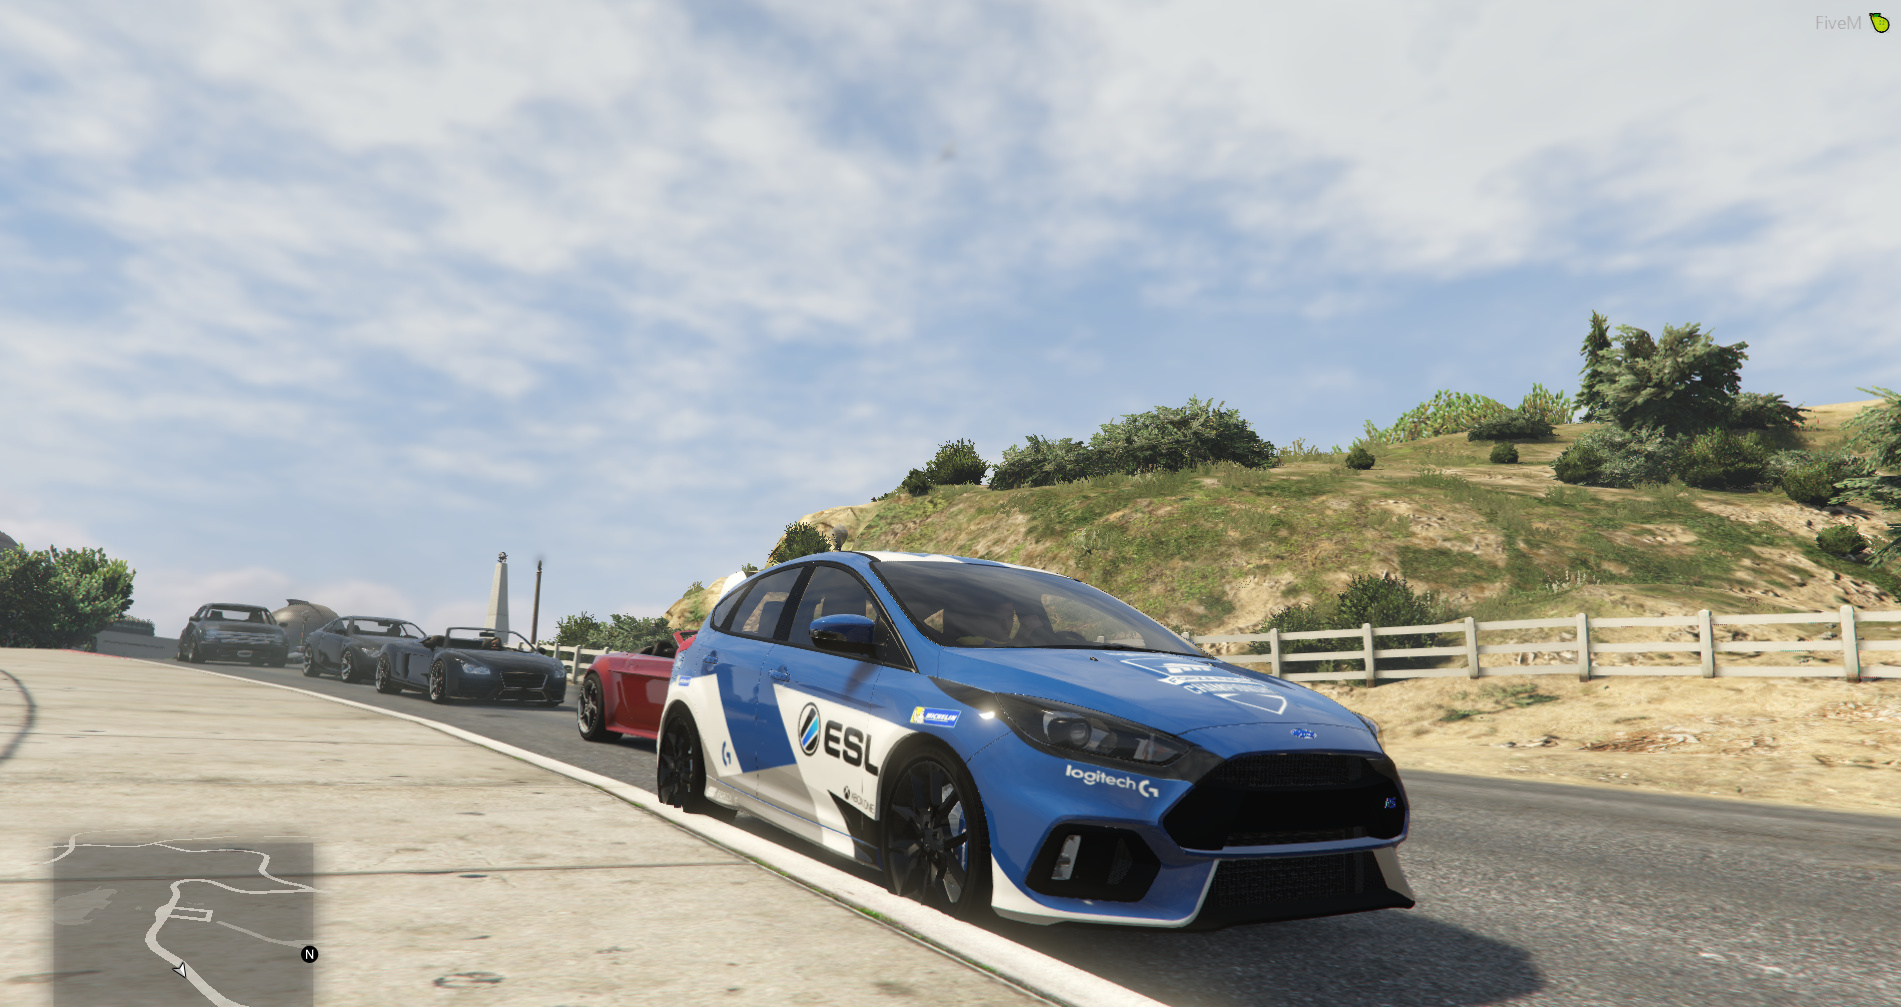
…And with a different livery:
Right well that’s it lads, hopefully this has helped you out in one way or another, I know I can sometimes over complicate my explanations so if you are having any difficulty understanding something I have written, tell me and I’ll try and elaborate or simplify what I said.
You’ll start noticing how quick you can do this after doing this with a couple YTD files, it becomes second nature so don’t worry if you can’t get it first time.


