Hello, if it is your first time with my YMTEditor, or with addon clothes, please read my other tutorial first.
Other tutorial - read this if you didn’t before!
YMTEditor https://github.com/grzybeek/YMTEditor/releases
Important: This tutorial regarding hats/hair will only work with hair that has special bone( MH_Hair_Scale) applied and rigged properly. All GTA hairstyles have that bone, 98% of custom made hair doesn’t, and it won’t work
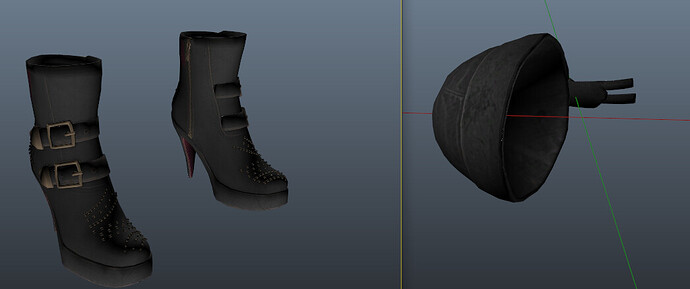
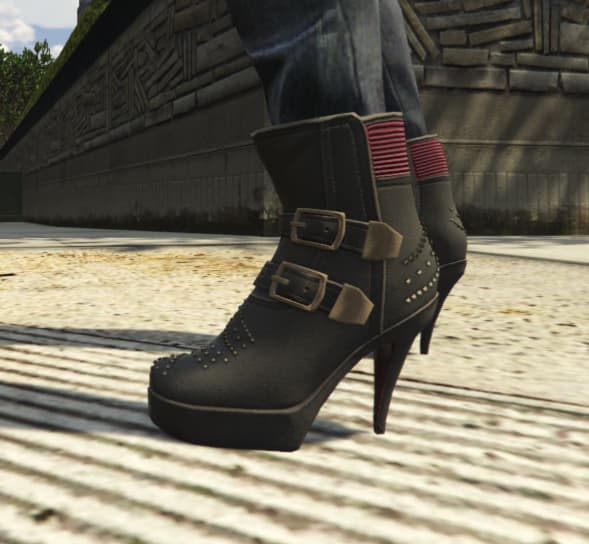
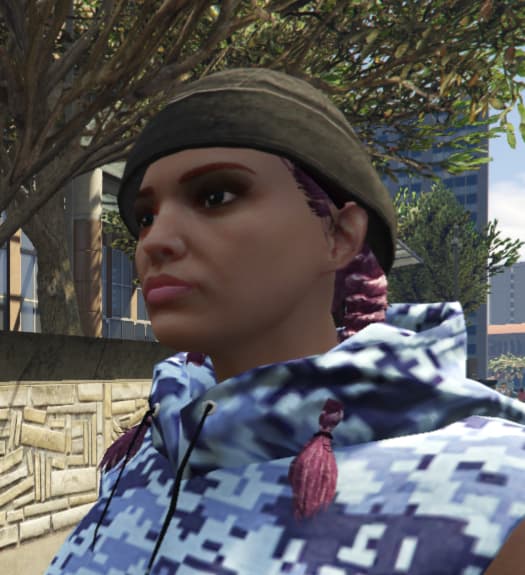
In this tutorial I will use these heels and hat from GTA.
Step 1
Create new YMT and change properties
After creating your YMT, adding your drawable and textures, you have to change component/prop properties.
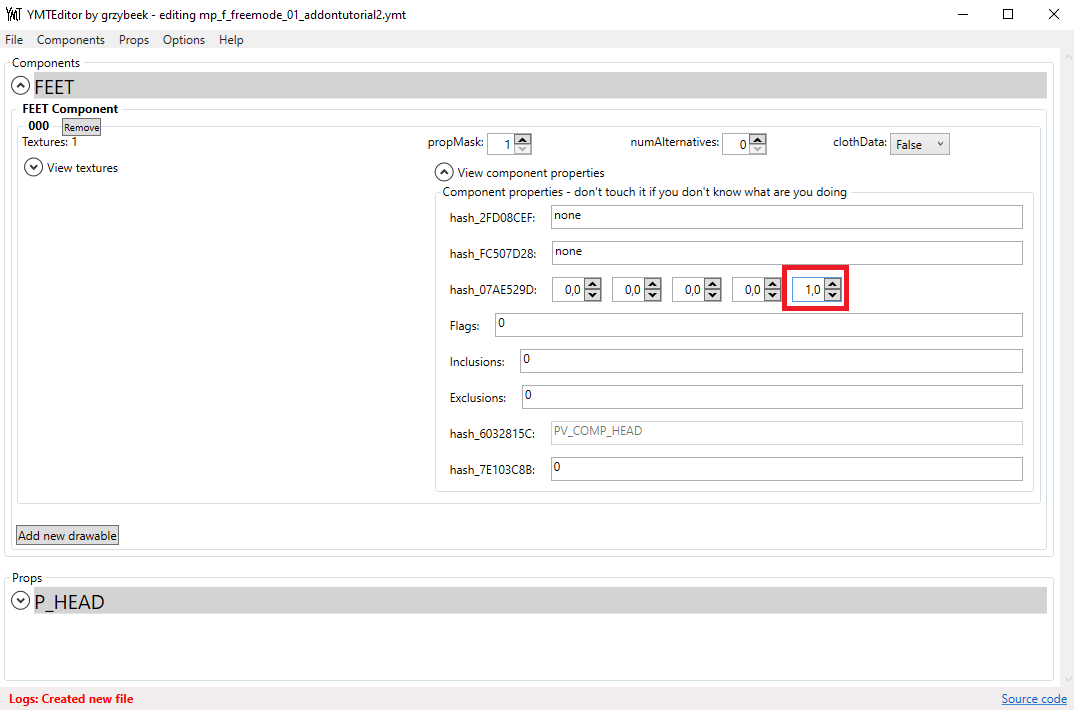
HEELS:
If you want your heels to have “walking sound”, you have to change hash_2FD08CEF in component properties from none to shoe_heels
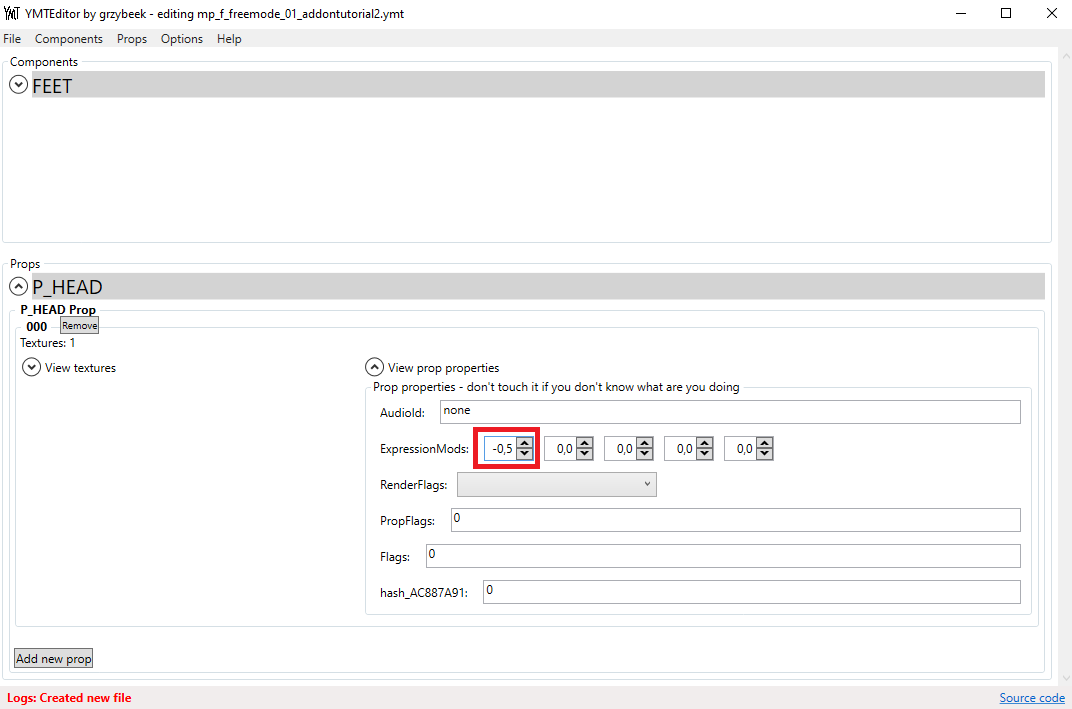
HAT:
Those values are what GTA uses mostly, if you want to hide hair completely, use -1.0 for example.
Step 2
Save and generate CreatureMetadata file
First save YMT, and then click “Generate CreatureMetadata”

Step 3
Prepare files and resource
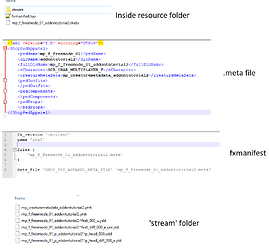
You have to put file name of generated creaturemetadata between “creatureMetaData” fields in your .meta file!
Creaturemetadata file has to be inside ‘stream’ folder.
Important: All clothing props require little different streaming name, as you can see on screenshot above. Simply add “p” between pedName and dlcName and remember that naming is slightly different than in components!
For example:
- ydd: “mp_f_freemode_01_p_addontutorial2^p_head_000”
- ytd: “mp_f_freemode_01_p_addontutorial2^p_head_diff_000_a”
Results
End
If you have any questions, feel free to ask!
