Apparantly many of the RedM community members don’t know yet how to create custom models for RedM so here’s a quick tutorial.
So as a quick summary, there’s no direct way to add custom models directly for RDR3 as you would do with GTAV. But on the other hand, RedM’s converter tool can convert GTAV models to RedM compatible formats.
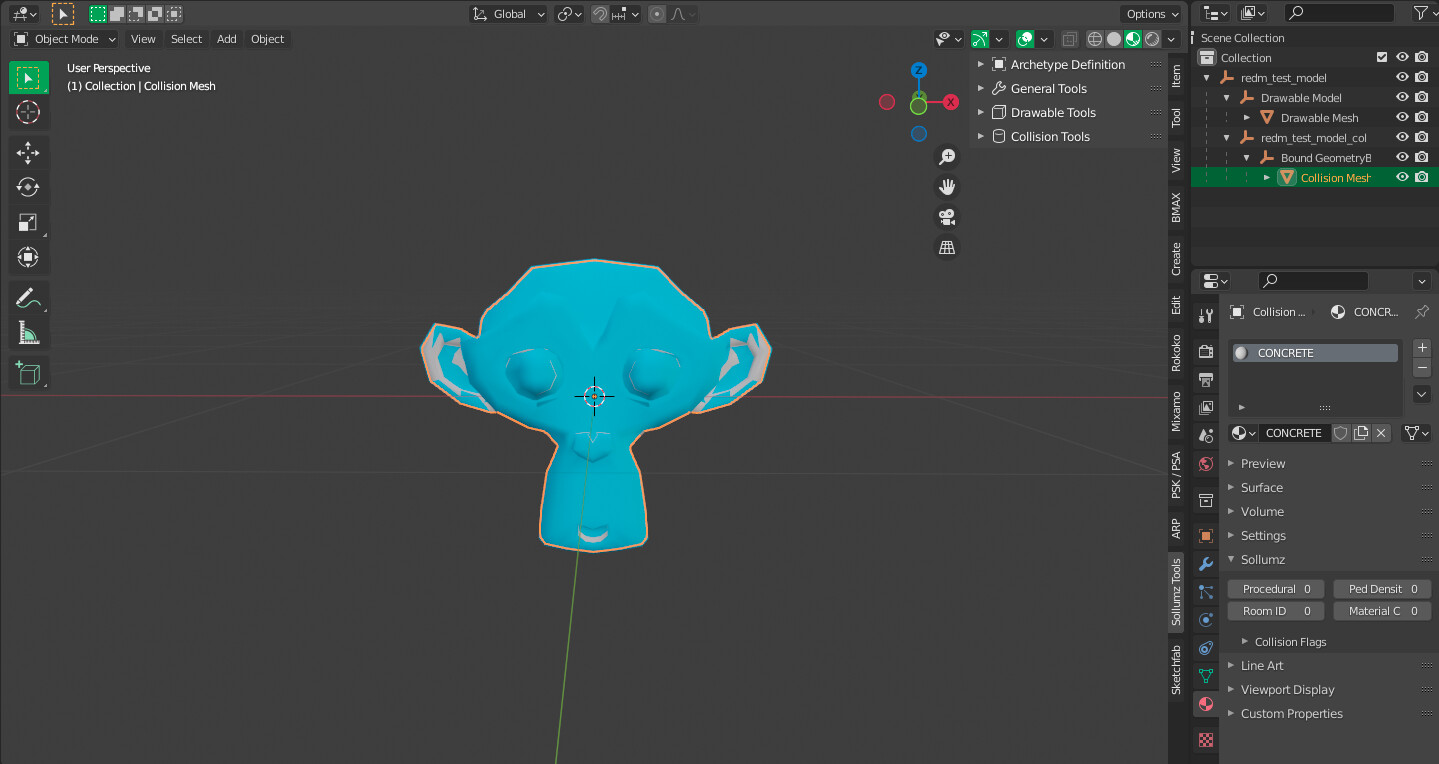
I’m going to use Blender’s Sollumz tool to create model and ytyp but you can use 3DS Max and any ytyp creater as usual (I highly recommend using Sollumz though). Also Im going to use embedded collisions for this tutorial.
This tutorial expects you to have basic knowledge of creating custom models(If you want to), generating YTYP’s and have basic knowledge of setting up a RedM FXServer and streaming files.
Creating the model which we want to convert for RedM
- We have our beloved monkey for the test and the final model is named as
redm_test_modelwith embedded collision and embedded texture.
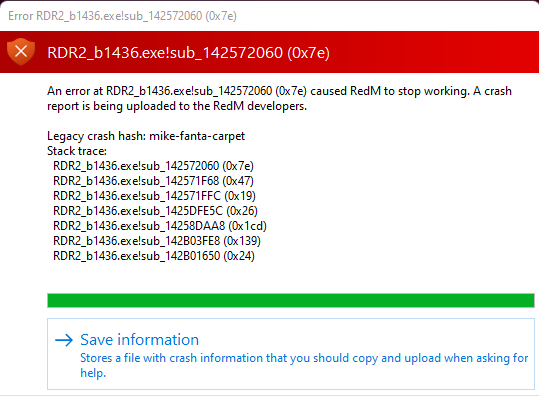
IMPORTANT NOTE: Do NOT embed your textures else you will face crashes after being in game for a while
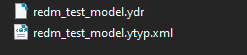
- Next, I’ve exported the model and the YTYP. I’ve kept the YTYP as XML only since Sollumz by default export everything as XML. If you are using Max and OpenIV, you need to only export
ydrfile. We will be needing the YTYP file only for copying few lines so you can view the YTYP in OpenIV itself or in any text editor if you are using Sollumz.
-
Now you need to go to your
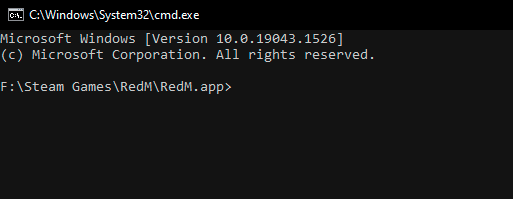
RedM Application Datafolder. My RedM Applcation Data path isF:\Steam Games\RedM\RedM.app. Once you are in theRedM Application Datafolder, copy the exportedydrfile which in this case will beredm_test_model.ydr -
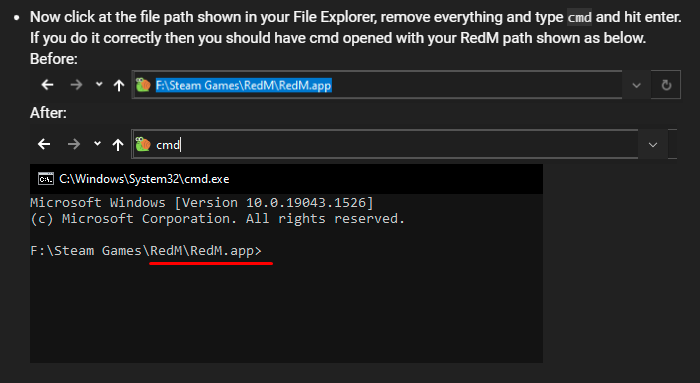
Now click at the file path shown in your File Explorer, remove everything and type
cmdand hit enter. If you do it correctly then you should have cmd opened with your RedM path shown as below.
Before:

After:

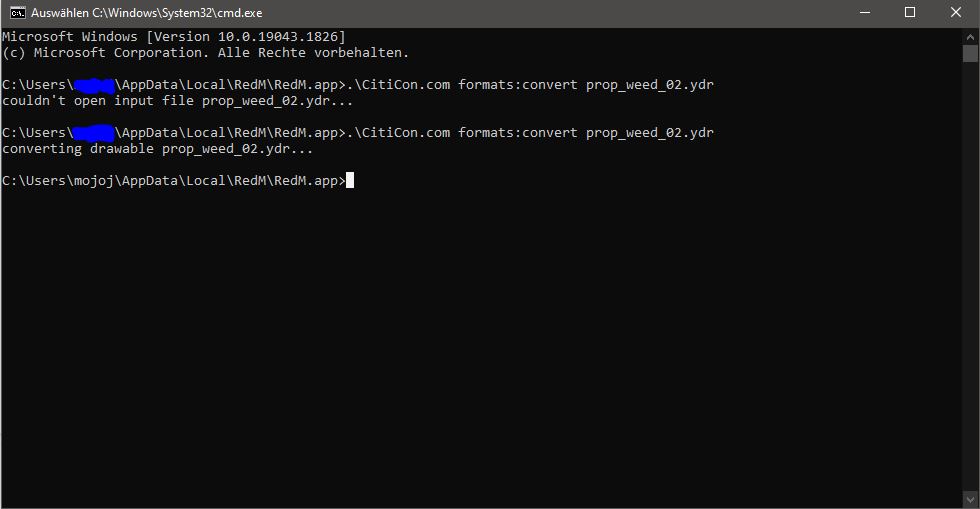
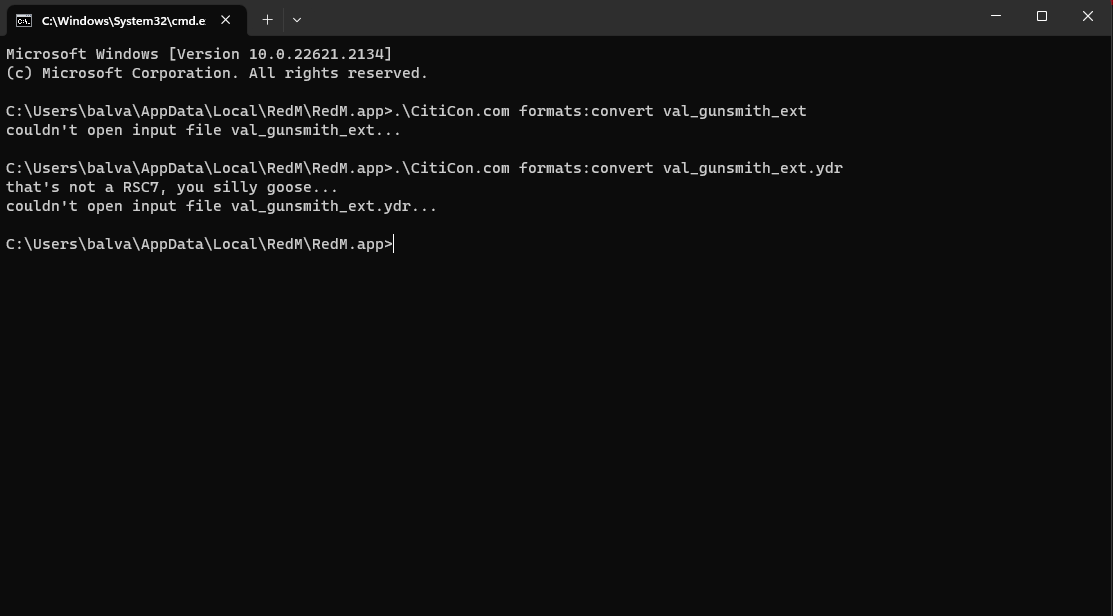
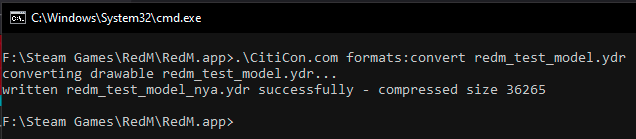
- Now for converting the model you need to run the following command and hit enter:
.\CitiCon.com formats:convert <your_model_name_here>.ydr
For our example the command will be:

- If everything goes well, you should have a message in your CMD showing that the model converted successuly. The converted model is now named as
redm_test_model_nya.ydrand can be found in yourRedM Application Datafolder.
- Now we can rename this model to our original model name and place it in a stream folder of a RedM resource in your server. So we are going to rename
redm_test_model_nya.ydrtoredm_test_model.ydr
Creating RedM compatible YTYP
- We are going to use this ytyp template to create a proper YTYP for our object. This YTYP was dervied from Disquse’s first post of custom objects on Cfx.re Discord.
template_custom_object.ytyp (1006 Bytes)
- Once you have downloaded the above YTYP file, open it any text editor
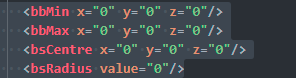
- Now open your YTYP file which we first created for our GTA model (In our case it is
redm_test_model.ytyp.xml) and copy these 4 lines from it. Values shown in the image below might differ from what you have.

- Once you have copied the lines, open up the
template_custom_object.ytypfile and replace the 4 lines shown in image with the lines copied in the above step.
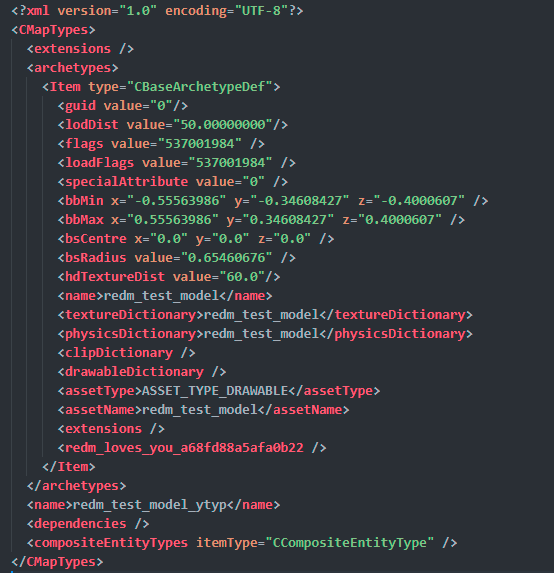
- Now replace all the
model_name_herein thetemplate_custom_object.ytypfile with your ydr file name. So according to this tutorial we will replace all themodel_name_herewithredm_test_model.
- Now we replace
ytyp_name_herewith any name which you want to give to your YTYP file. We are going to replace it withredm_test_model_ytyp. Once you have done this much your contents should look something similar to the image below
-
Now you can save the file. Once you have saved the file, we need to rename our
template_custom_object.ytypwith the same name which we used in the previous step. So we are going to rename ourtemplate_custom_object.ytypfile toredm_test_model_ytyp.ytyp -
And now we can just stream our newly created
redm_test_model_ytyp.ytypandredm_test_model.ydrfile and spawn it in game using any script.