← Check previous PART 2 HERE
[Tutorial] Scripting tutorial for beginners - Part 3
In the previous parts, we got familiar with the client console F8, wrote a client script using the RunCode tool, and also added a client script to what’s called a Resource.
In this part we will:
- Get familiar with the server console
- Use RunCode to write a server script
- Add a server script to a Resource
- Learn how to run two clients (two players) simultaneously
- Use RunCode on the server side
Server Console
Before writing server scripts, let’s understand what the server console is.
The server console is very similar to the client console (F8). To open it:
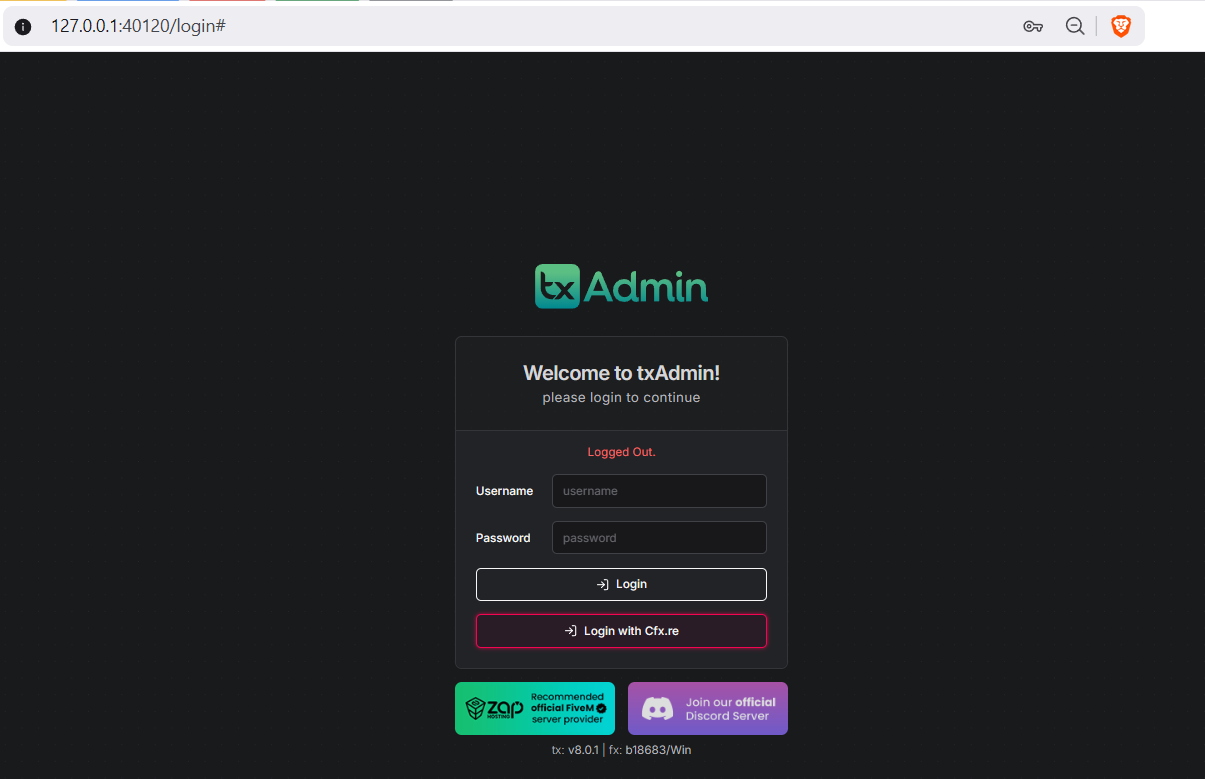
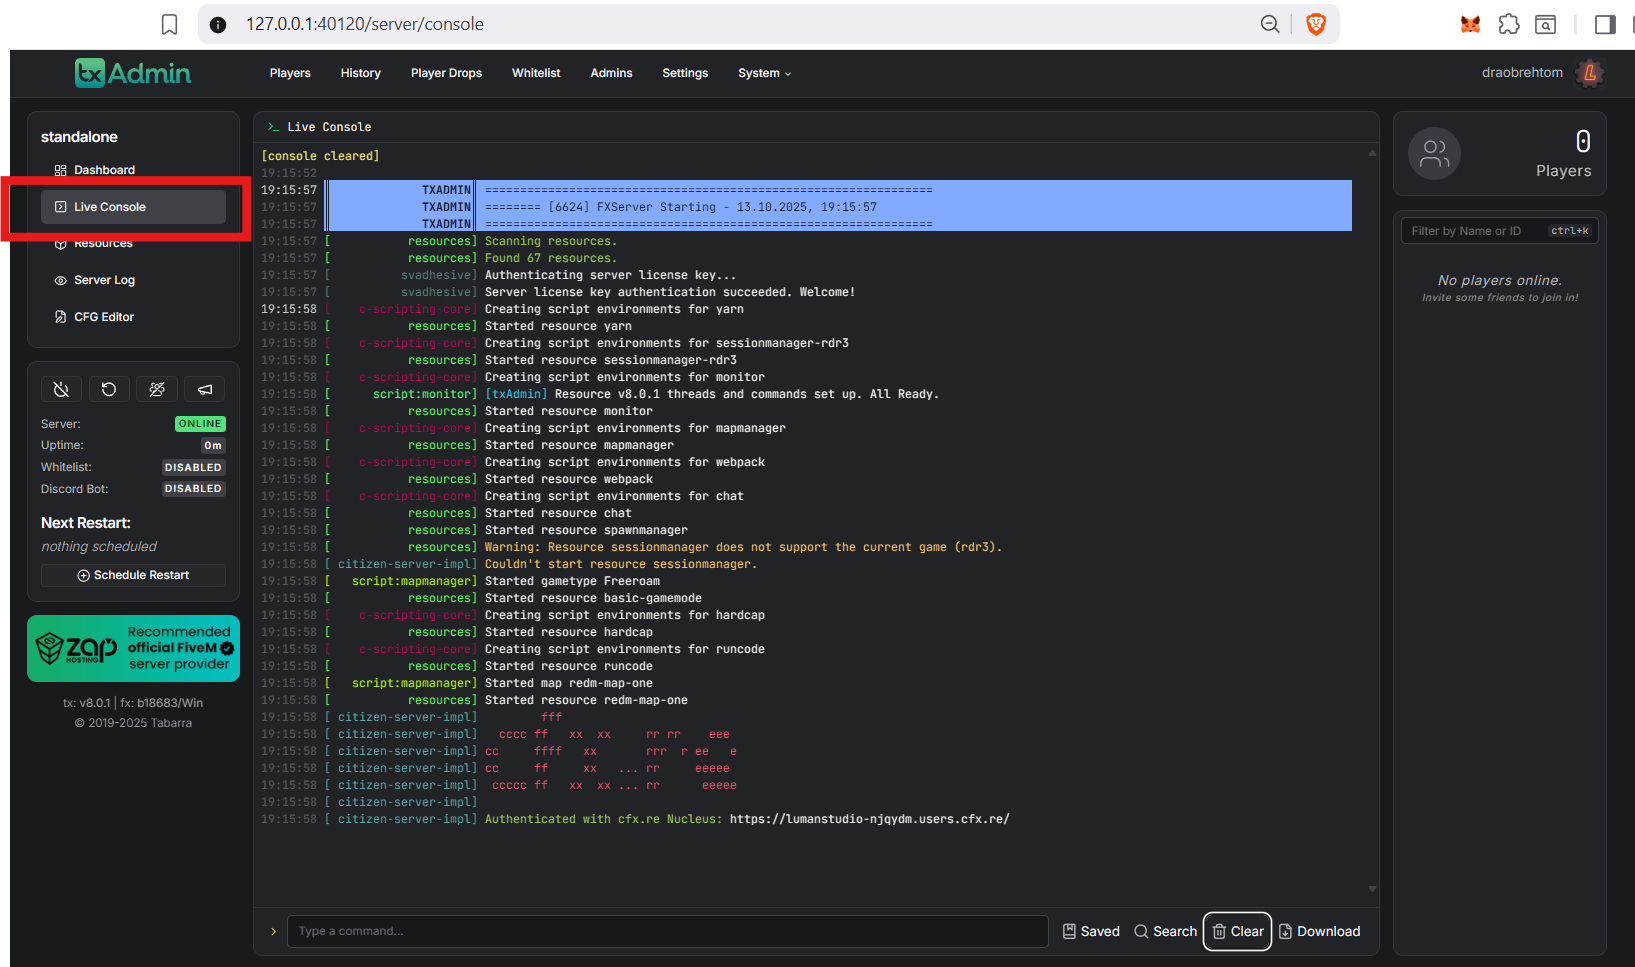
Start the server, go to http://127.0.0.1:40120/ and authorize (Login with Cfx.re). Click on Live Console in the menu on the left.
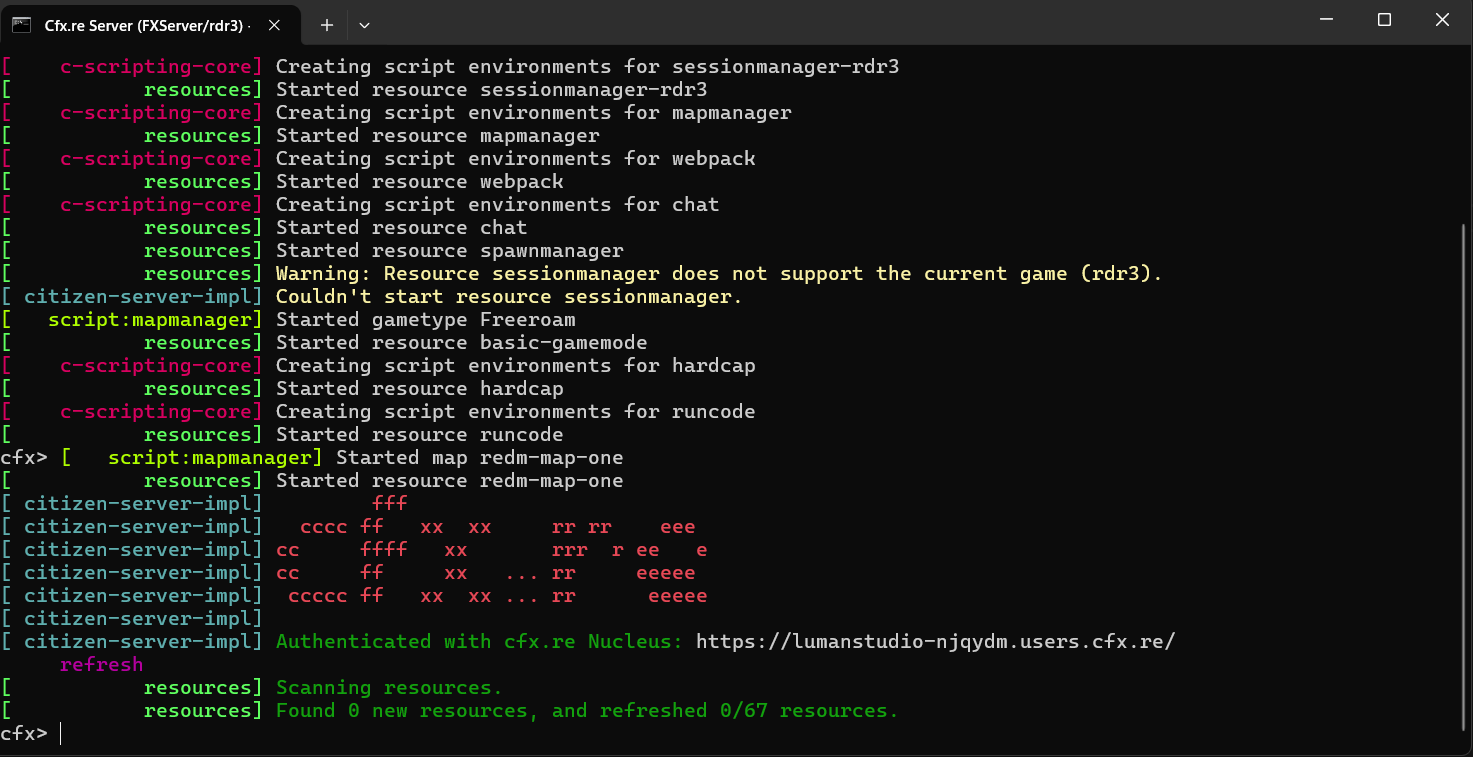
If you started the server without txAdmin, this website won’t be available to you. In that case, you can use the server console directly from the terminal window in your OS.
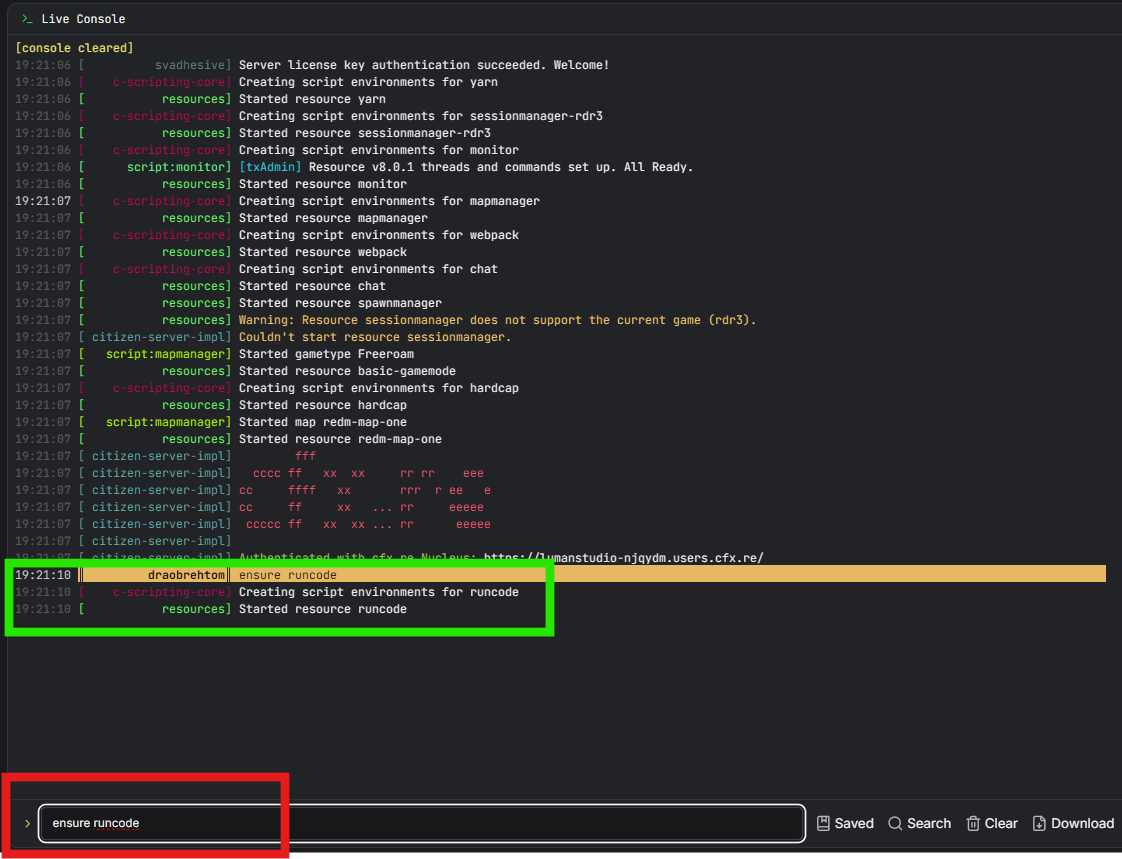
You’ll see a list of messages from the console and at the bottom an input line with the text “Type a command…”. Try entering the command ensure runcode – it will launch the RunCode tool that we got familiar with in the first part of the tutorial.
ensure runcode
Server Script via RunCode
Since you launched the RunCode tool, you now have the ability to enter a command to execute a server script. This command is:
run YourCode
Note that it differs from the
cruncommand from the first part of the tutorial
Try typing the following:
run 'Hello world from server'

You’ll see a response in the form of printed text. This is similar to what you did in the first part of the tutorial when you executed the command crun 'Hello world'.
However, there are differences:
-
The
runcommand executes a server script, which runs only on the server -
The
cruncommand executes a client script, which runs only on a specific client (player)
Server Script via Resource
Create a new file called server.lua in your resource folder and update fxmanifest.lua as follows:
-- hello-world/fxmanifest.lua

fx_version 'cerulean'
game 'common'
lua54 'yes'

server_scripts {
    'server.lua',
}
In the server.lua file, write the following code:
print('Server-side script executed')
Rescan the resources folder with the refresh command:
refresh
Start the script:
ensure hello-world
Check the server console, you should see the printed message.

Running Server and Client Scripts Together
Let’s now check how server and client scripts work simultaneously.
Make sure your fxmanifest.lua contains:
fx_version 'cerulean'
game 'common'
lua54 'yes'

client_scripts {
    'client.lua',
}

server_scripts {
    'server.lua',
}
Make sure your resource has client.lua and server.lua files with the following code written in them
In the client.lua file:
print('Client-side script executed by ' .. GetPlayerName())
In the server.lua file:
print('Server-side script executed by server!')
Refresh the resources with the refresh command and restart the script with the ensure hello-world command.
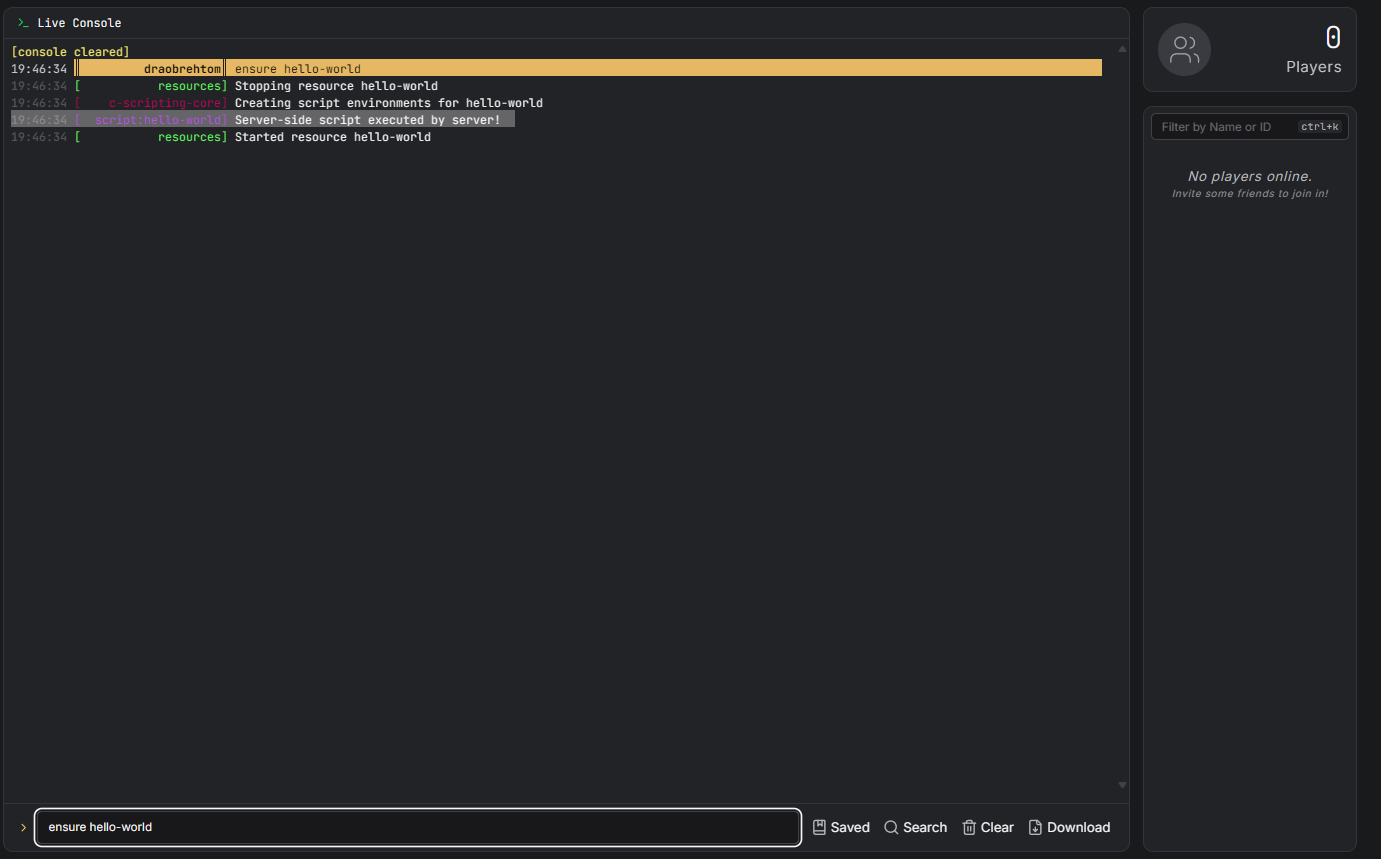
![]() The server script executed, printing the corresponding message to the console.
The server script executed, printing the corresponding message to the console.
![]() The client script didn’t execute anywhere, because there are no players on the server. It still has yet to run.
The client script didn’t execute anywhere, because there are no players on the server. It still has yet to run.
Testing the Client Script
Let’s test the client script execution.
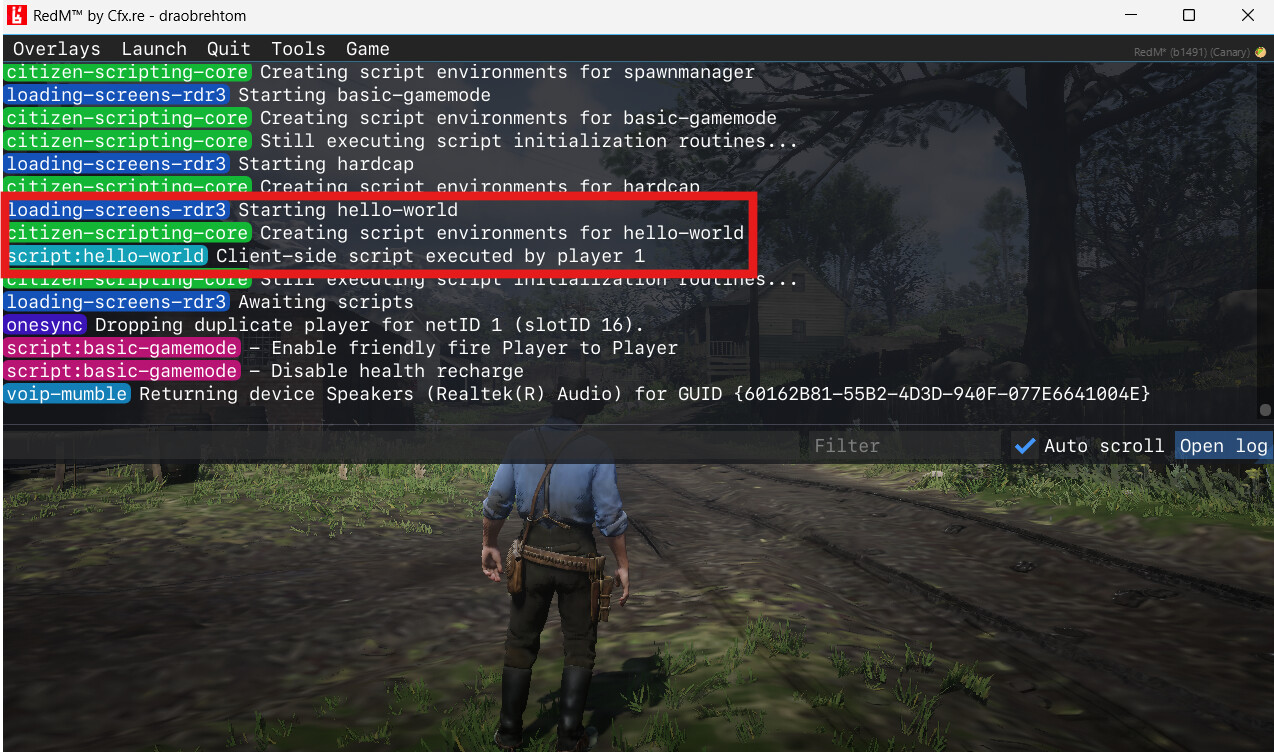
- Enter the game and connect to the server.
- On the first connection, your script will be executed.
- You can verify this by checking the F8 console and seeing the corresponding message with your player name.
If you reconnect to the server, you’ll see this message again, which means the client script executed again. Moreover, if another player also connects, they’ll see the same message, but with their own name.
This means that the client script executes every time a player connects to the server and only on that player’s side!
To summarize:
- The server script runs only once - when the resource starts / manual start.
- The client script runs every time a player connects to the server and only for the connected player without affecting other players.
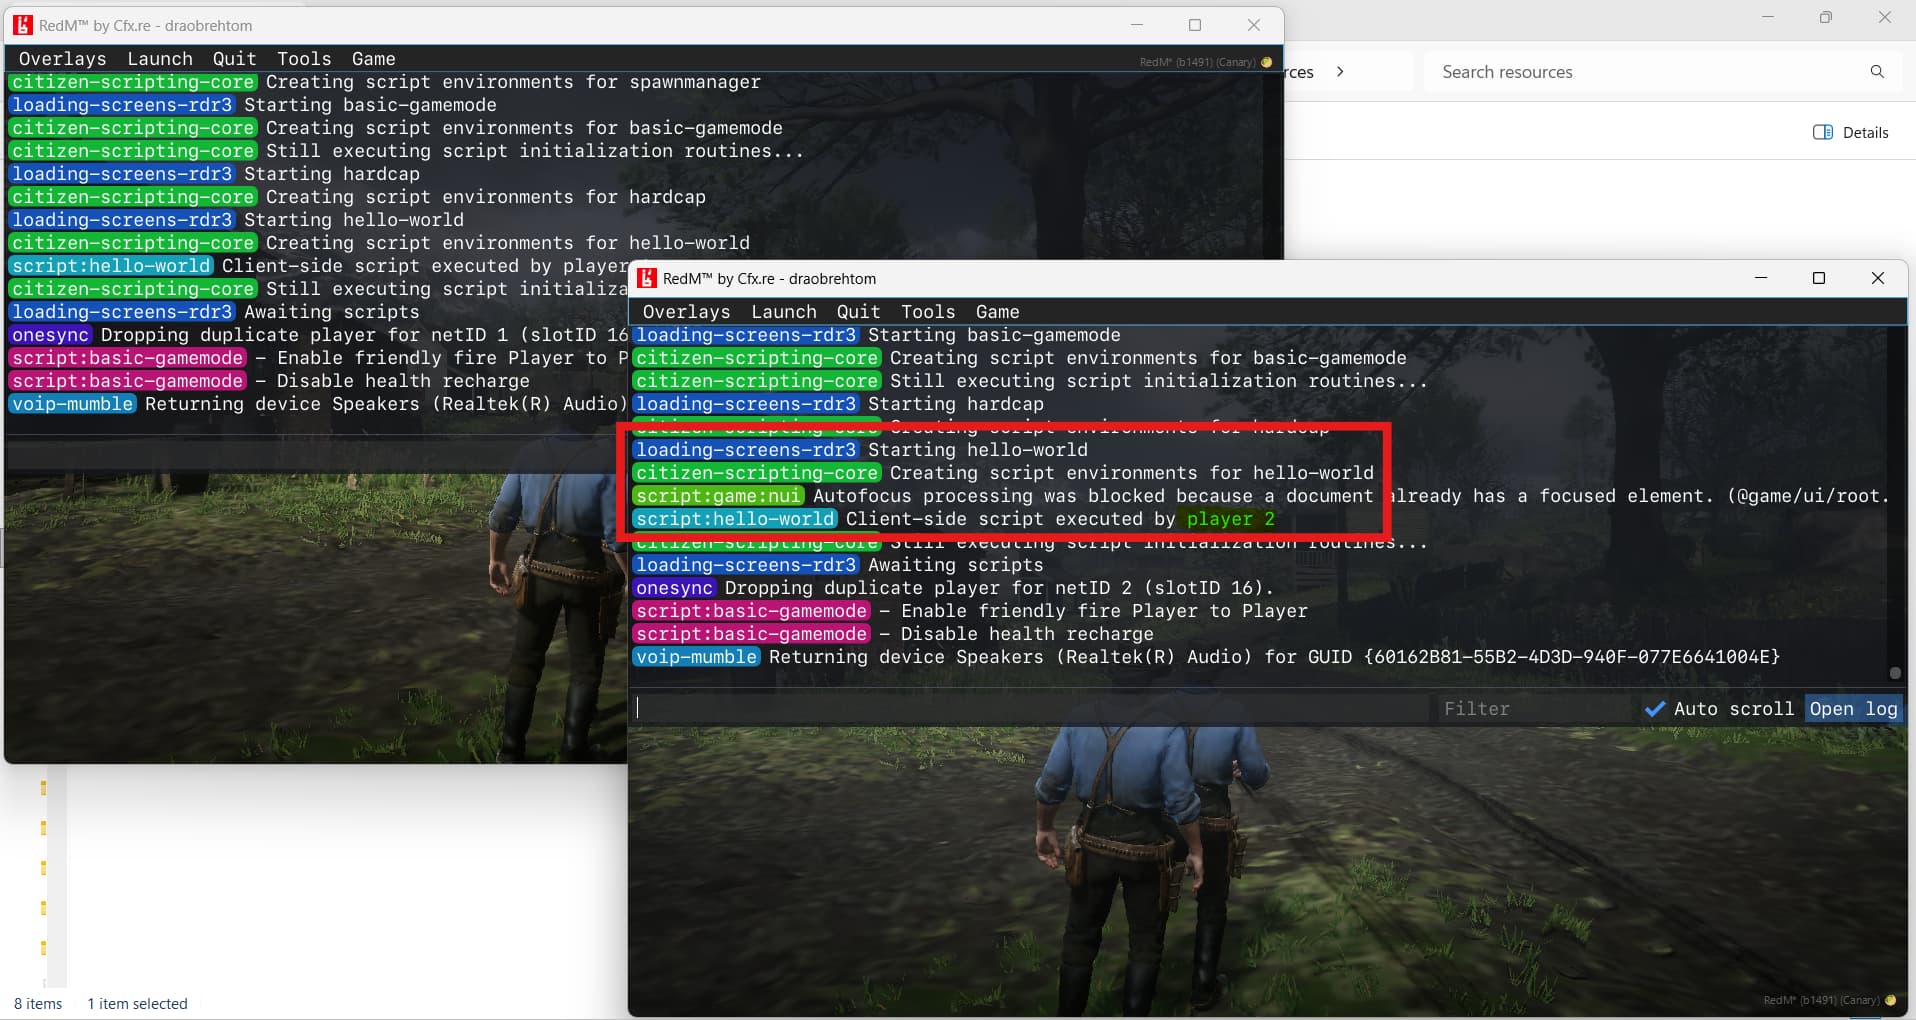
![]() Also, if you start/restart the resource when players are already connected to the server, then the client script will execute instantly for all players on the server. As if they all connected to the server at the same time.
Also, if you start/restart the resource when players are already connected to the server, then the client script will execute instantly for all players on the server. As if they all connected to the server at the same time.
Second Client
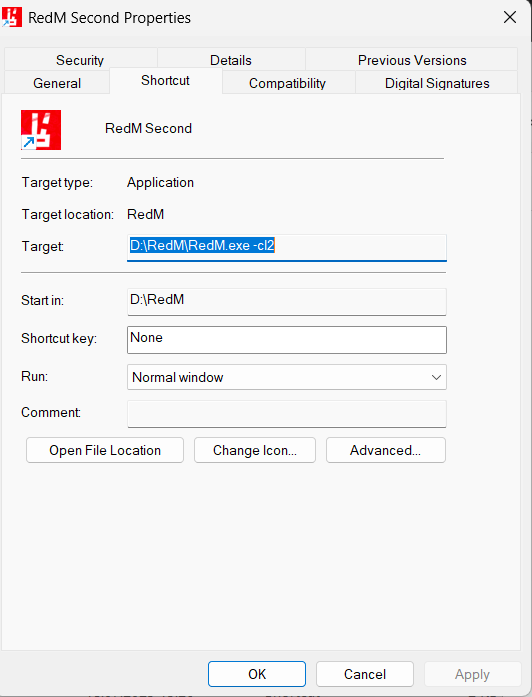
To test scripts with multiple players, you can run two RedM clients simultaneously on your PC. To launch a second client, you need to create a new RedM shortcut and in it Right Click → Properties → Target add the -cl2 flag. For example, here’s how it looks for me:
D:\RedM\RedM.exe -cl2
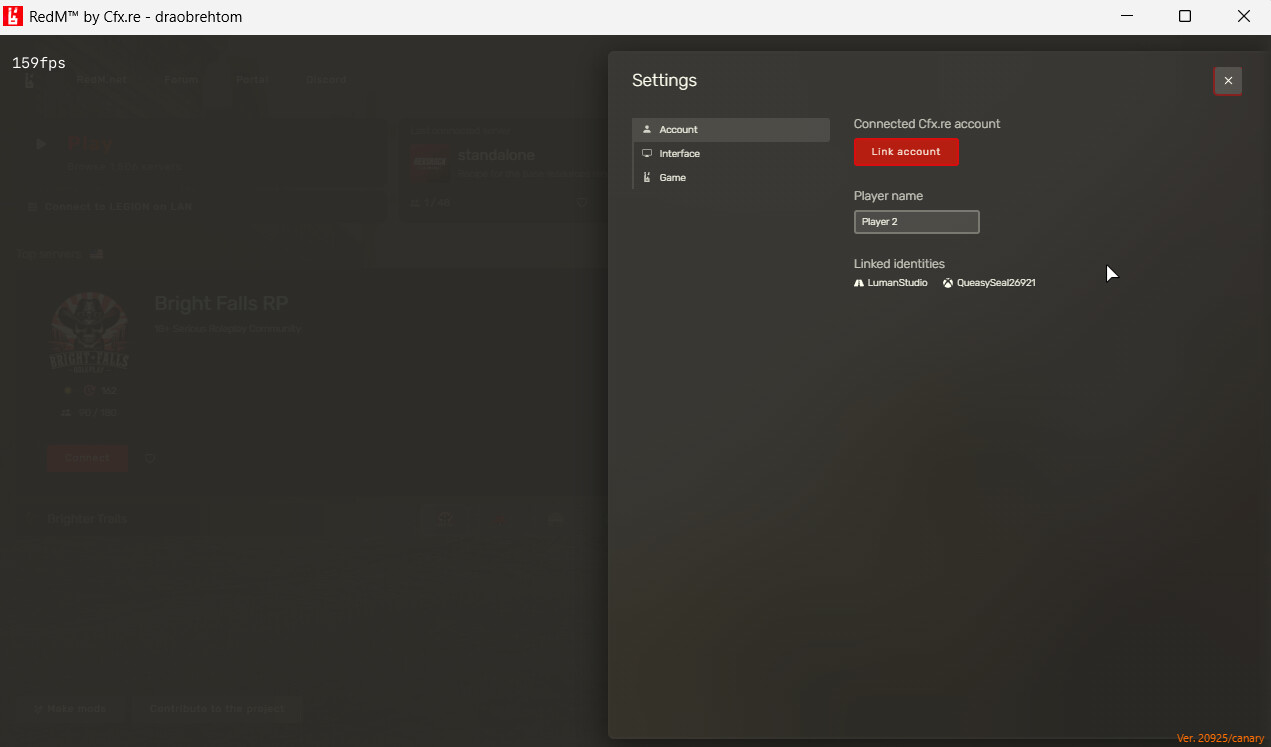
Now launch the second client. For convenience, change the player name in RedM → Settings → Account → Player name. For example, set the name to “Player 2”.
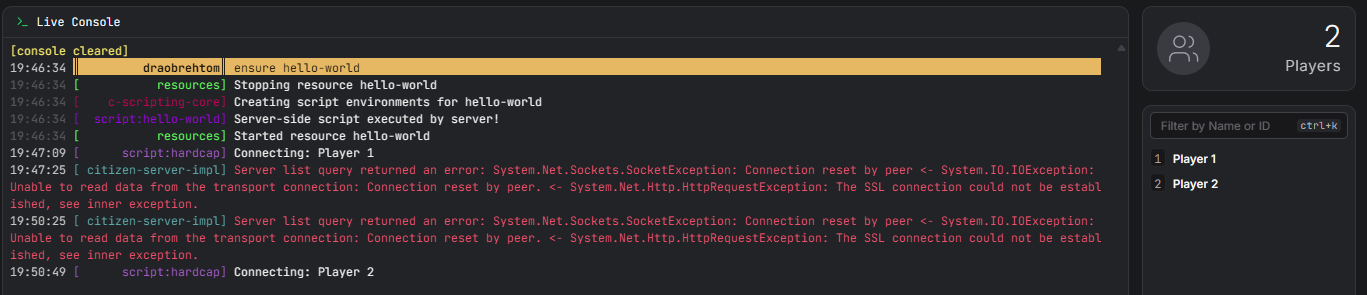
Now start the server, run the hello-world script and try the following scenario:
- Connect with two players. Check the game console F8 for each player.
- Restart the
hello-worldscript, check F8 again.
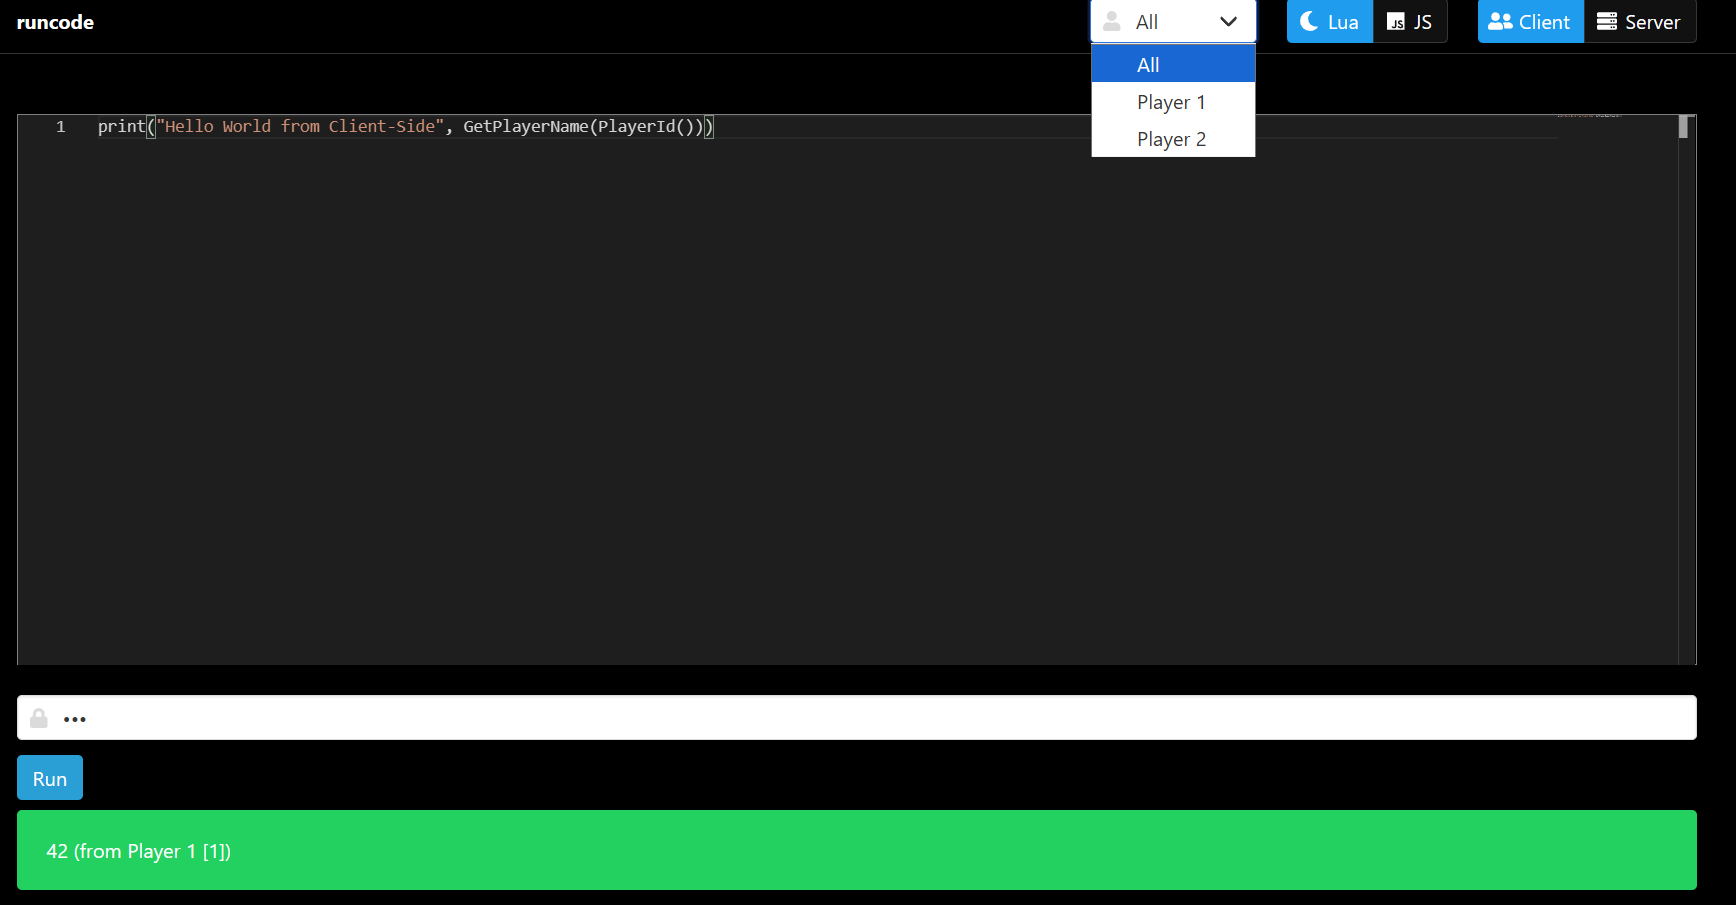
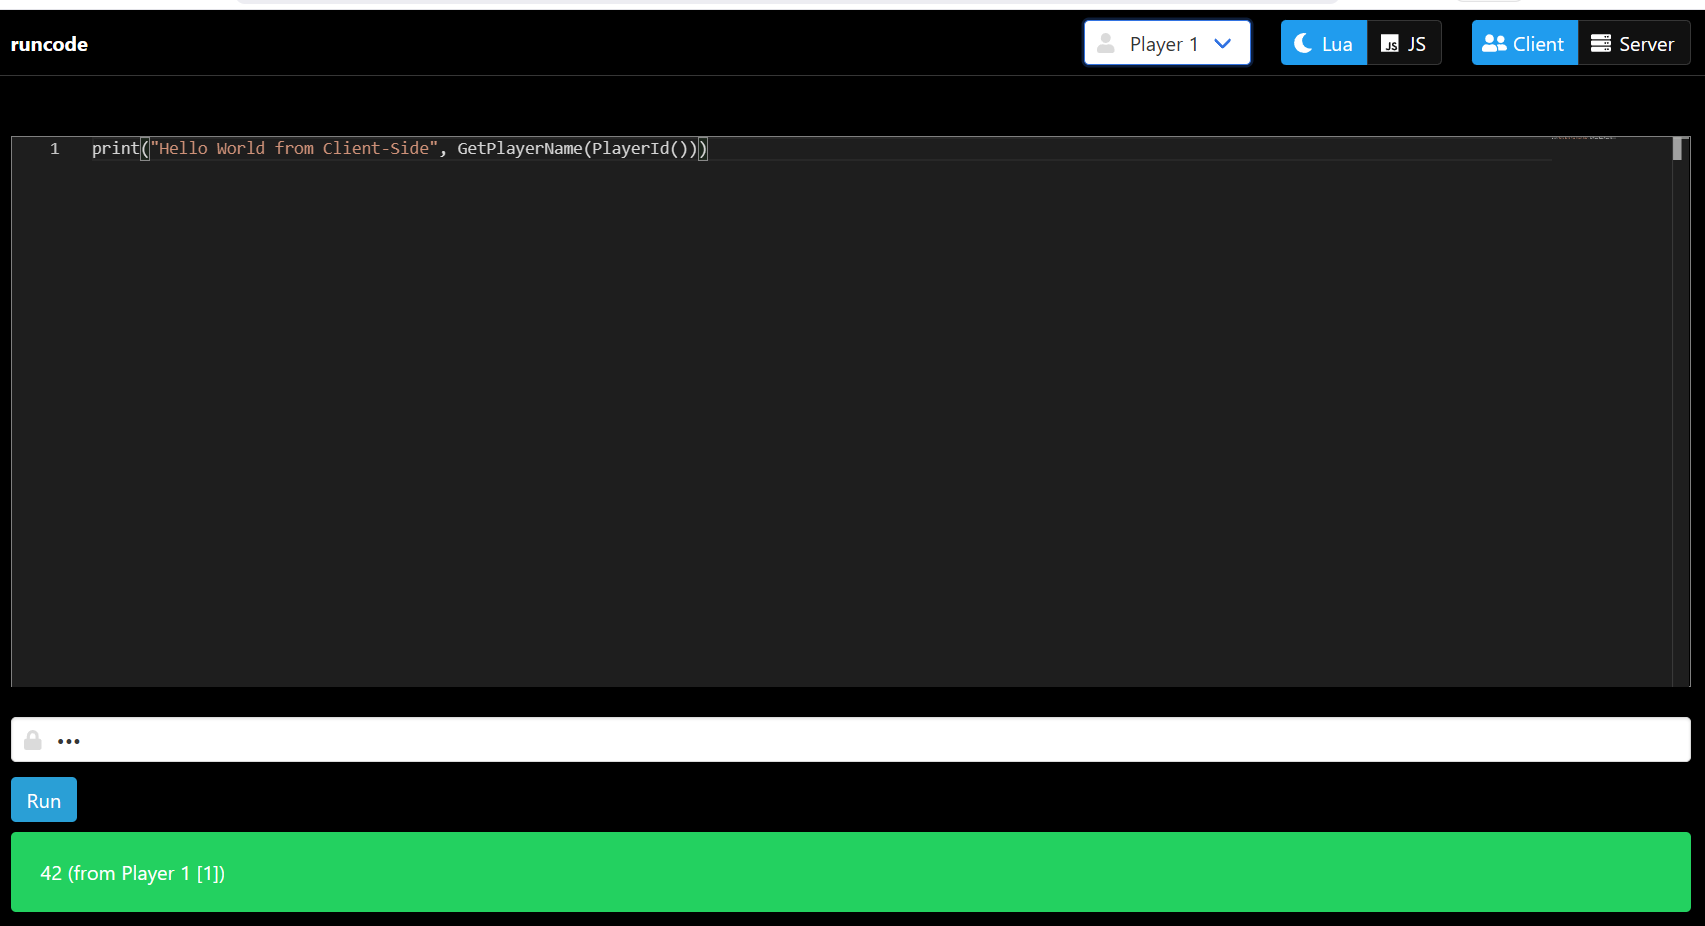
RunCode with Visual Interface
The last thing we’ll get familiar with in this part of the tutorial is running scripts through the RunCode visual interface. It will allow us to run both server scripts - those we ran with the run command, and client scripts - the crun command. Moreover, when running a client script we can select a specific player on which the script will be executed (or all players at once).
So, try going to http://127.0.0.1:30120/runcode. You’ll see the interface:
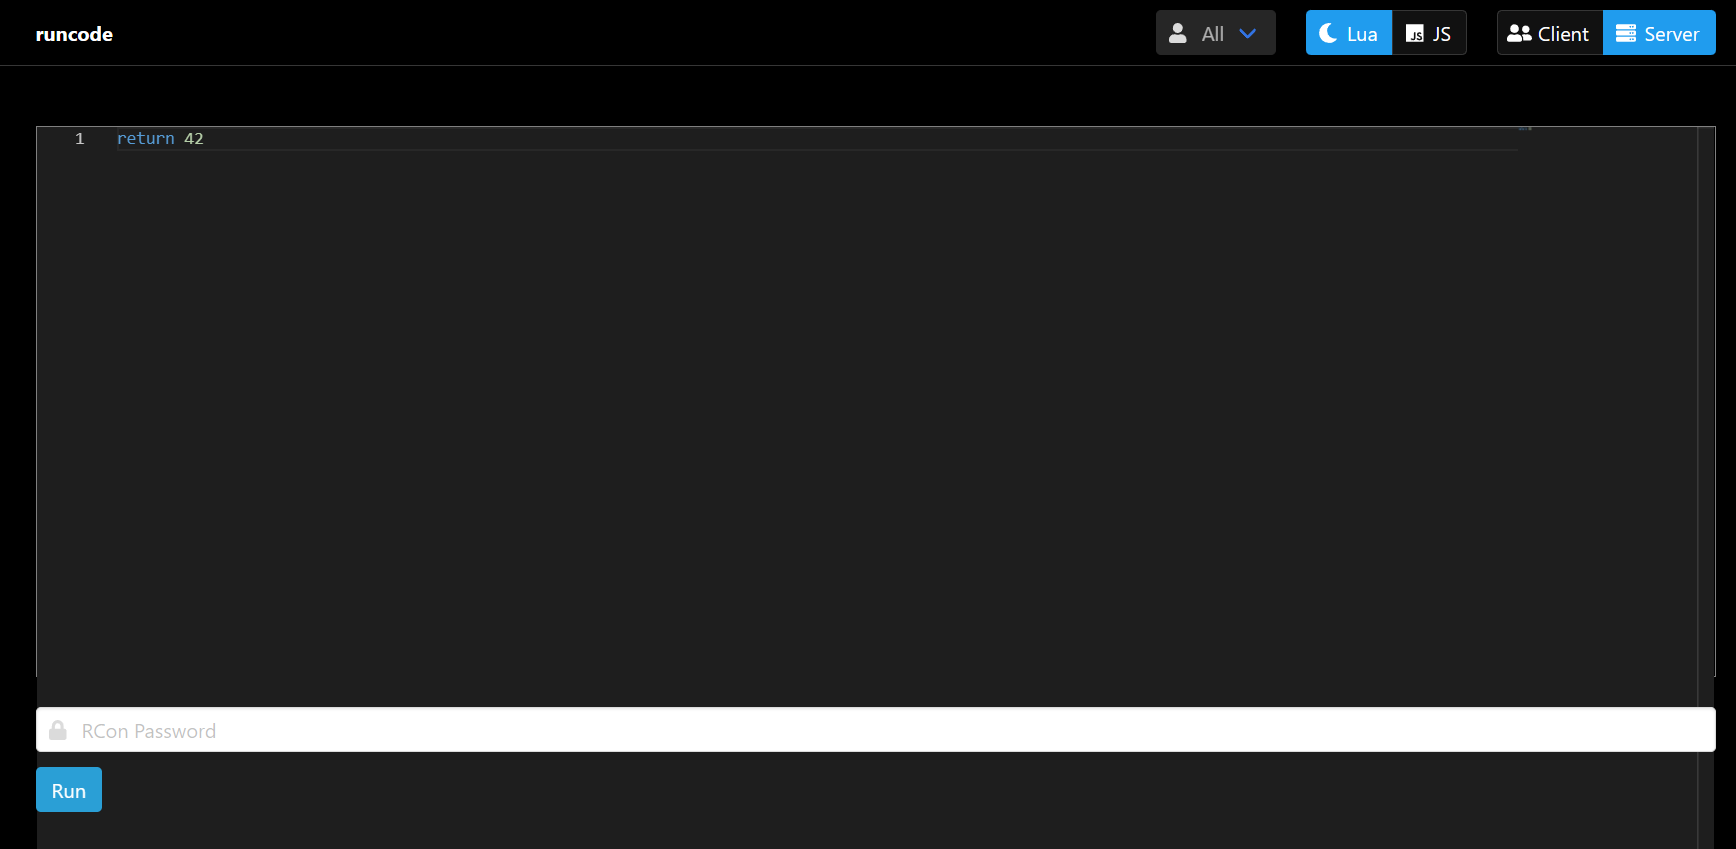
- In the center is the code input window
- Top-right is a dropdown with the text All (it only works if Client mode is selected)
- Next is the code language - Lua or JS (we’re working with Lua)
- Next is the code execution mode - Client or Server
- At the very bottom is the RCon Password input field and the Run button
Try pressing the Run button. You’ll see the message:
The server has an empty rcon_password.
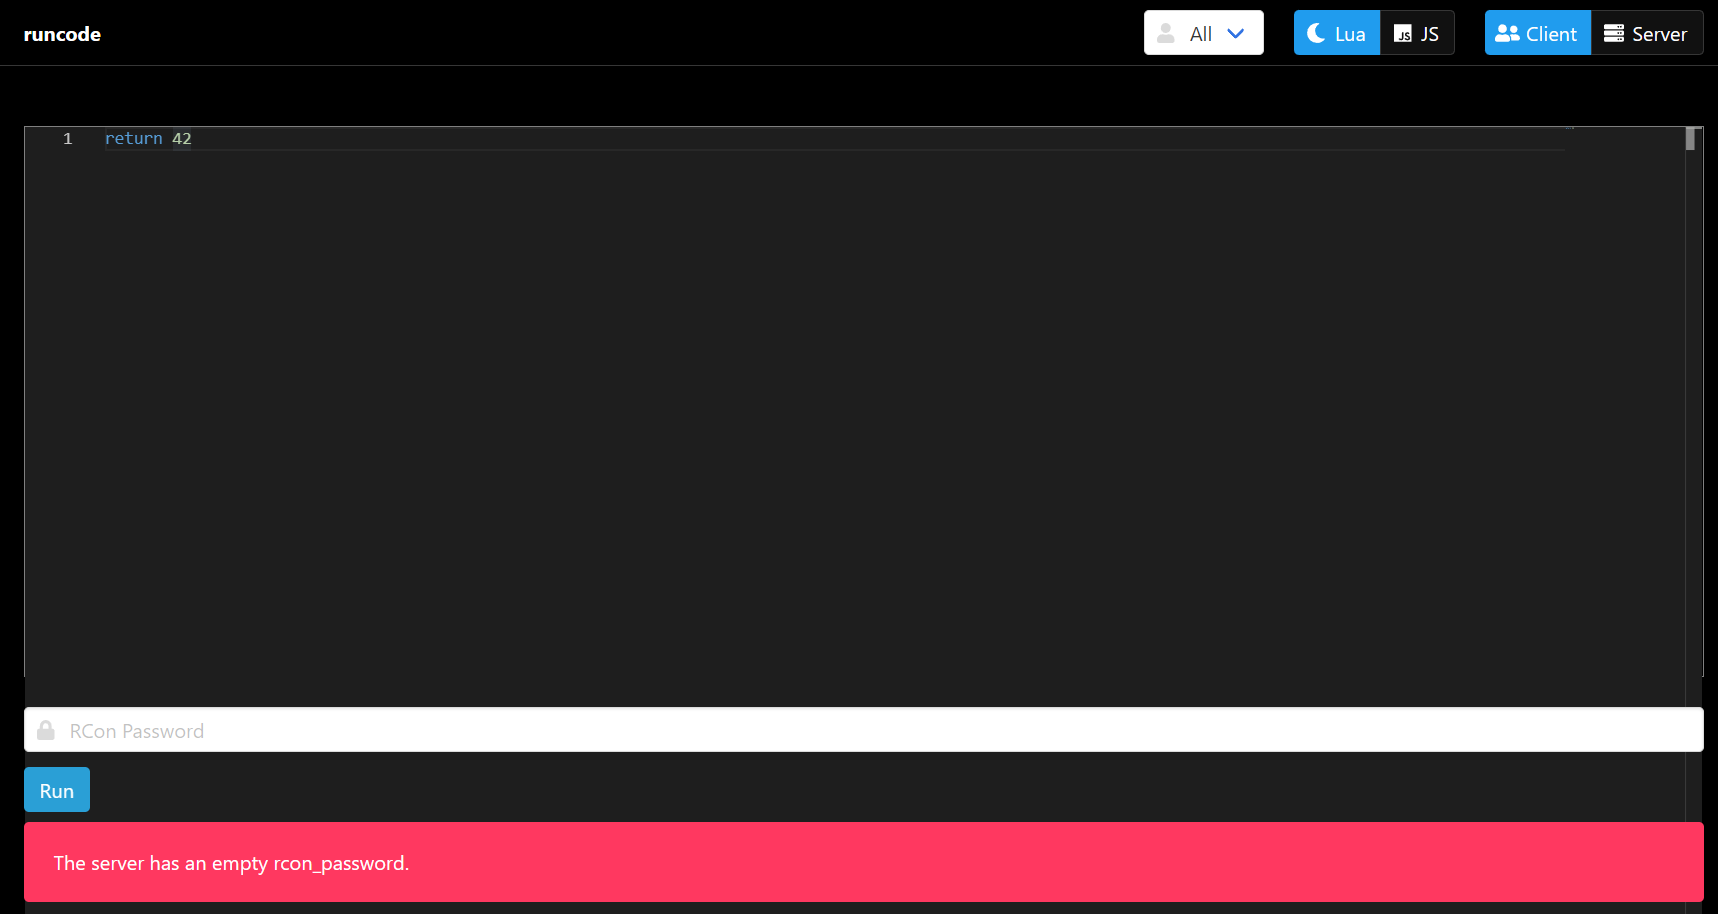
This means you don’t have an RCon (Remote Console) password set. To fix this, you need to add the following line to server.cfg:
rcon_password YourPassword
For local development tests, you can set a simple password, for example:
rcon_password 321
Now RESTART THE SERVER, run ensure runcode and try going to the RunCode website again http://127.0.0.1:30120/runcode. Enter your password and press the Run button. You should see the result of successful code execution.

Try experimenting with running code in different modes - in Server and Client mode. In client mode, you can choose which player the code will execute on - a specific player or all at once.

Practice running code in this tool to empirically feel the difference between server scripts and client scripts.
Conclusion
You’ve learned how to run server scripts via RunCode with the run command, as well as through Resources. You’ve understood the differences in executing server and client scripts. You’ve learned to run two RedM clients simultaneously. You’ve learned to work with the RunCode visual interface.
In the next part, we’ll look at how server and client scripts can interact with each other with the help of TriggerServerEvent, TriggerClientEvent and RegisterNetEvent.
Tutorial made with ![]() at
at
