← Check previous PART 1 HERE
[Tutorial] Scripting tutorial for beginners - Part 2
In the previous part, we tried out basic scripting functions in RedM using the runcode tool. We ran single-line pieces of code in the F8 console using the crun command. This allowed us to instantly get the results of functions, test functions without much effort, and see the results of their actions. For example:
crun SetEntityVelocity(PlayerPedId(), 0.0, 0.0, 15.0)
crun SetEntityHealth(PlayerPedId(), 0)
In this part, we’ll create a full-fledged script, known as a Resource, that will:
- Perform multiple actions
- Be saved in a file
- Run independently, without needing RunCode
- Run automatically on server start
Note: From now on, we’ll refer to a Script as a Resource. A resource is a collection of files - such as client scripts, server scripts, and streaming assets - that can be started, stopped and restarted at any time. Source.
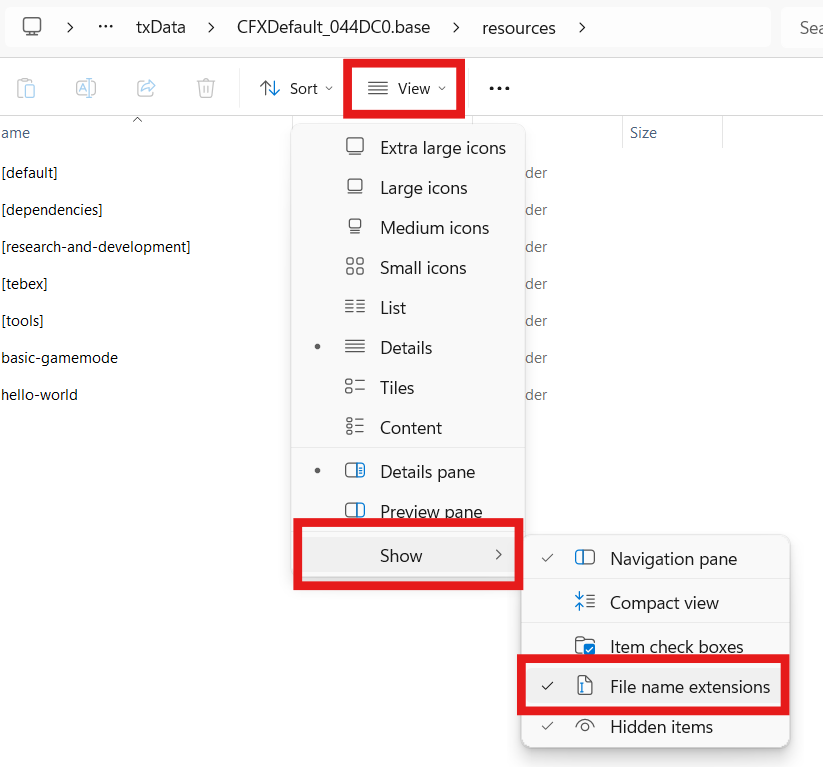
![]() Before you begin, make sure you have file extensions visible
Before you begin, make sure you have file extensions visible
Step 1. Basics - server.cfg and resources/.
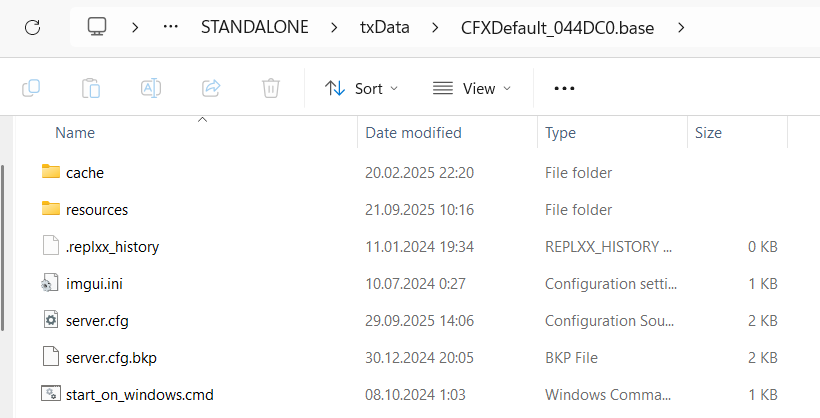
First, you need to remember where resources are run and stored, as there is a specific place for this. A special file server.cfg - for launching resources, and a special folder resources for storing resources:
-
In the
server.cfgfile, you specify which resources will be launched when the server starts. -
The
resourcesfolder contains the resources themselves.
Step 2. Creating a resources.
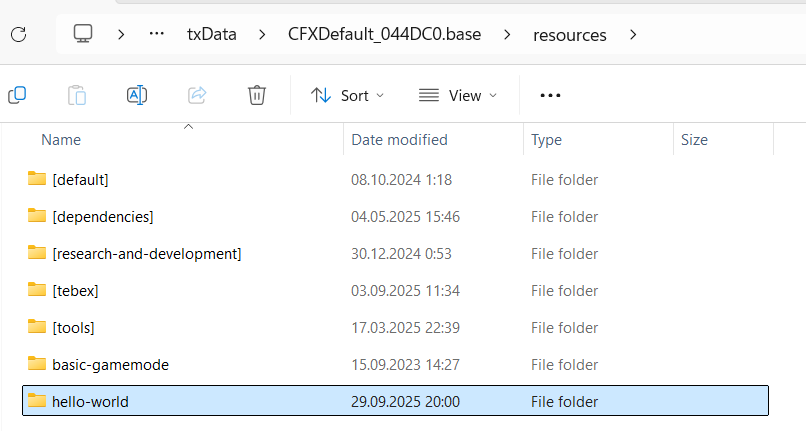
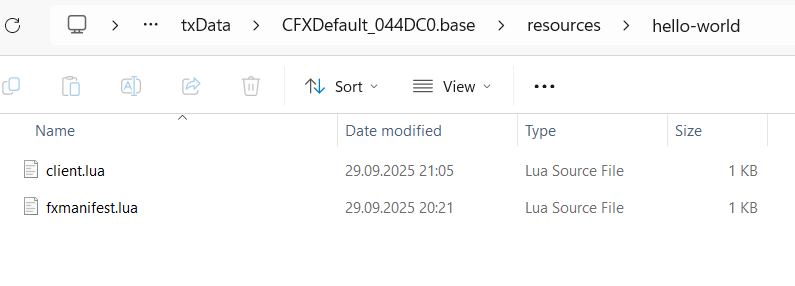
Any resources is primarily a folder in resources that contains a fxmanifest.lua file. Go to the resources folder and create a new folder inside it called hello-world. Inside, create a fxmanifest.lua file and a client.lua file.
In the fxmanifest.lua file, write the following lines.
fx_version 'cerulean'
game 'common'
lua54 'yes'

client_scripts {
    'client.lua',
}
![]() The first two lines are mandatory for every resource, otherwise it won’t run at all.
The first two lines are mandatory for every resource, otherwise it won’t run at all.
In the client.lua file, write the following lines:
print('Hello world')
print('RedM Dev')
print('Current resource name is ' .. GetCurrentResourceName())
Step 3. Running the resource.
Start the server. Join the game and open the F8 console. In the console, type the following:
refresh
Then:
ensure hello-world
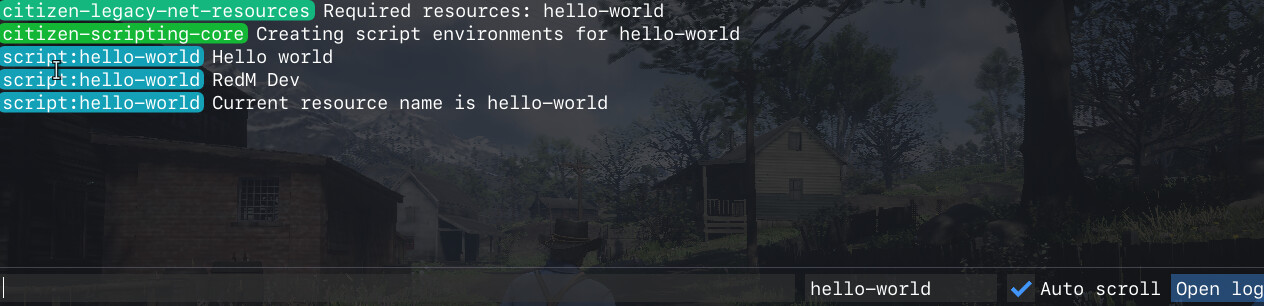
![]() You should see the following in the console:
You should see the following in the console:
Hello world
RedM dev
Current resource name is hello-world
Try typing ensure hello-world 2-3 times. You’ll see the same text appear each time you enter the command. This is how you start/restart the resource.
![]() The
The refresh command run so that the structure of your resource is read again / updated. So don’t forget to write refresh if you change fxmanifest.lua or add new files into the resource.
Step 4. Auto-starting the resource (server.cfg).
The resource is ready, but it if you want it to start automatically when the server starts, open server.cfg and add the following line:
ensure hello-world
Step 5. Verification.
Restart the server and connect to it. Open the F8 console and in the Filter field, type the name of your resource - hello-world:
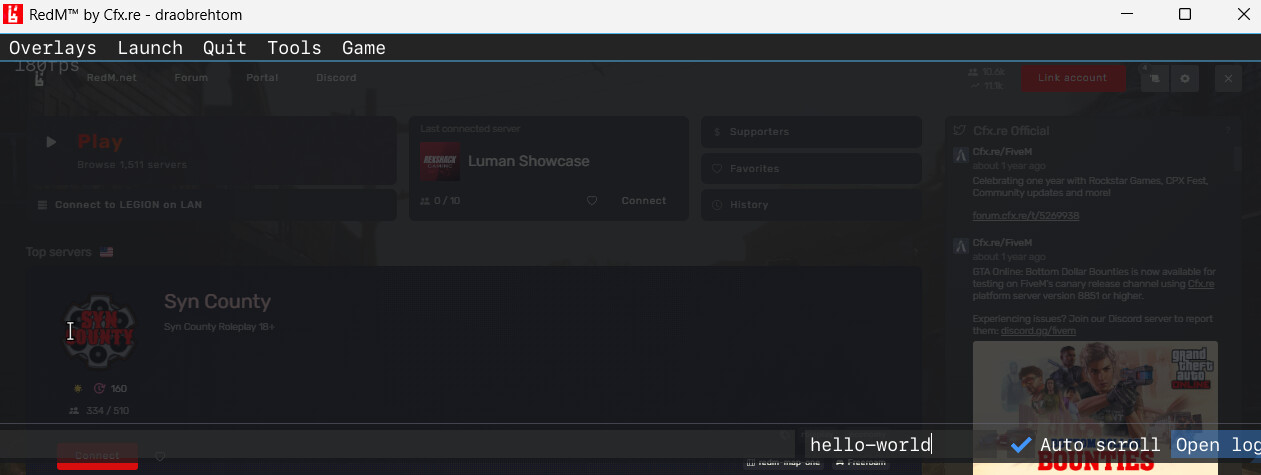
If everything is done correctly, you should see the text from your script:
In conclusion
You learned where resources are stored and launched, created your own resources, ran it manually and automatically. Considering your experience from the previous part, you can try to create something more interesting than simply printing text to the console. Use your imagination and native functions, practice. Example to start from:
RegisterCommand('myname', function()
    print('My name is ' .. GetPlayerName(PlayerId())
end)
In next part we’ll cover server-side scripting and network communication.
Tutorial made with ![]() at
at
