Advanced Screenshots
A powerful, NUI-based screenshot tool for FiveM with built-in motion blur and a live image editor.

Features
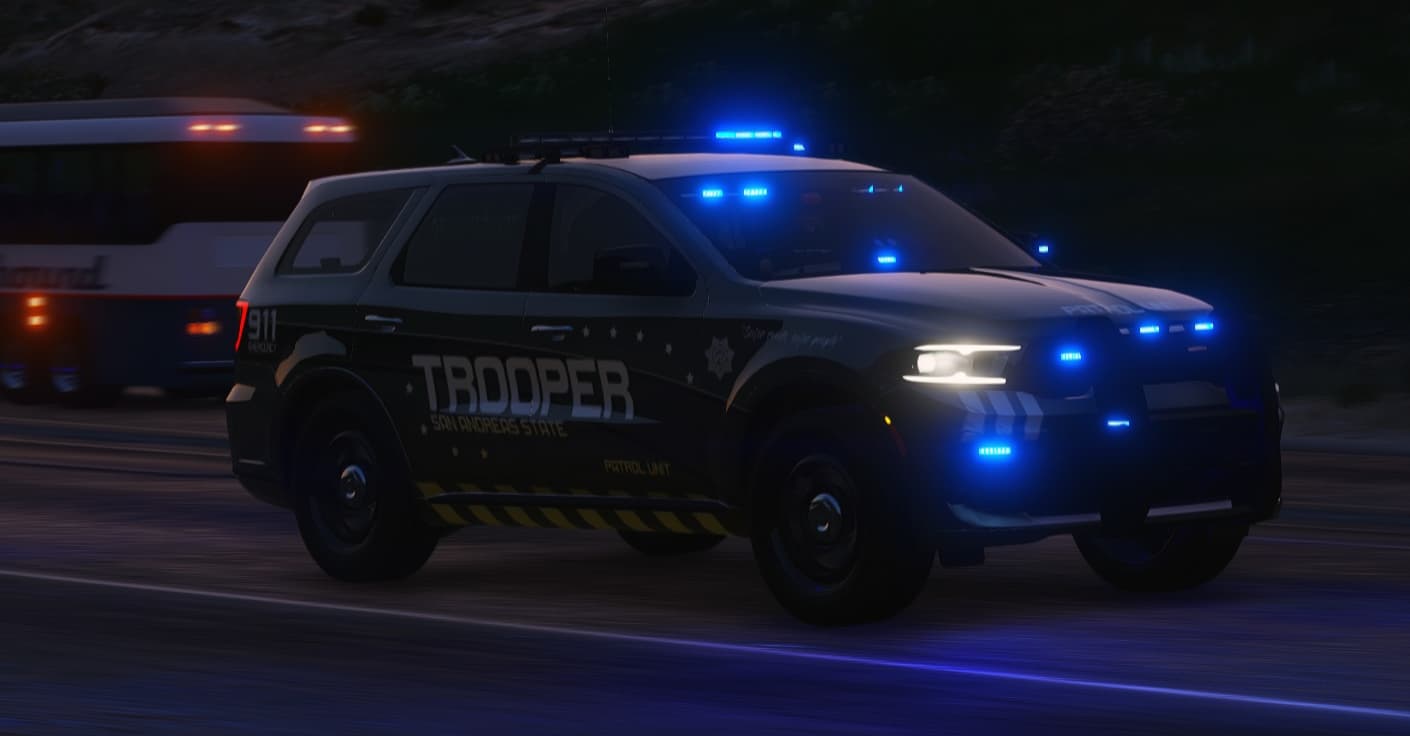
- Motion Blur Screenshots: Capture stunning, high-quality screenshots with realistic motion blur effects that apply to vehicles, peds, and entities.
- Configurable Effects: Use the in-game GUI to easily adjust motion blur samples and shutter speed to get the perfect shot.
- In-Game Image Editor: After capturing, a sleek NUI editor appears, allowing you to fine-tune your image.
- Image Filters: Apply a variety of filters (Brightness, Contrast, Saturation, etc.) directly in the editor.
- Copy to Clipboard: Instantly copy your final, edited screenshot with a single click (or hotkey
C). - Multi-Language Support: The user interface is fully translatable.
Installation
- Install the required screenshot-basic resource.
- Download or clone this repo: kasuganosoras/advanced-screenshots
- Copy the
advanced-screenshotsfolder to your server’sresourcesfolder. - Add
ensure screenshot-basicandensure advanced-screenshotsto yourserver.cfg. - Restart your server.
Download
![]() Download v1.2.0 (Or download the latest release)
Download v1.2.0 (Or download the latest release)
Previous versions
Changelog - v1.2.0
This update is a massive overhaul of the script’s user interface and capabilities.
- Major Feature: In-Game Image Editor
- After taking a screenshot, it now automatically opens in a sleek, modern NUI editor.
- New: Image Filters
- Apply a variety of filters and adjustments directly in-game:
- Brightness
- Contrast
- Saturation
- Gamma
- Monochrome
- Sepia
- Invert
- Apply a variety of filters and adjustments directly in-game:
- New: Copy to Clipboard
- Instantly copy your final, edited screenshot directly to your clipboard with a single click or the
Chotkey.
- Instantly copy your final, edited screenshot directly to your clipboard with a single click or the
- New: Multi-Language Support
- The entire UI is now translatable via JSON files in the
lang/folder. (Includesenandzhby default).
- The entire UI is now translatable via JSON files in the
- Refactor:
- The entire NUI has been rebuilt from the ground up using Fabric.js for high-performance canvas-based editing.
- The progress bar now correctly displays different stages (e.g., “Sampling” and “Rendering”).
- Improved
Esckey logic for closing panels.
FAQ
How does it work?
It rapidly captures multiple frames in a short time, then blends them into a single image to create the motion blur effect.
How to take screenshots?
Press your screenshot key (default: F10). The script will render the motion blur and open the new image editor where you can make adjustments.
How to set the samples and shutter speed?
Press Ctrl + F10 (or your configured key) to open the settings panel.
How do I use the image editor?
The editor appears automatically after the screenshot is rendered.
- Use the sliders and toggles on the right-hand panel to apply effects.
- Click the “Reset All Effects” button to revert all changes.
- Click the “Copy to Clipboard” button (or press
C) to copy the image. - Press
Escto close the editor and return to the game.
The motion blur looks not good, why?
For the best results, try using a smaller shutter speed and more samples in the settings panel. Driving at a moderate speed also helps create a smoother effect.
Video
(The video shows the old version, but the motion blur principle is the same)