This guide is being made after several hours of struggling to figure out how to do this myself
I found out how to stream weapon icons for addon weapons about two weeks ago. This took several hours on several different occasions to learn as the people who did know how to do it wouldn’t like to share how they did it which made me more determined to find out. I will soon be releasing a tutorial on how to do the same thing but for custom blips.
Video tutorial on how to stream custom weapon icons for your addon weapons
Written tutorial on how to stream custom weapon icons for your addon weapons
-
Head to this link: Release version 15.1.0 · jindrapetrik/jpexs-decompiler · GitHub
-
Download the setup file and install it to your PC.
-
Get the newest hud.gfx in your game files using OpenIV. You can tell which one is the newest file by looking at file size. Larger file size = More weapons and therefore more updated
-
Open JPEXS Flash Decompiler, click Open, and find the hud.gfx you downloaded in step 3
-
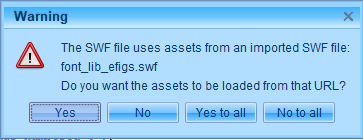
This message will pop up, just click No to all.
-
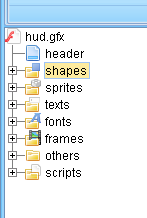
You will now see this:
-
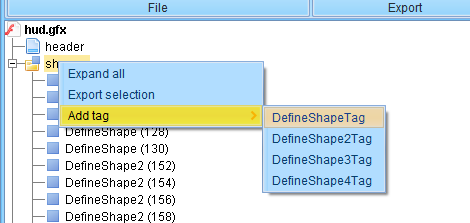
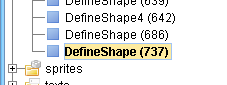
Right click Shapes and add a DefineShape tag (Make sure it’s not DefineShape2, 3, or 4)
-
Scroll to the bottom of the shapes folder and you should see a DefineShape in bold
-
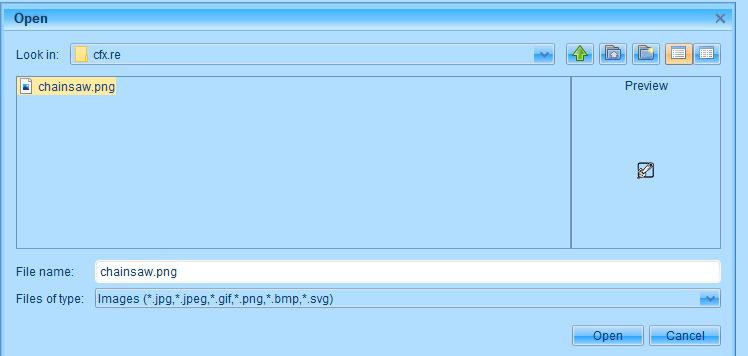
Right click the bold one, and click Replace - Update Bounds. Choose the image you’d like to stream, and click Open
-
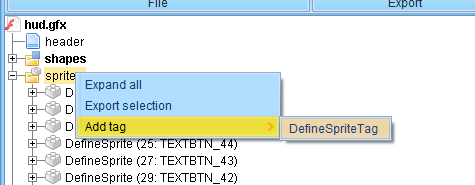
Right click Sprites and add a DefineSprite tag
-
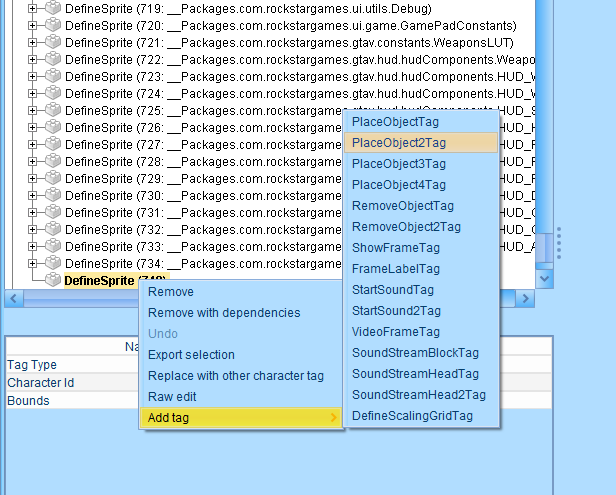
Right click the Bold Sprite at the bottom, then head to the Add Tag, and add a PlaceObject2 Tag:
-
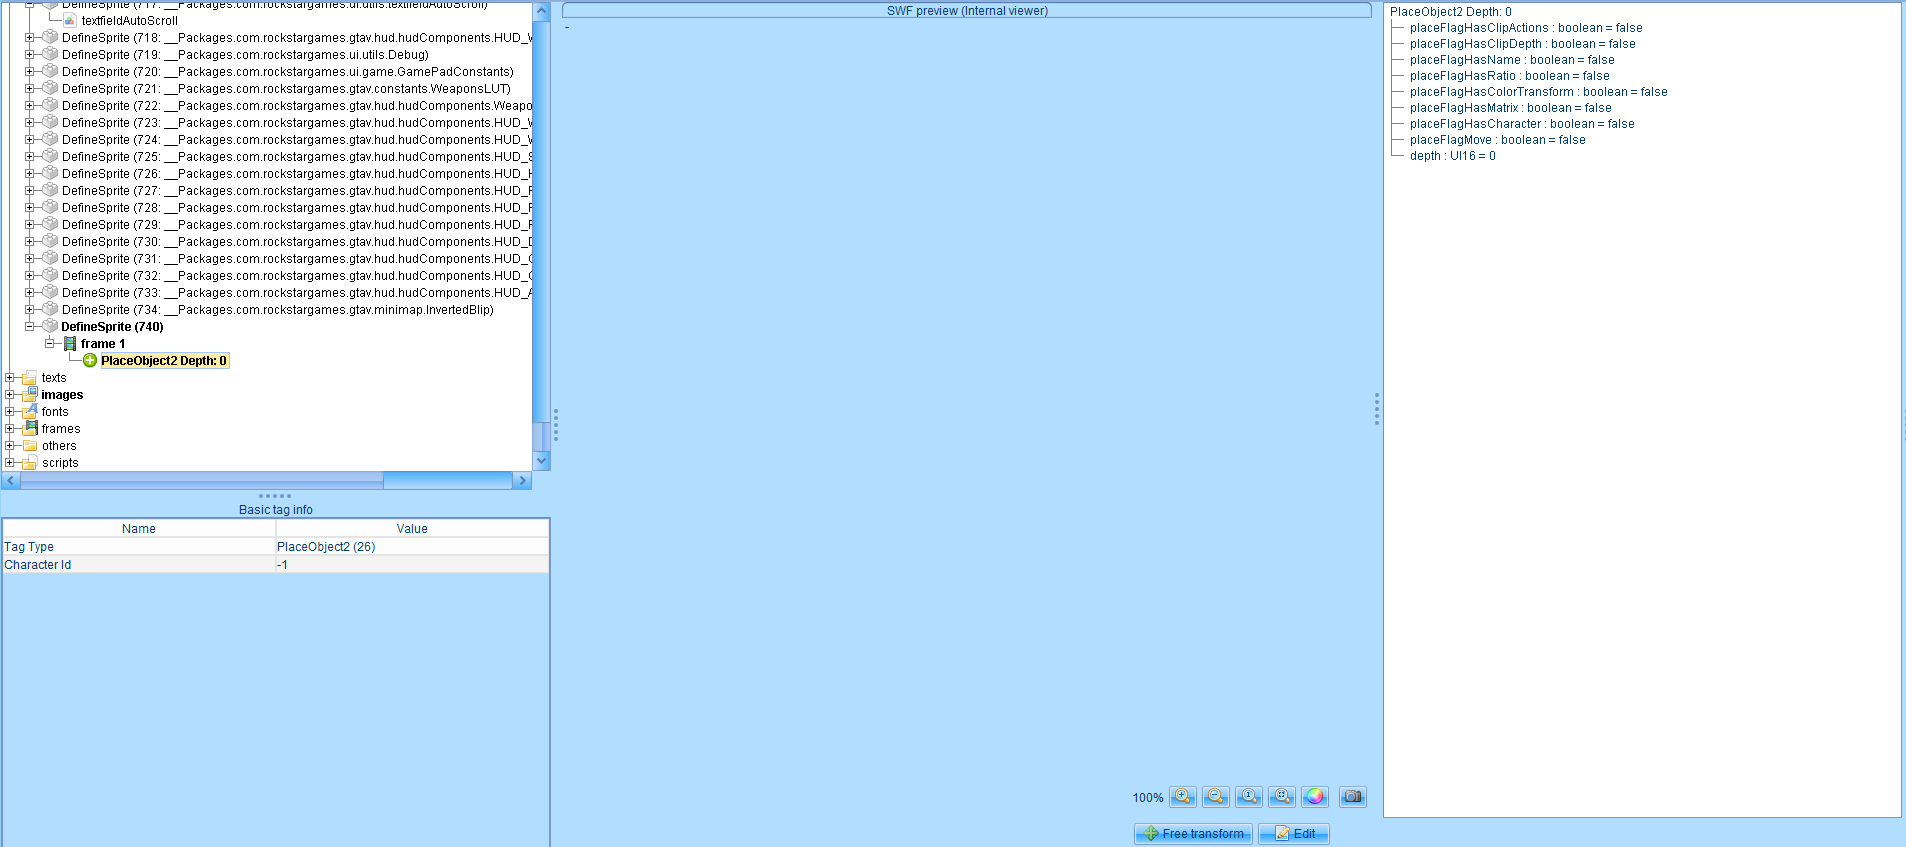
Double click on Frame 1, and press PlaceObject2, and then click edit
-
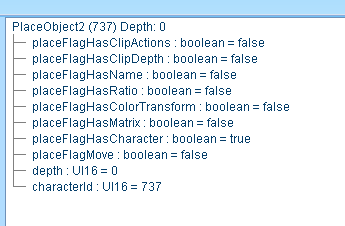
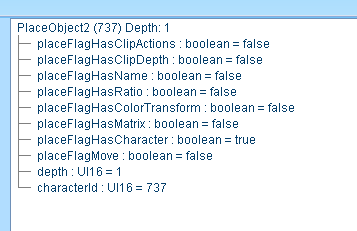
Enable the placeFlagHasCharacter option. You should now see a characterID option under the depth option. Change the characterID to the number that was next to the shape you made in step 7, mine was 737, so mine now looks like this:
-
Now change the depth to 1 and save:
-
Now this is where you need to know where your weapon goes in the weapon wheel.
Throwables - SLOT_WEAPONS_7
Heavy Weapons - SLOT_WEAPONS_6
Shotguns - SLOT_WEAPONS_5
Melee - SLOT_WEAPONS_4
Snipers - SLOT_WEAPONS_3
Rifles - SLOT_WEAPONS_2
SMGs - SLOT_WEAPONS_1
Pistols - SLOT_WEAPONS_0
Now, my chainsaw is a heavy weapon, so for me, it’s SLOT_WEAPONS_6.
-
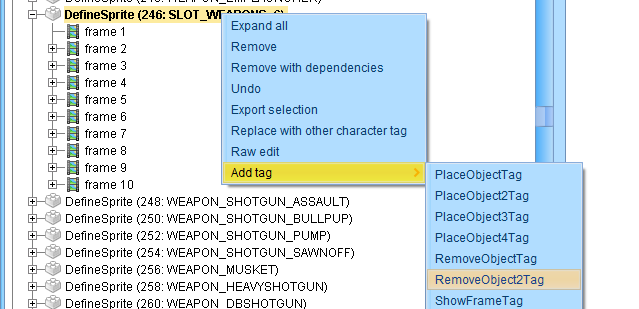
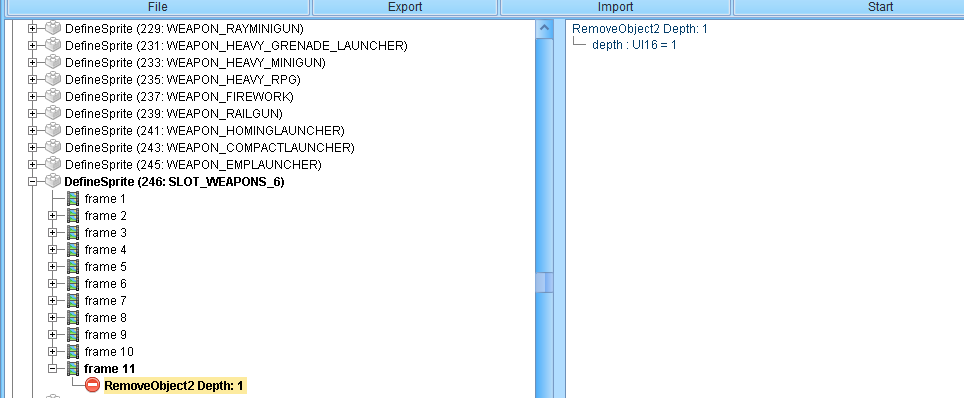
Right click SLOT_WEAPONS_N (N for whatever number yours is), Add Tag and add a RemoveObject2 Tag:
Click edit on the RemoveObject2 tag, and set the Depth to 1
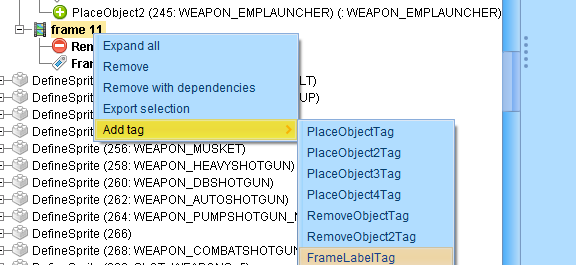
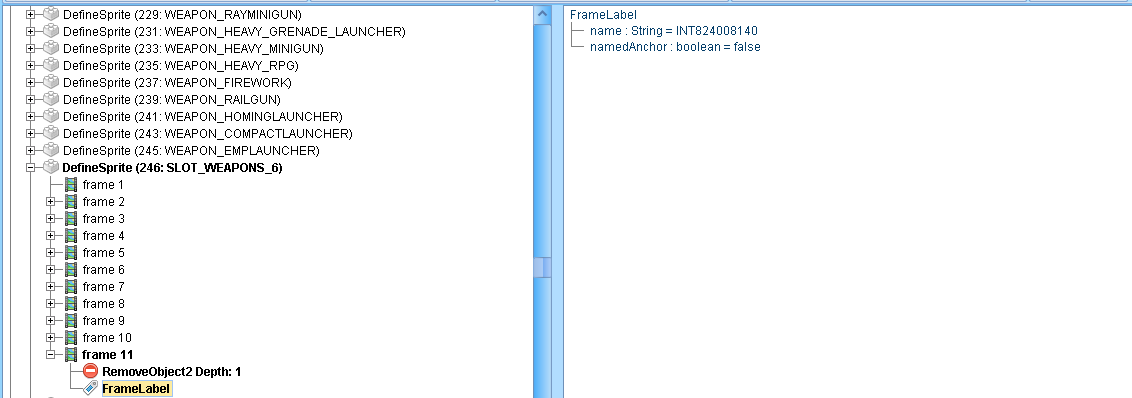
Right click on the bold frame and add a FrameLabel tag:
-
Click on the FrameLabel, click Edit and set the string to INT, the hash for the my chainsaw is 824008140, so I’ll put INT824008140 in there.
-
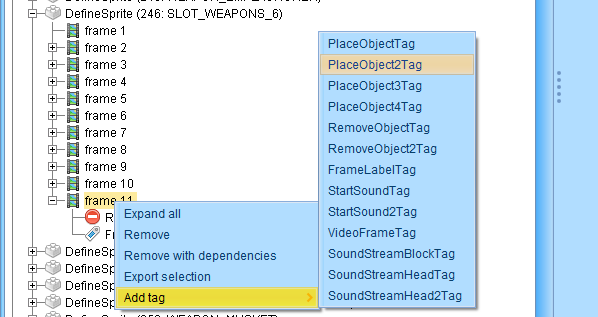
Right click on the bold frame and add a PlaceObject2 tag.
-
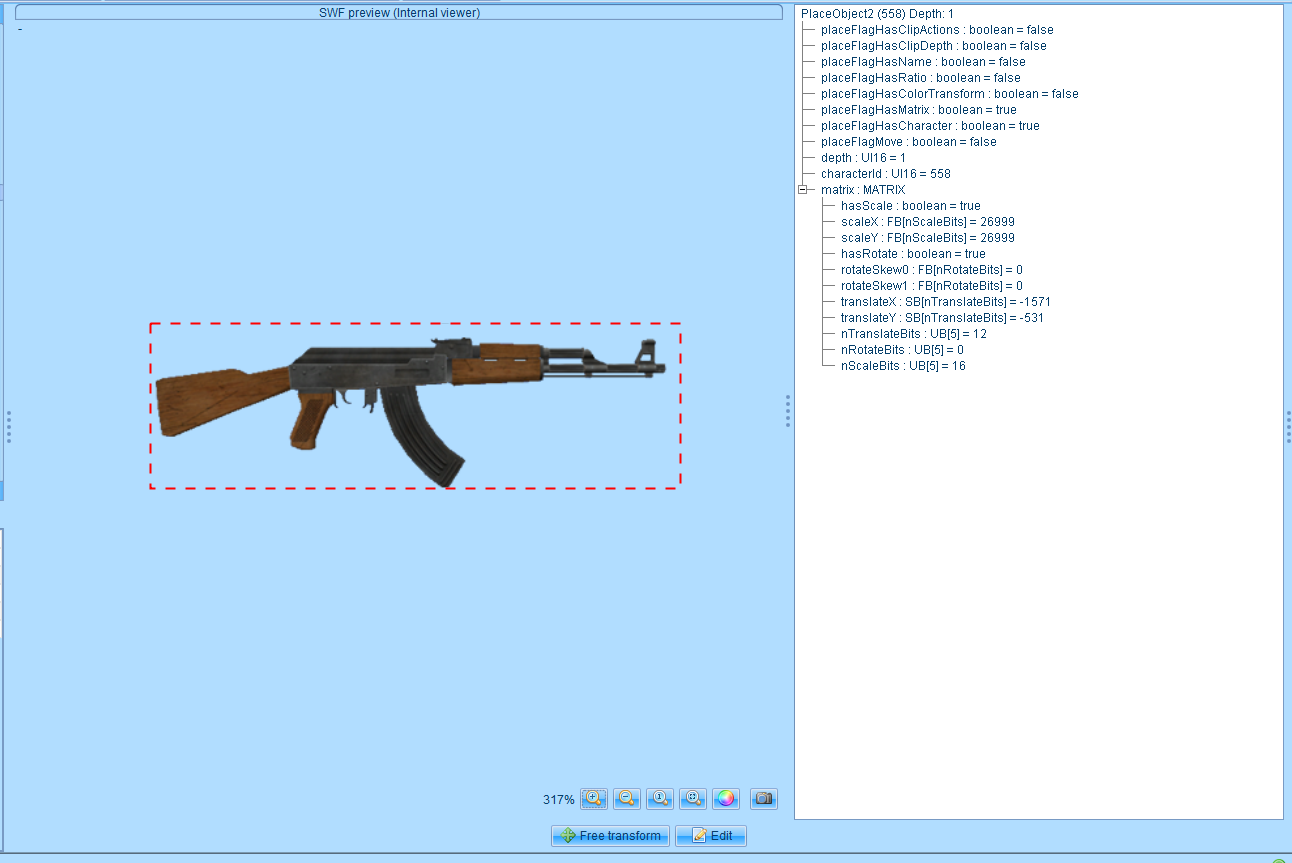
Click edit, Set the depth to 1 and then, enable placeFlagHasCharacter and placeFlagHasMatrix.
-
Set the characterID to the sprite you created on step 10. Mine was 740.
-
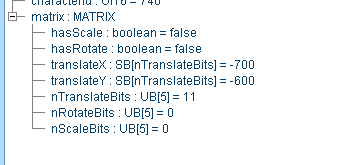
Set the matrix to these settings, these settings normally work for the majority of weapons for me, however you may need to change the translateX and translateY in order to change positioning. After doing all that, click Save.
-
Right click the Other’s Folder, add tag, and add ExportAssetsTag
-
There will now be a bold ExportAssets at the bottom
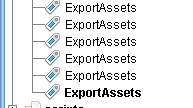
-
Click on the ExportAssets and press Edit, then right click where it says assets [count] and insert asset at beginning
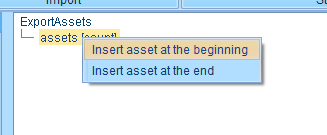
-
We’re almost done. Change the UI16 to the Sprite ID of the sprite you made on step 10. Mine was 740 as seen here:

-
Change string to the spawncode of the weapon. In my case it’s weapon_chainsaw.

-
Click Save as and save it where you like. You’ll now need to create a resource with an fxmanifest.lua and a stream folder. Put the hud.gfx in the stream folder.
-
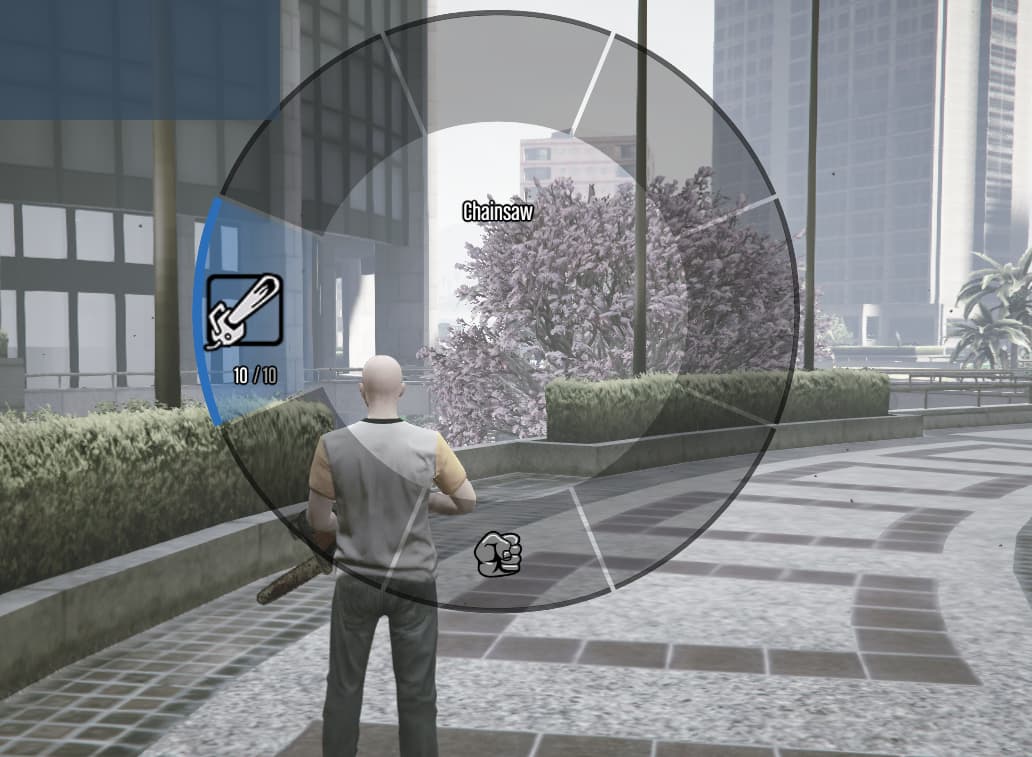
Once streaming the hud.gfx, if you’ve done it correctly, it should look something like this:
This could obviously do with some changing of the translateX in the matrix options but I’ll leave that part to you guys.
I hope this tutorial has been helpful to you guys, and I hope you guys make some awesome projects with it.