This was quite easy to learn after I figured out how to stream custom weapon icons.
You can find out how to do that here: [How-to] [Tutorial] How to stream custom weapon icons for addon weapons - #2 by Sasino97
I’ve decided to show the community this as I feel like no one should have to research as much as I did for custom blips. I’ll be releasing a written guide here, and will possibly make a video guide, but that’s not 100%. (Video guide has been made). If using the video guide, ensure to read the description.
Video Tutorial on how to stream custom blips (Definitely working)
Written tutorial on how to stream custom blips (POSSIBLY NOT WORKING CURRENTLY!)
-
Head to this link and install the setup file: Release version 15.1.0 · jindrapetrik/jpexs-decompiler · GitHub
-
Get the newest version of the minimap.gfx file using OpenIV. I recommend looking at the file size and choosing the largest one as this is usually the latest update.
-
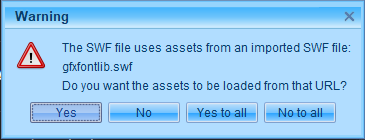
Open the minimap.gfx with the Flash Decompiler you installed in the first step, once it’s open, it should ask you this:
-
Make sure to click No To All when asked
-
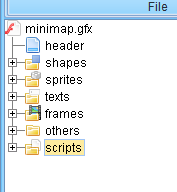
You should now see this:
-
Right click the Shapes folder, Add Tag, and then click DefineShape (Not 2, 3 or 4, just the default one)
-
Scroll to the bottom of the Shapes Folder, there should be one that is bold:

-
Right click the bold one and press Replace - Update Bounds
-
Now find the file you want to have as a custom blip:
-
Make sure to remember the Shape ID. This is the three numbers next to the DefineShape tag, mine is 1729 as you can see below

-
Right click the Sprites Folder, Add Tag, and then DefineSprite. There should now be a bold DefineSprite in the Sprites folder:

-
Right click the bold one, add tag, and select PlaceObject2
-
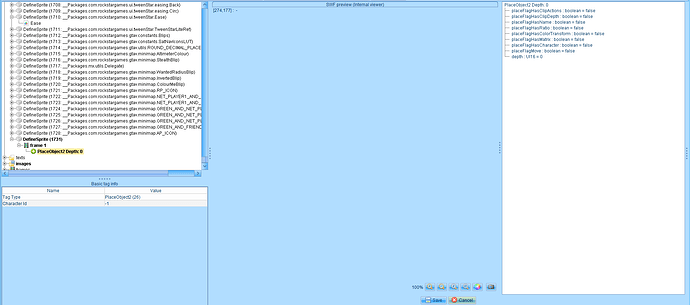
Click on the PlaceObject2 tag, and click Edit. It should look like this:
-
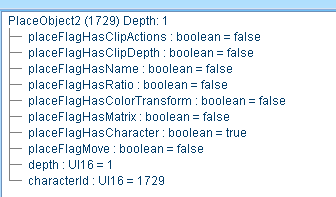
Enable the placeFlagHasCharacter. Set the characterID to the Shape ID that I told you to remember on step 10, if you forgot, it should still be in bold in the shapes folder.
-
Change the depth to 1 and click Save. It should now look like this:
-
Make sure to remember your Sprite ID. Mine is 1731:

-
Right click the Others folder, add tag, and then ExportAssets
-
Select the bold one and you should see this:

-
Click edit and right click assets [count] and insert asset at the beginning.
-
Set the UI16 to the Sprite ID. Mine was 1731. Change the string to whatever name you want to give your blip HOWEVER it has to start with radar_, as far as I’m aware… Make sure to save it .

-
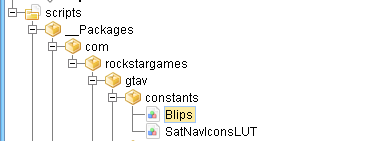
We are nearly done, just a couple more steps. Head to the scripts folder, packages, com, rockstargames, gtav, constants and then click Blips.
-
Scroll to the bottom of the blips file. Find where it says return locl;. Make a line above that, and put this code in:
_locl_.push("BLIP_NAME");
-
Replace BLIP_NAME with whatever you named your tag on step 20
-
Save the file and load it into a stream folder. Make sure it’s still called minimap.gfx
-
Now, it won’t just pop up on your map, you’ll have to add it using
AddBlipForCoord and SetBlipSprite
-
When setting the sprite, head to this link: Blips - Cfx.re Docs
-
On 01/05/2022, the newest blip is radar_agency which has a sprite id of 826:

-
This means our Sprite ID will be 827, since in the Blips file, we was under radar_agency:

-
Test it out!
-
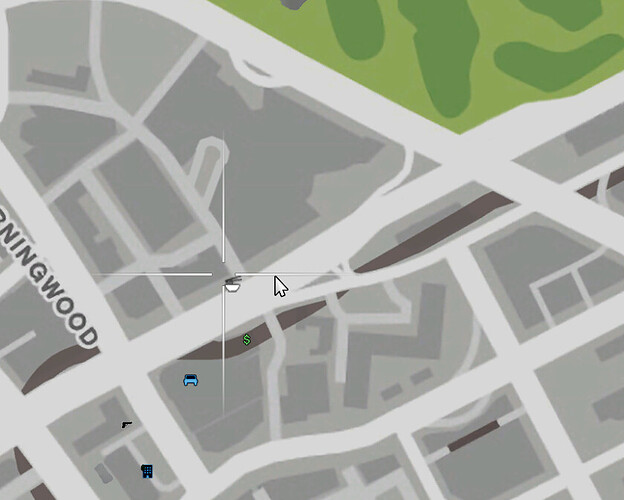
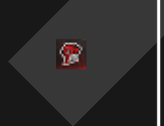
Mine looks like this. As you can see it needs some different X and Y set but I’ll leave you guys to that. To change X and Y, enable placeFlagHasMatrix in the PlaceObject2 inside the DefineSprite. You’ll then see matrix option under characterID. Change the translateX and translateY to change the X and Y.
I hope this tutorial is helpful for you as I couldn’t find any guide on how to do this so I thought I’d release it to everyone ![]()

