Heyo! ![]()
Been a while since I wrote a how-to, and since since I recently managed to get the new blip sprites from the last 2 DLCs (b3570 and b3717) to update BlipShare and the docs, I decided to also write a tutorial on how to do it yourself!
Huge thanks to Junction (from the docs github) for helping me finally understanding this scaleform!
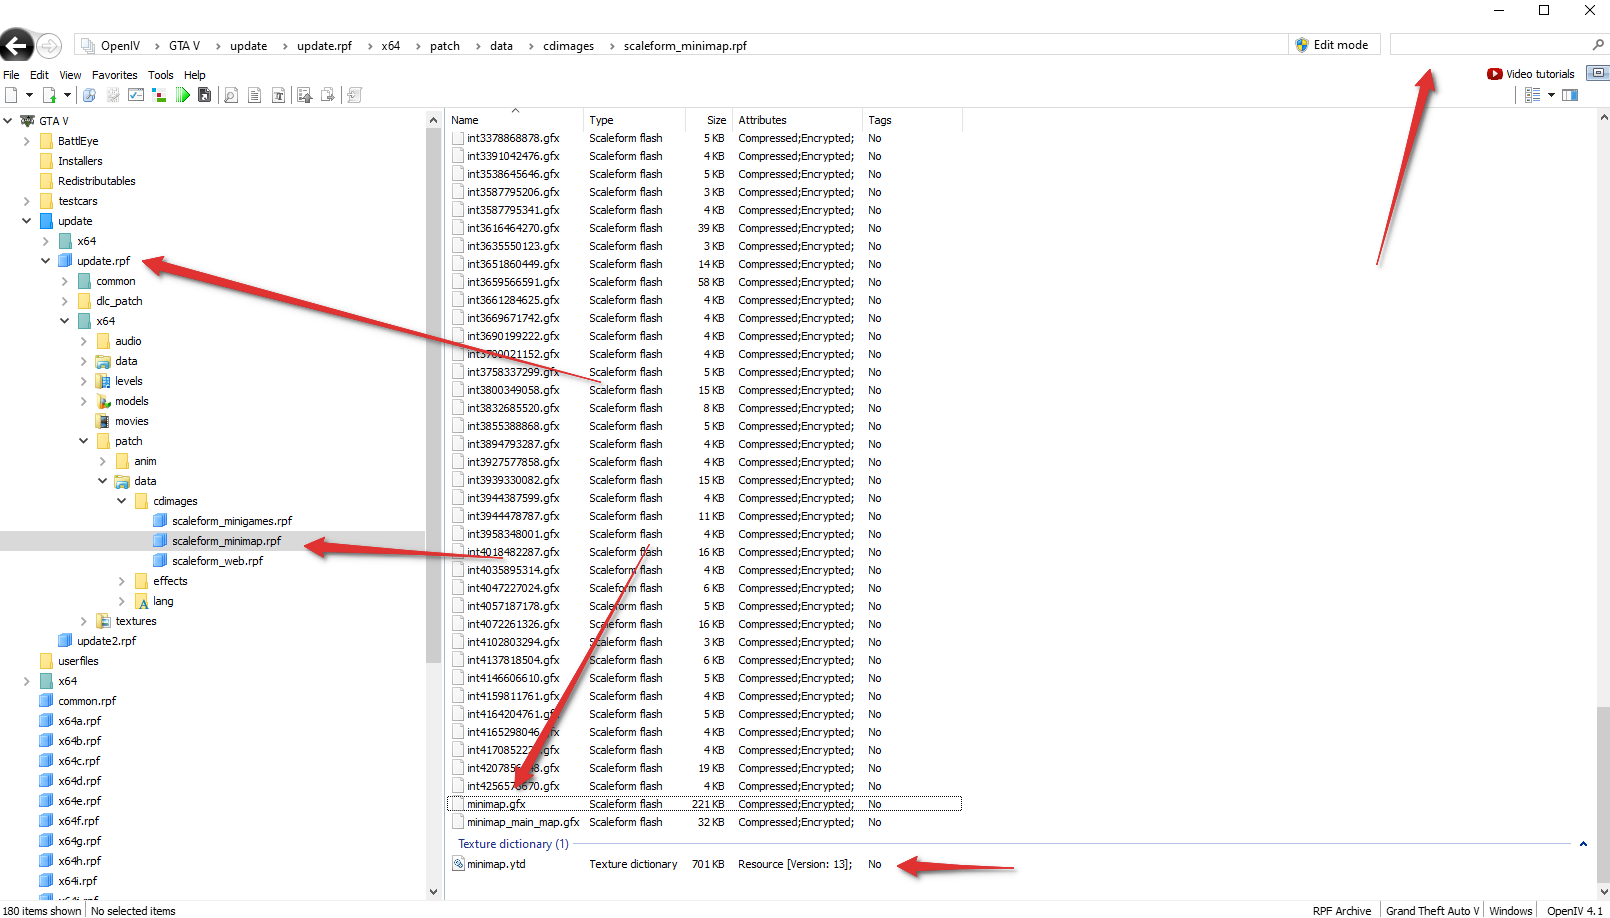
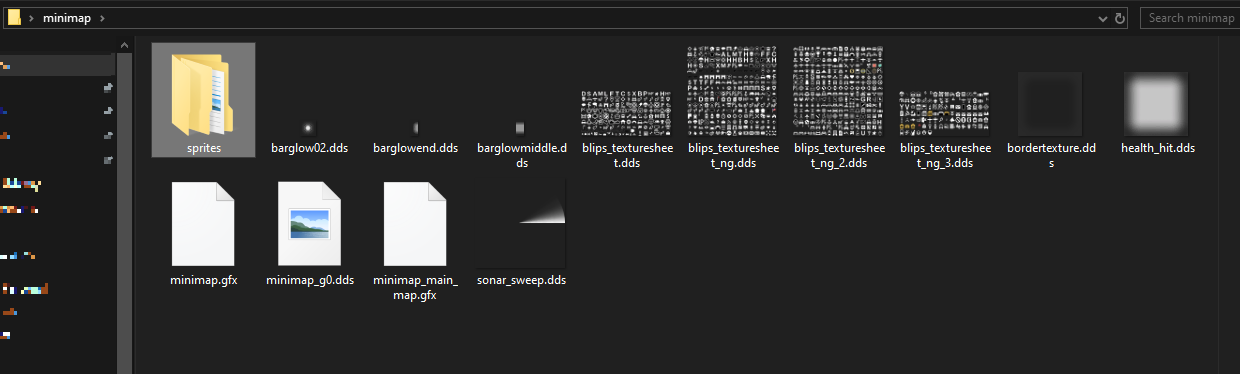
Step 1: Extract minimap.gfx and all the minimap .DDS files.
- Open
OpenIVand search forminimap.gfx. The correct file is located somewhere insideupdate > update.rpf > scaleform_minimap.rpf.
- Extract
minimap.gfxinto a Folderminimapsomewhere on your system (in my case it will be the desktop.) - Now open
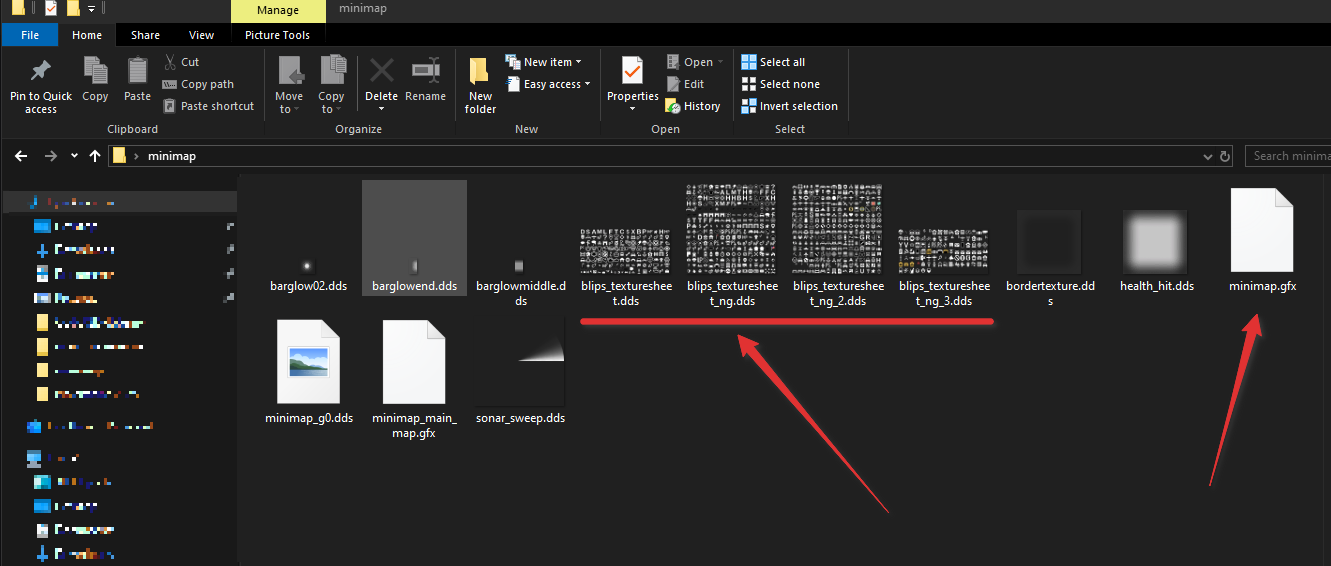
minimap.ytdfrom OpenIV and click onExport all textures>DrawDirect Surface (*.dds), and export them in the same folder asminimap.gfx. - Your folder should look like this:
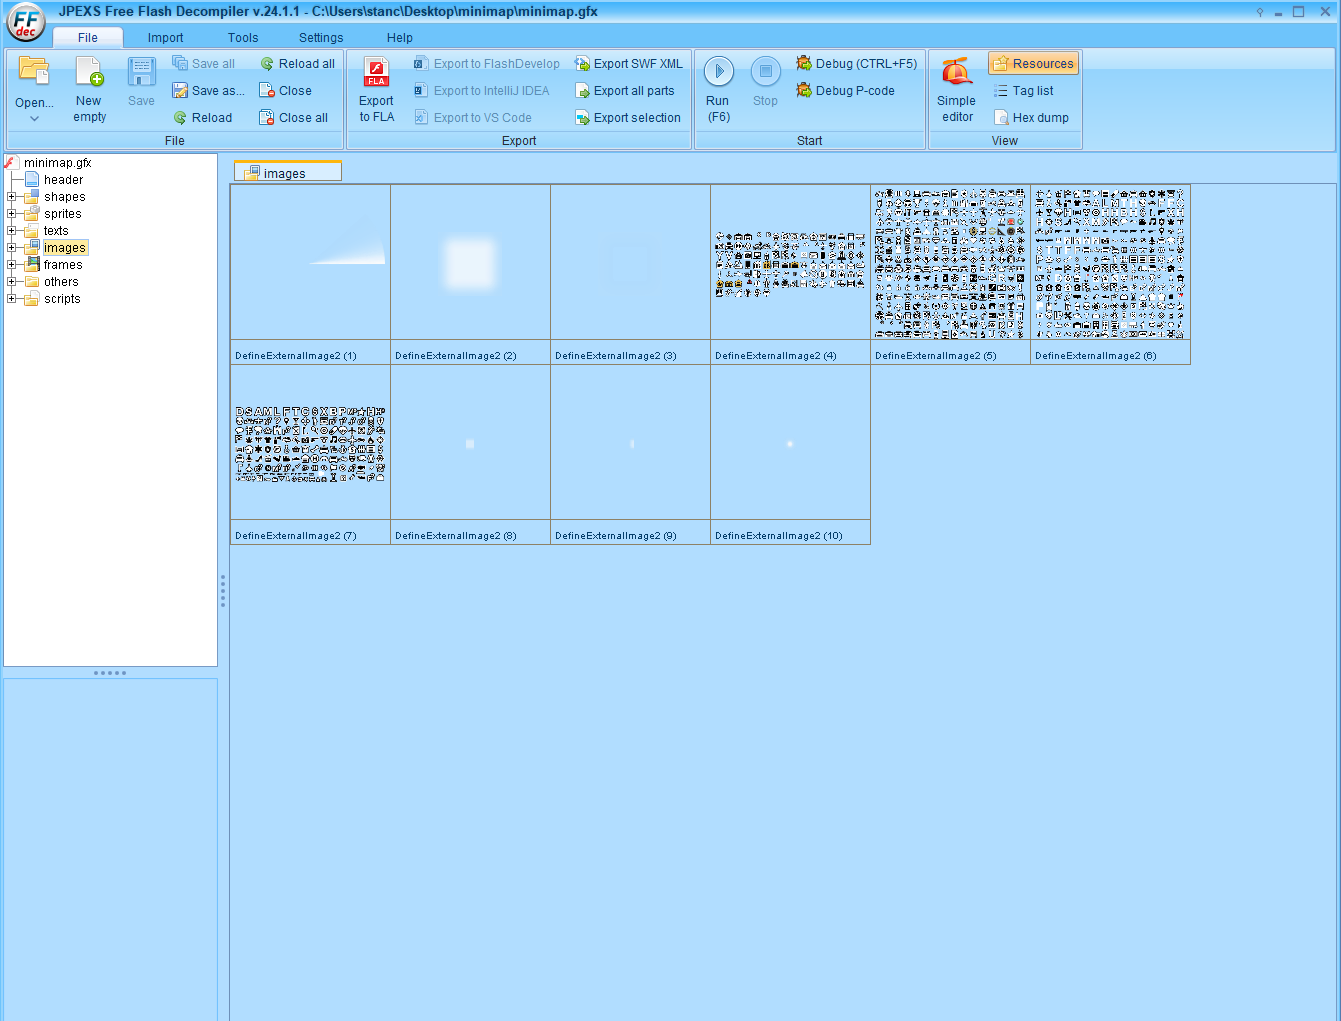
Step 2: Open minimap.gfx in the decompiler.
- Open your GFX decompiler of choice. I will use JPEXS Decompiler (GitHub - jindrapetrik/jpexs-decompiler: JPEXS Free Flash Decompiler · GitHub) for this tutorial.
- With it, open
minimap.gfx. If it asks you forimported SFW, just click “No to all.” We don’t need them here. - You should have something like this:
– Notice theimagesfolder. It automatically contains the spritesheets that we need.
– If you don’t have theimagesfolder, export the gfx file again. Make sure your game is updated.
– If the spritesheets are not populated, you can right click on them > “Raw Edit” and change the file name to the correct path of the spritesheet (that you got from the .ytd in Step 1)
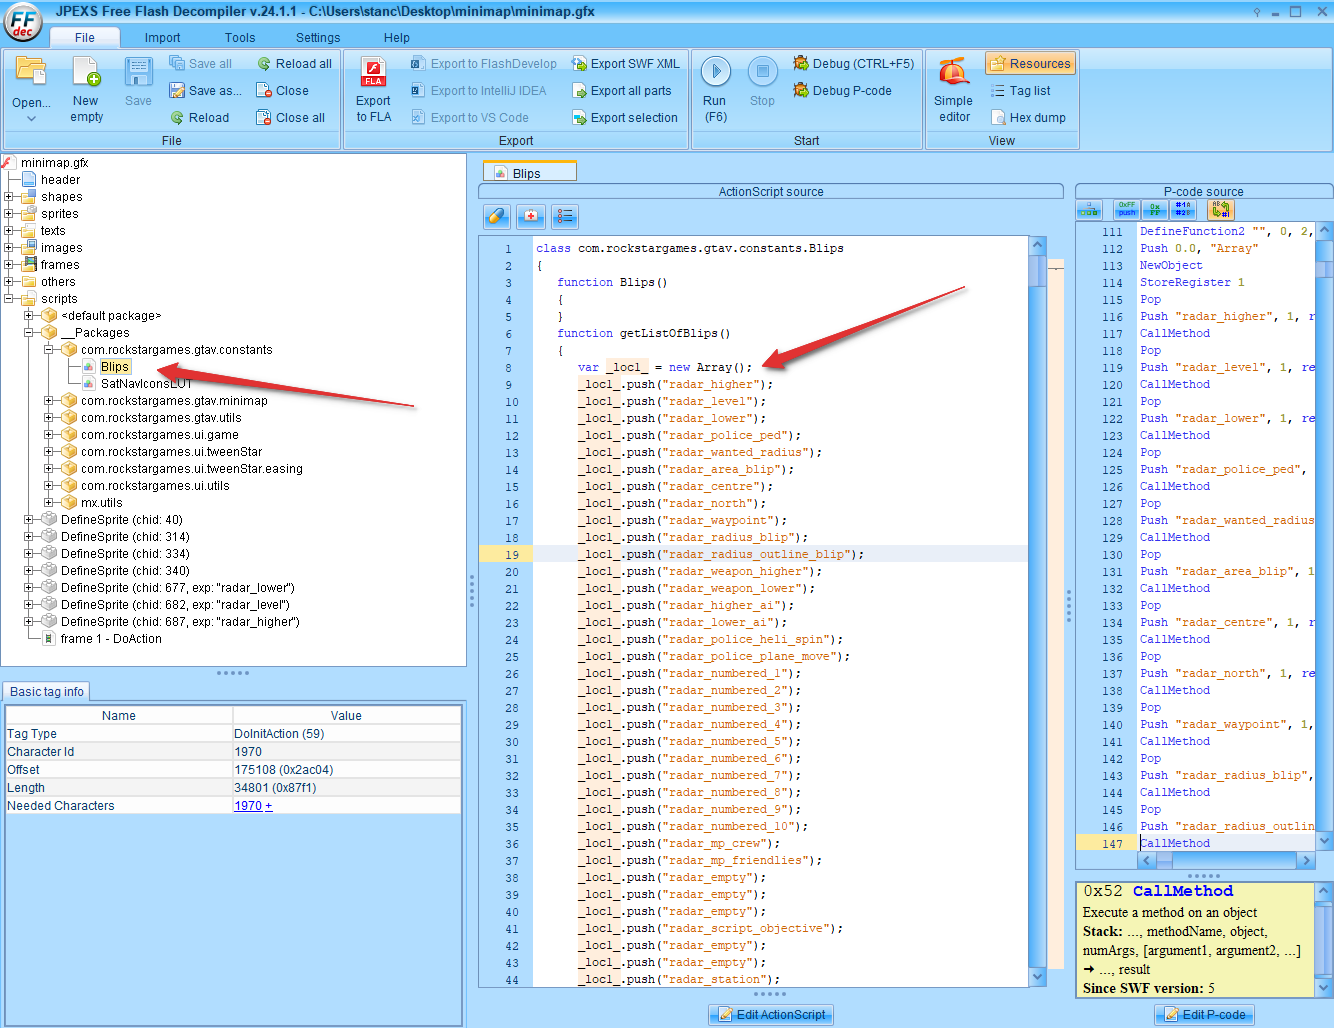
- No go into
script > __Packages > com.rockstargames.gtav.constants > Blips. Here you can find the array of all the blips in the game, and the name of the sprite. The place in the array is the Blip ID that you use in FiveM scripts.
- We will use those sprite names, to search for the image that we want.
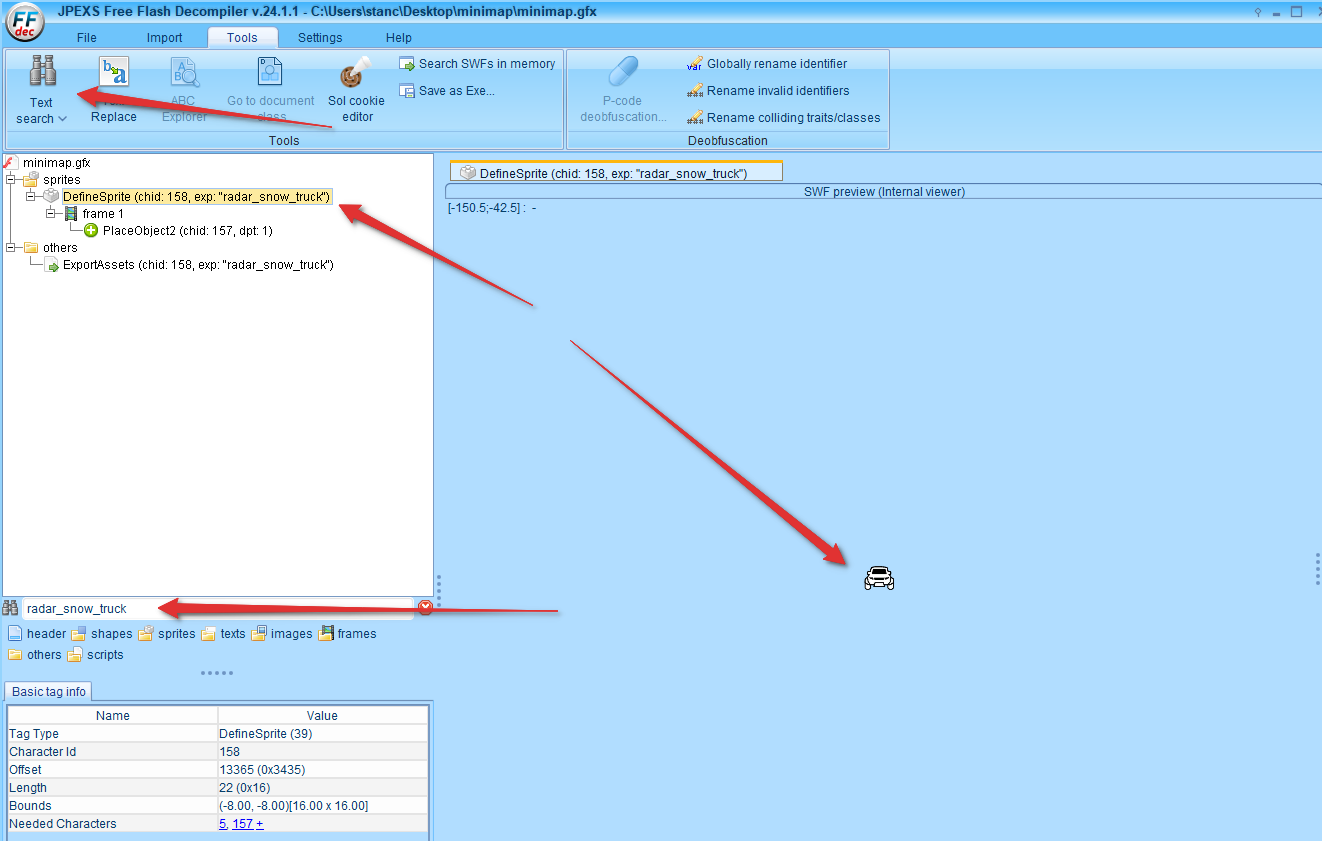
Step 3: Search and Export the sprite.
- Now that you have the sprite,
radar_snow_truckin my case, select thespritesfolder and pressCTRL + F(to start a search). It’s the same as pressingTools > Text Search - Search for the sprite that you want.
- If you only see a red square here, that means the blip is either a placeholder, or that your spritesheet images are not loaded correctly. Redo Step 1 and 2 if that’s the case.
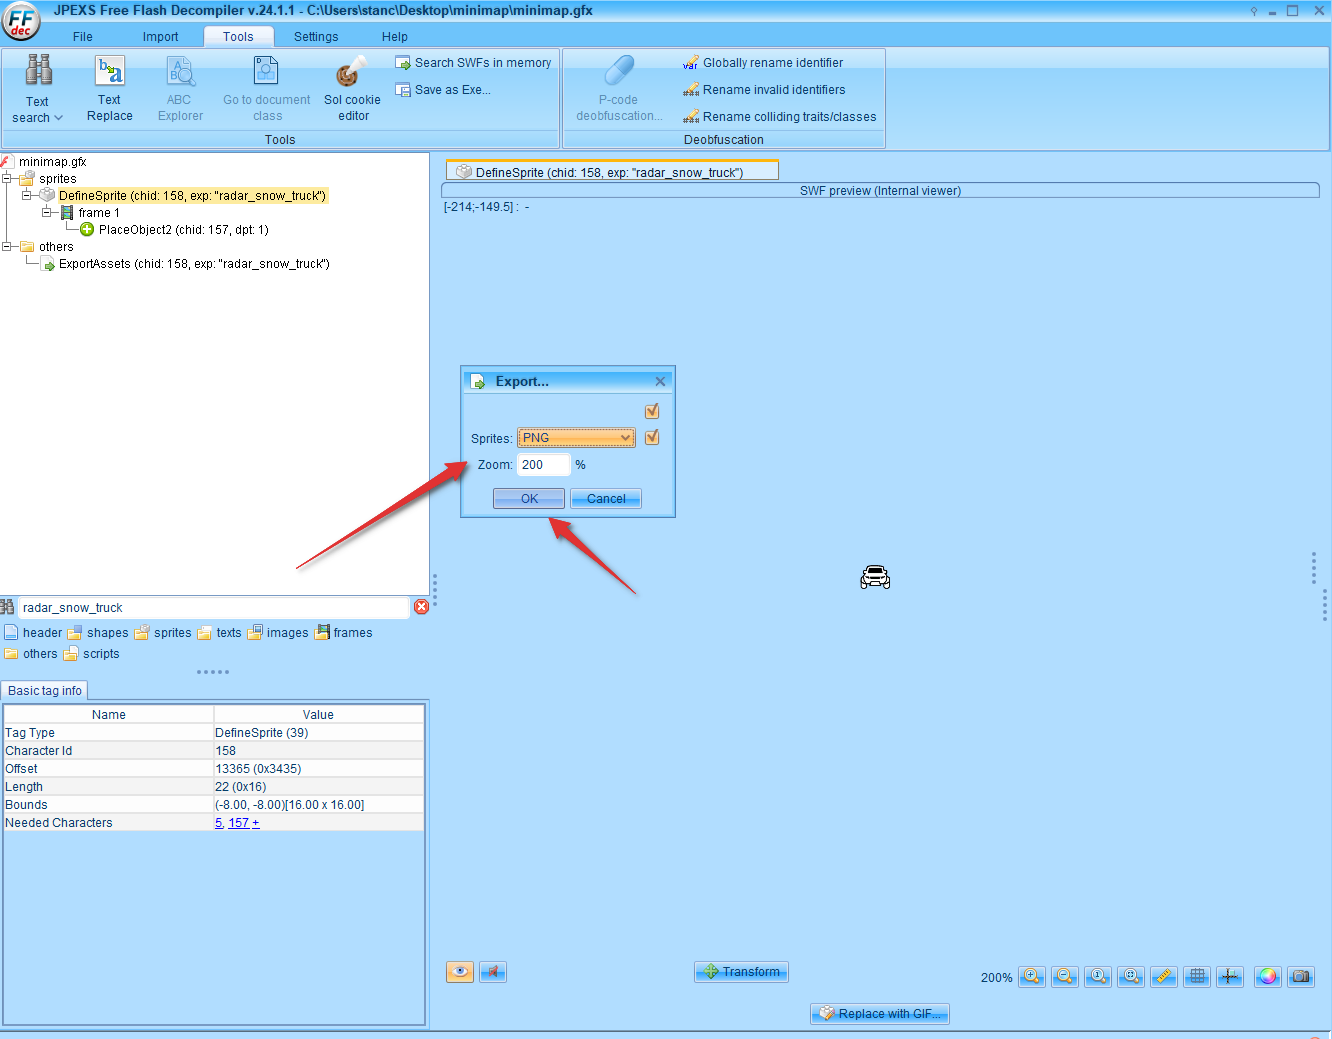
- Now you need to export it. Right click on the
DefineSpriteitem insidespritesand clickExport Selection. - An export popup will show up, allowing you to select the file type that you want (we will choose PNG for this.). Blips are 16px by 16px at 100% zoom, so do a 200% zoom export for better results (same as the docs.)
- You will be asked to select a folder to export the sprite. Select the same
Minimapfolder as the one from Step 1, and clickOpen(this will save the image).
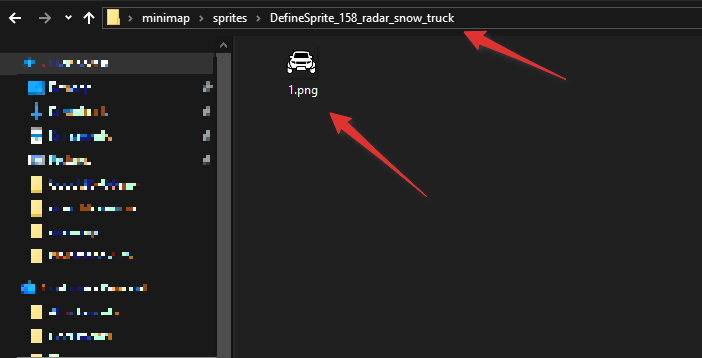
Step 4: Inspect the image.
- If you did everything right, inside the
Minimapfolder, you will now have aspritesfolder, containing the sprite that you just exported. The exported image is called1.pngand sits inside it’s parent object, that contains the name of the blip sprite.
That’s it!
Now you know (or you have a reference) on how to extract blips from the new DLCs! This should help you in getting the correct images out of the game, and into your own projects (or inside the docs!)