In this guide, you’ll learn how to start development of client-side scripts in RedM
Prerequisites:
-
Installed Red Dead Redemption 2 or Red Dead Online game. You can buy it on Steam, Epic Games or Rockstar Games
-
Installed multiplayer RedM
-
Registered CFX Account.
-
Server, also called Artifact (commonly used term, e.g. - What is your artifacts version?)
-
Text editor, for example VSCode
Step 1. Server Installation.
Install the server following the instructions: Setting up a server using txAdmin - Cfx.re Docs.
- During Step 1-2, download the latest server version from the list, since RedM is constantly being updated and fixed, and the versions specified in Latest Recommended or Latest Optional quickly become outdated.
- During Step 8, select Template CFX Default RedM.
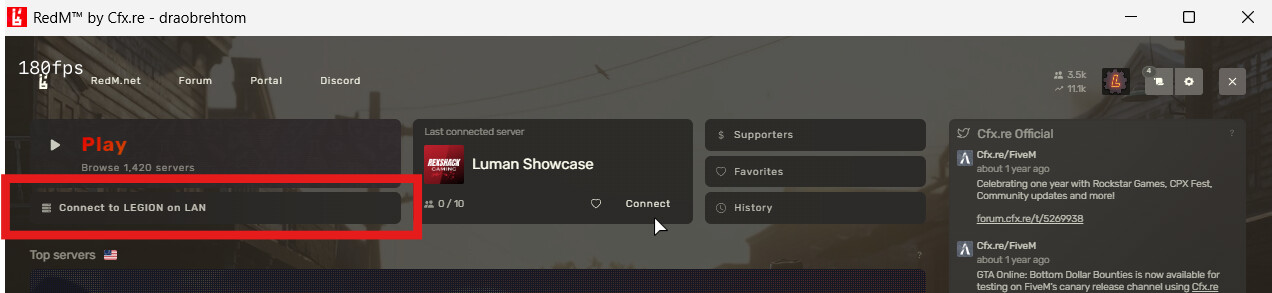
![]() After installing and starting the server, make sure you can connect to it. To do this, launch RedM and click the ☰ Connect to PC on LAN button:
After installing and starting the server, make sure you can connect to it. To do this, launch RedM and click the ☰ Connect to PC on LAN button:
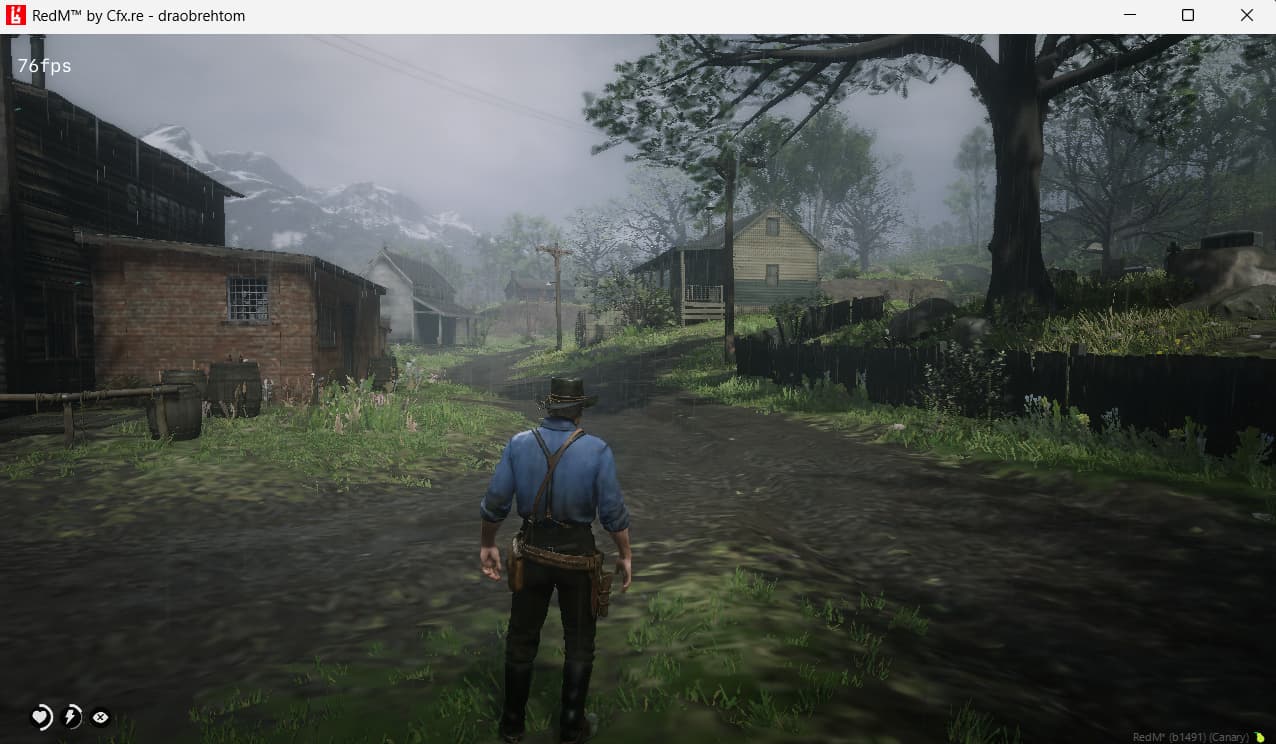
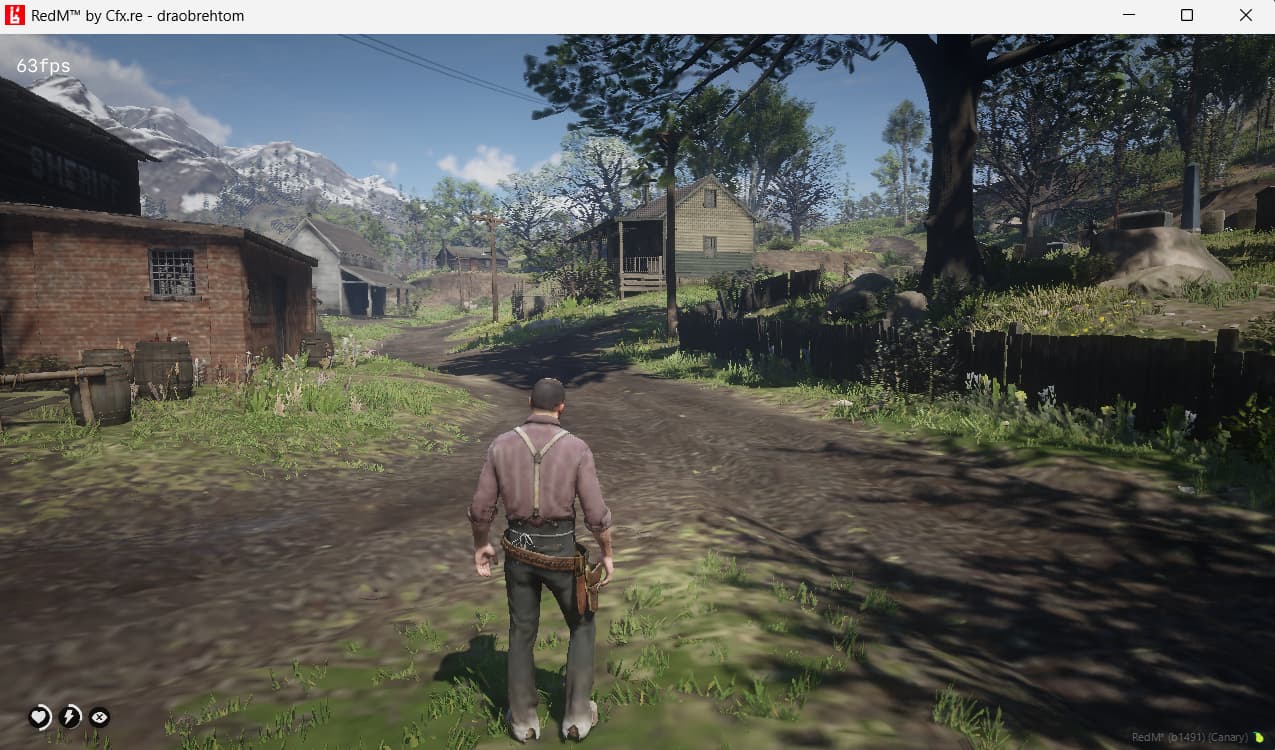
After connecting and waiting for loading, you will spawn in Valentine with the skin of Arthur Morgan or John Marston.
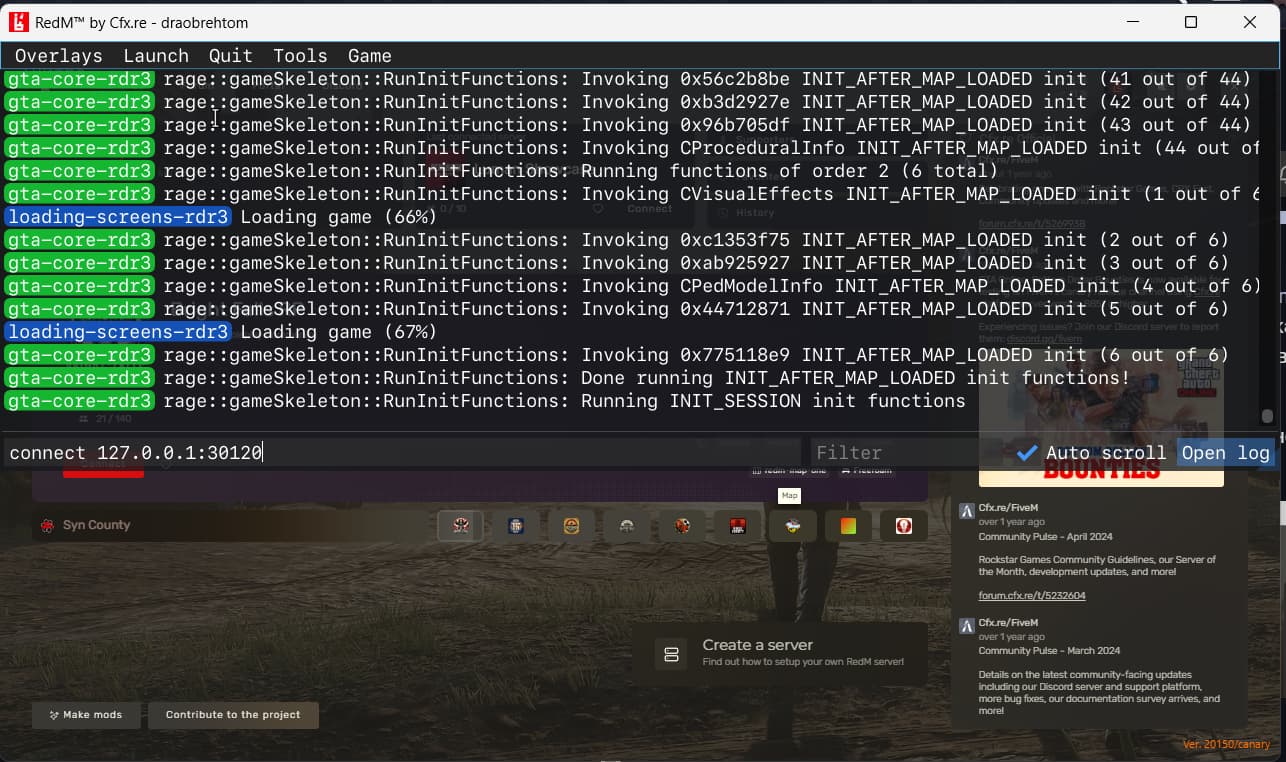
Alternative connection method
You can also connect to the server through the game console. Press F8 and type:
connect 127.0.0.1:30120
Step 2. Access Rights.
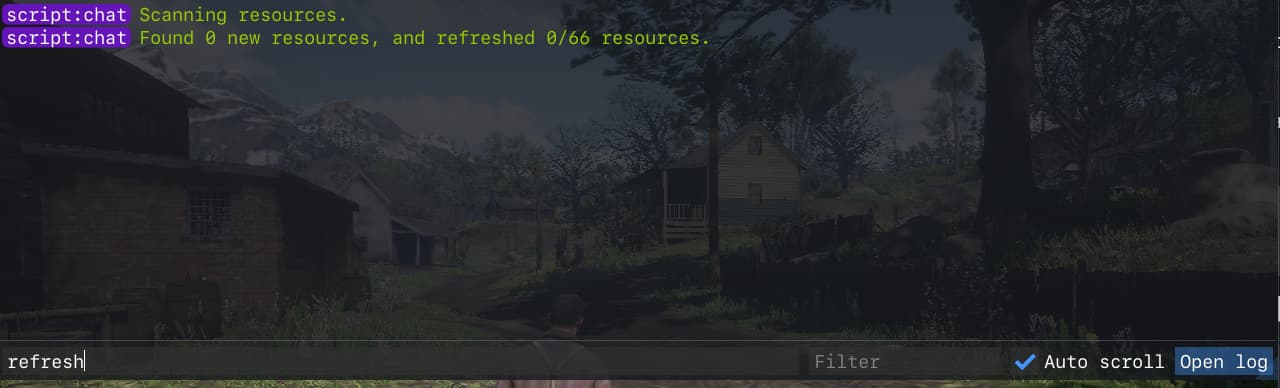
Check if you have the necessary access rights. Open the game console F8 and type: refresh
![]() Access rights are present
Access rights are present
![]() Access rights are missing. You will see the message:
Access rights are missing. You will see the message:
Access denied for command refresh.
How to get access rights
In short, all you need to do is log in to your CFX account in RedM -

If this window doesn’t appear, go to Settings → Account → Link account
Step 3. Running the Runcode tool.
Open console F8 and type
ensure runcode

This command will start a special tool that allows you to write simple client-side scripts through the console using the crun command.
Step 4. First client-side script
At this stage, you have already installed and connected to the server, and you also have the necessary access rights. Let’s start writing the first script.
But before we begin, just remember - since we’re working in multiplayer, the scripts we write can be either server-side or client-side.
- Server-side scripts are executed on the Server (Artifact).
- Client-side scripts are executed on the RDR2 game engine.
We’ll write a server + client script later, but for now let’s write a client-side script.
We’ll do this through the F8 console. Open the console and get ready to type commands:
Now get ready, your first script…which will print text to the console. Type the following command
crun 'Hello world'
This command will run your first script, which will output text to the console. Wow! ![]() You printed text to the console.
You printed text to the console.

Step 5. Character Interaction.
Let’s do something more interesting and actually related to the game. Remember, you spawned as a character?
Let’s try to check the model of this character. This can be done using function:
GET_ENTITY_MODEL- gets the model of the specified entity
We can run it like this:
crun GetEntityModel(entityId)
However, what is entityId and how do we know it? An Entity ID (or entity handle) is a unique numerical identifier assigned to every entity in the game world. In our case, this is the ped we are playing as. To receive the entity ID of the ped we are playing, you call a function:
PLAYER_PED_ID- gets the identifier of the ped you’re playing as
We can run it like this:
crun PlayerPedId()

I have ID 1383170, but yours will be different.
Next, execute
crun GetEntityModel(PASTE_YOUR_PLAYER_PED_ID_HERE)

Our result 11966224 is the John Marston model. This is the model of the ped we’re playing as. This value is constant. That is, whenever we play as John Marston and check the ped model using GET_ENTITY_MODEL, the value will always be the same 11966224
Entity Model is an asset reference pointing to game files (permanent).
Player Ped ID
On other hand PLAYER_PED_ID is a completely different matter. Here the value can change and it changes when you change your ped’s skin - for example, during respawn. To demonstrate this, try killing your character and check his ID, it will turn out to be completely different.
Before killing check your ped ID:
crun PlayerPedId()
Kill the ped:
crun SetEntityHealth(PASTE_YOUR_PLAYER_PED_ID_HERE, 0)
Check the ID:
crun PlayerPedId()

You’ll see ped ID has changed after respawn.
Function inside function
You don’t have to manually type your ped’s ID all the time, you can use a function inside a function as follows:
crun GetEntityModel(PlayerPedId())

crun SetEntityHealth(PlayerPedId(), 0)
Some examples below:
Get your ped’s HP:
crun GetEntityHealth(PlayerPedId())

Get your ped’s coordinates
crun GetEntityCoords(PlayerPedId())

Get your ped’s rotation
crun GetEntityRotation(PlayerPedId())

Get your ped’s speed and coordinates
crun GetEntitySpeed(PlayerPedId())
crun GetEntityVelocity(PlayerPedId())

Push upward
And this is an example of a script that pushes your character upward. It works very simply - sets your player’s acceleration to 15.0 units upward.
crun SetEntityVelocity(PlayerPedId(), 0.0, 0.0, 15.0)
Finally
You can do much, much more. For a list of all functions, you can refer to:
Also check this one - https://github.com/femga/rdr3_discoveries - for lists of peds, props, vehicles, weapons, audios, particles, animations, controls, etc.
In next parts we’ll cover more advanced client-side scripting and server-side scripting.
Made with ![]() at
at
