**Hello, many people often have problems with streaming edited replace peds on add-on, so i decided so to made a tutorial **![]()
OpenIV https://openiv.com/
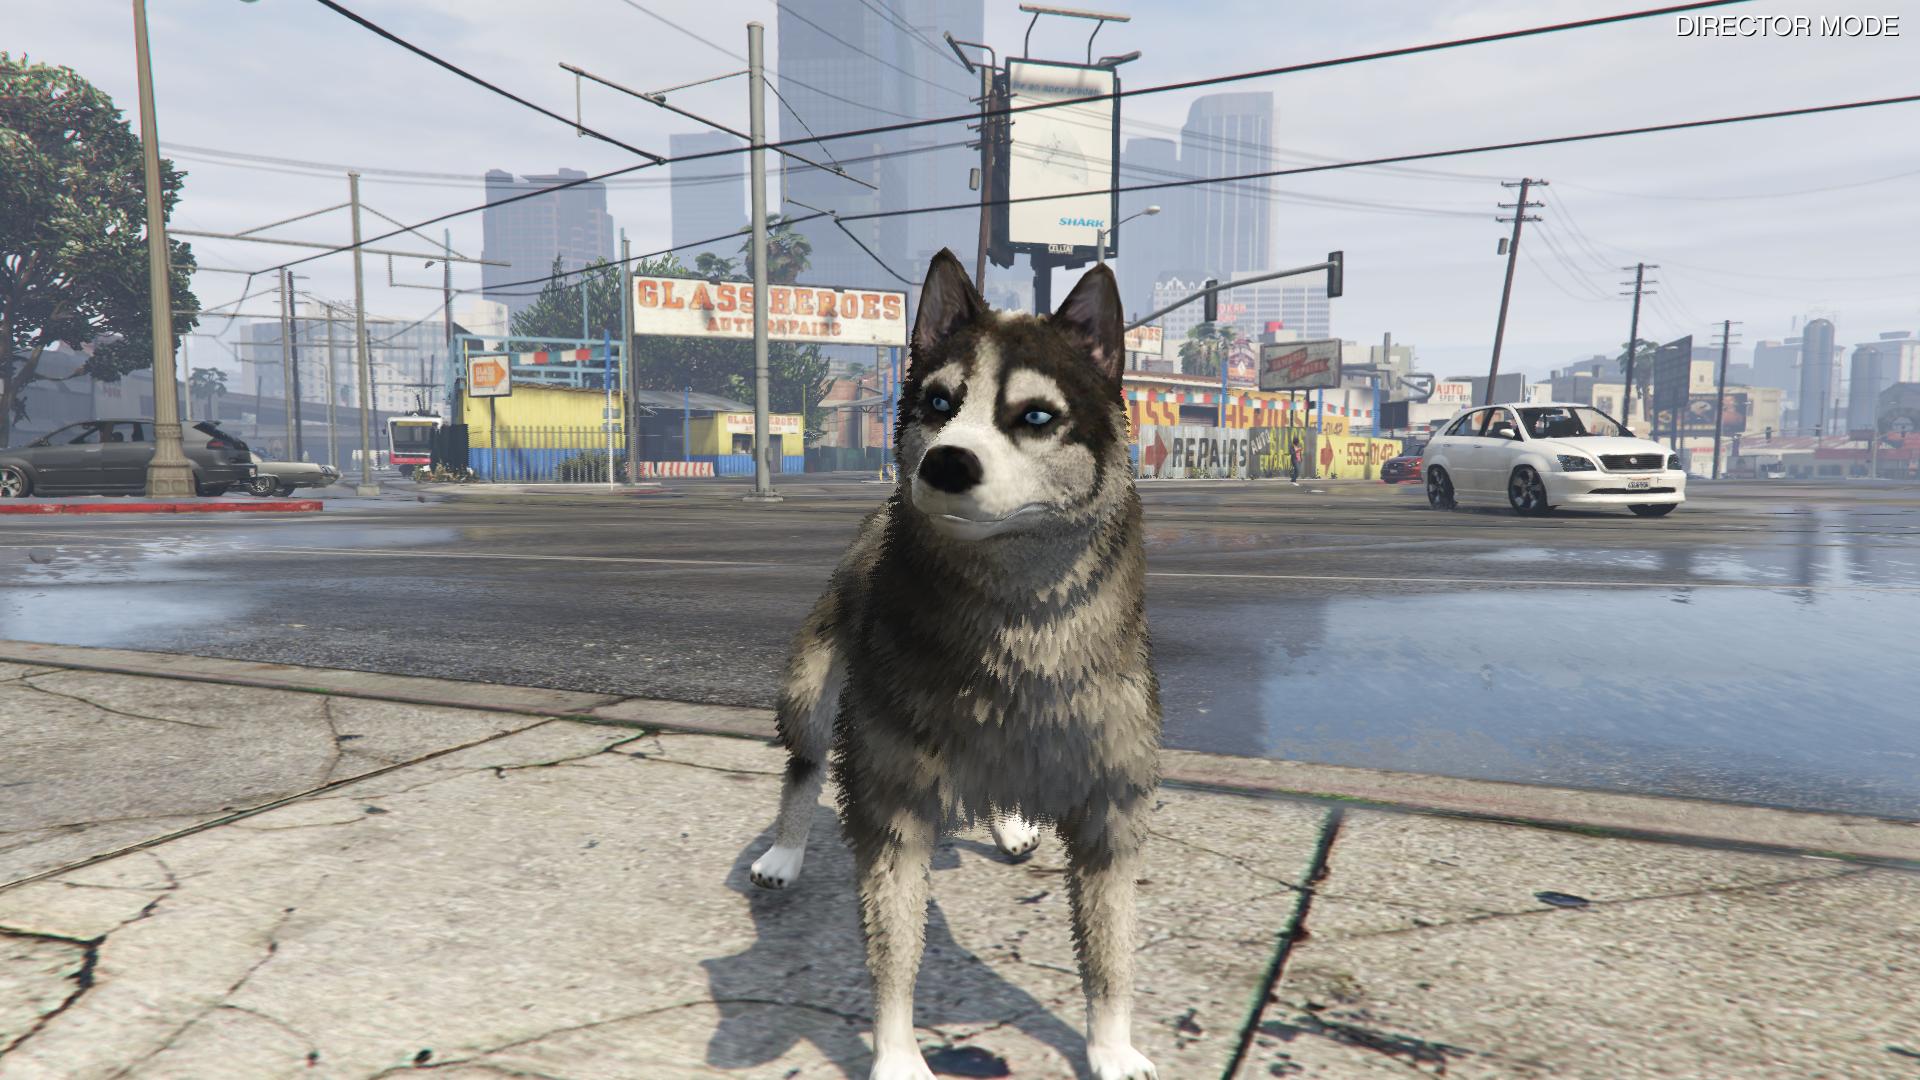
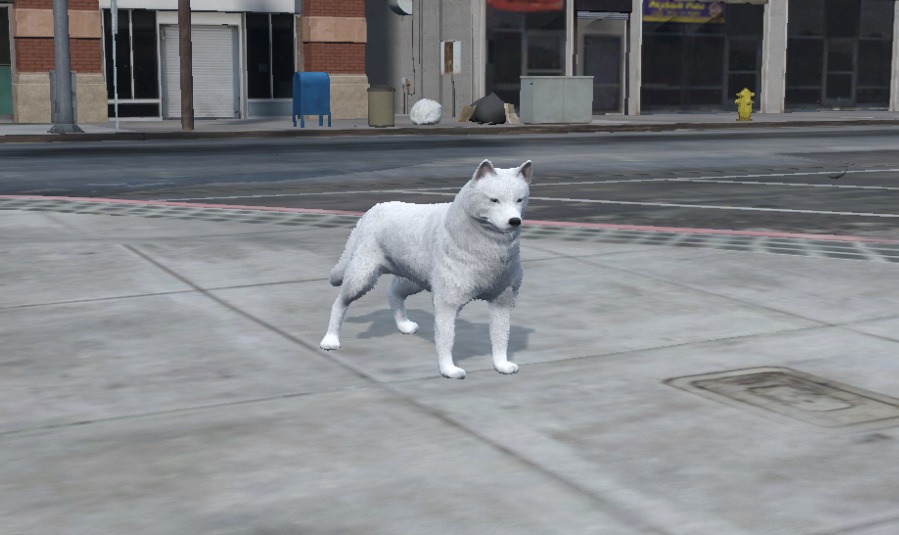
In this tutorial I will use a_c_husky from GTA.
Step 1
Getting game ped files via OpenIV
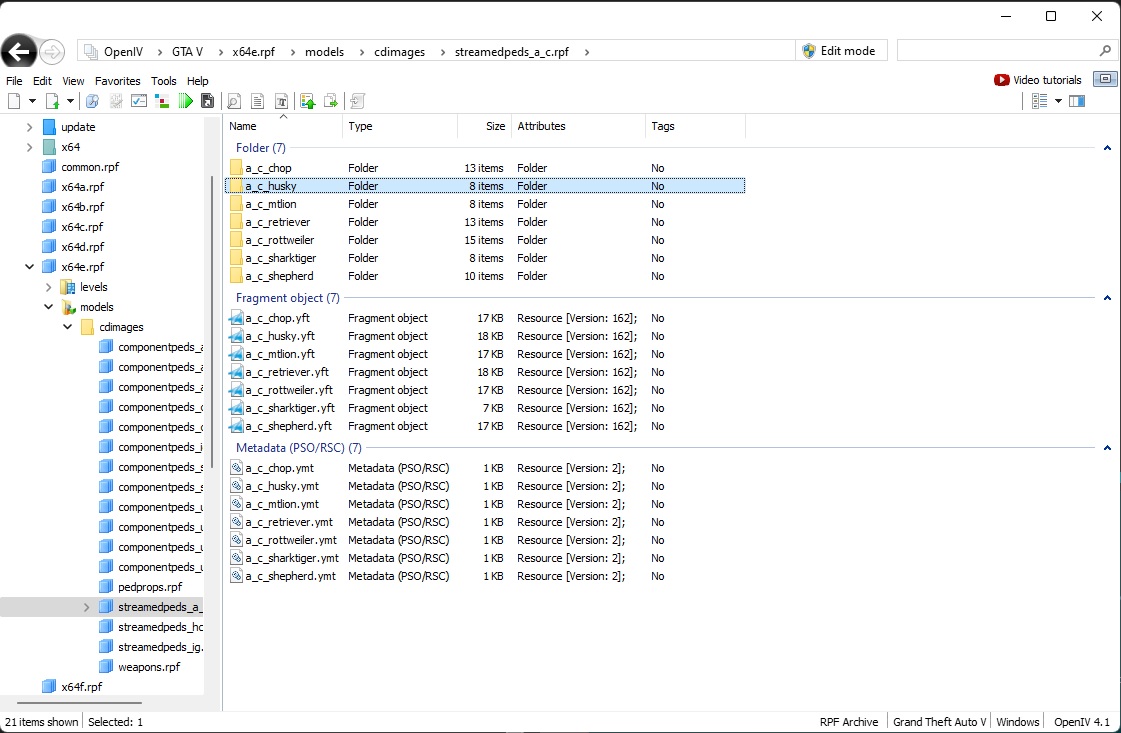
The ped files are located in x64e.rpf. In this case, the a_c_husky files are located in the x64e.rpf/models/cdimages/streamedpeds_a_c.rpf
Step 2
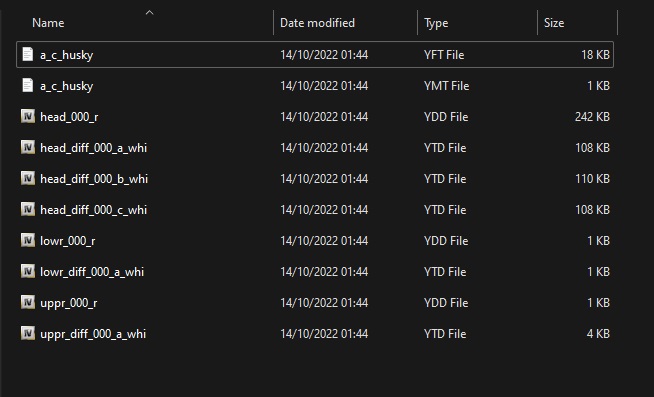
Create a new folder and drop the files of the selected ped.
After creating a new folder and flipping the files there, it should look like this.
Step 3
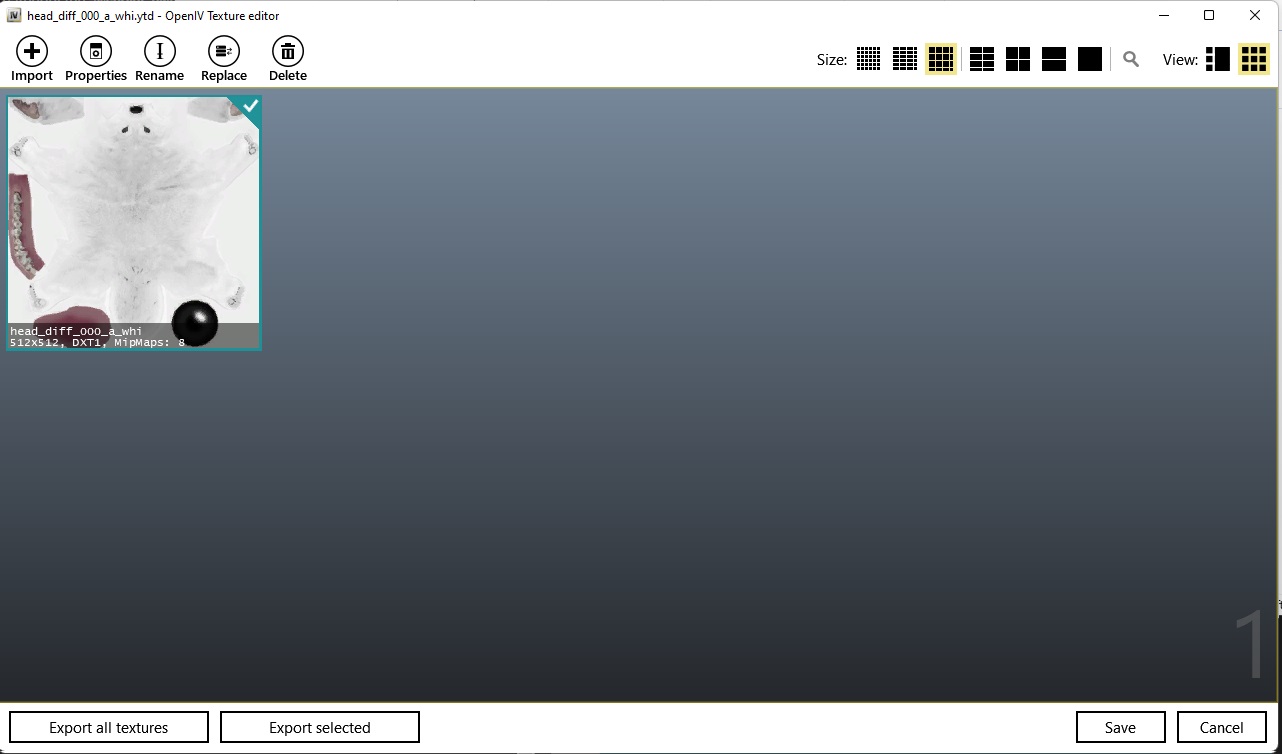
Get textures of this ped
The textures are in a file with the extension .ytd. You can open this type of file with OpenIV.
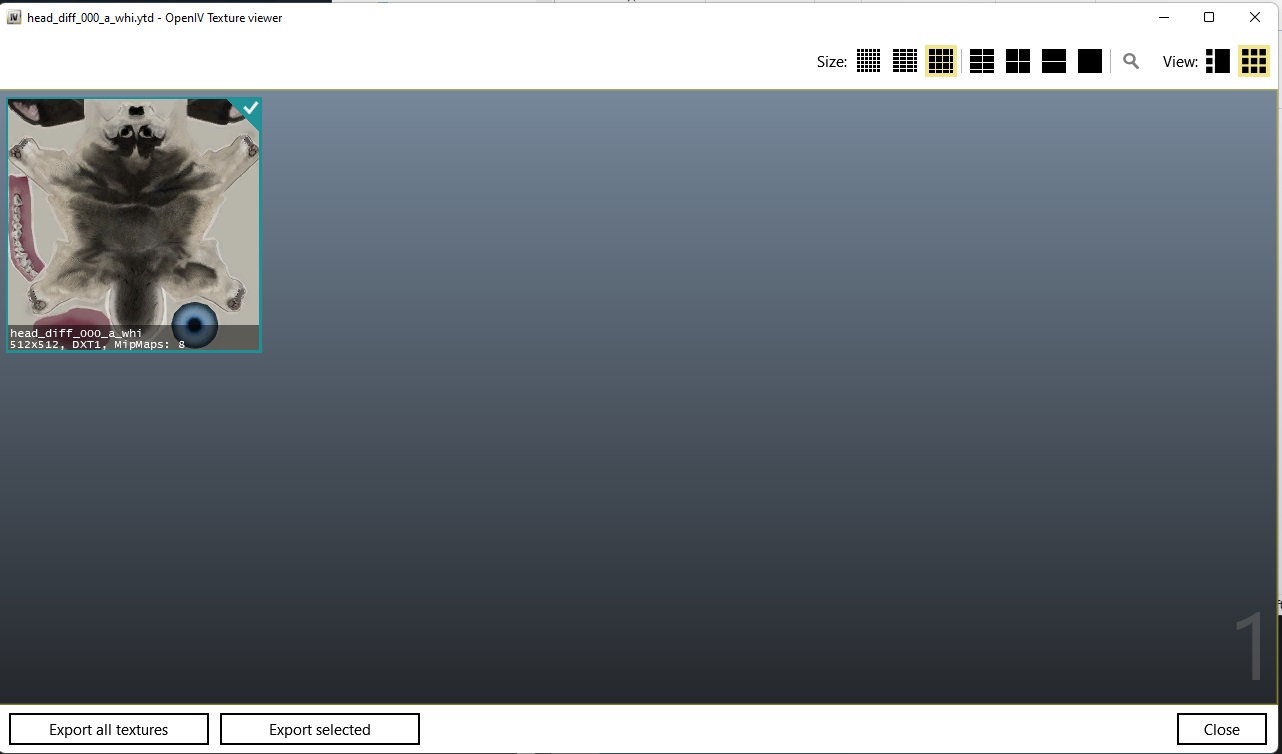
Once the file is exported, you can edit it with any photo editing program. When finished, import the new texture.
Step 4
Prepare files and resource
In order to be able to run your new ped you need to create files that allow it to do so. It will be look like this.
Below I will stir the finished blank files.
Download
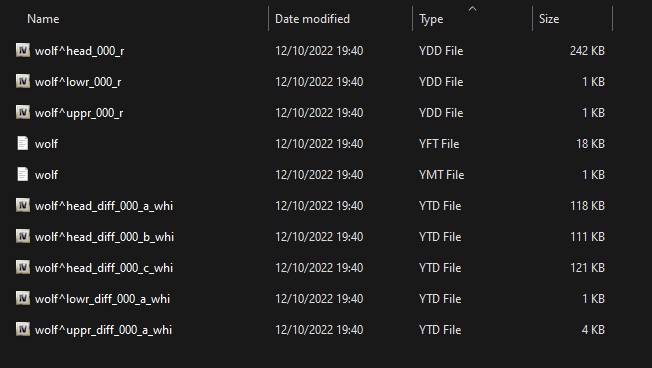
You have to put the ped files you previously took from OpenIV into a stream file
At this point you need to rename the files in the stream folder to a ped name of your choice. For example wolf. It will be look like this.
Step 5
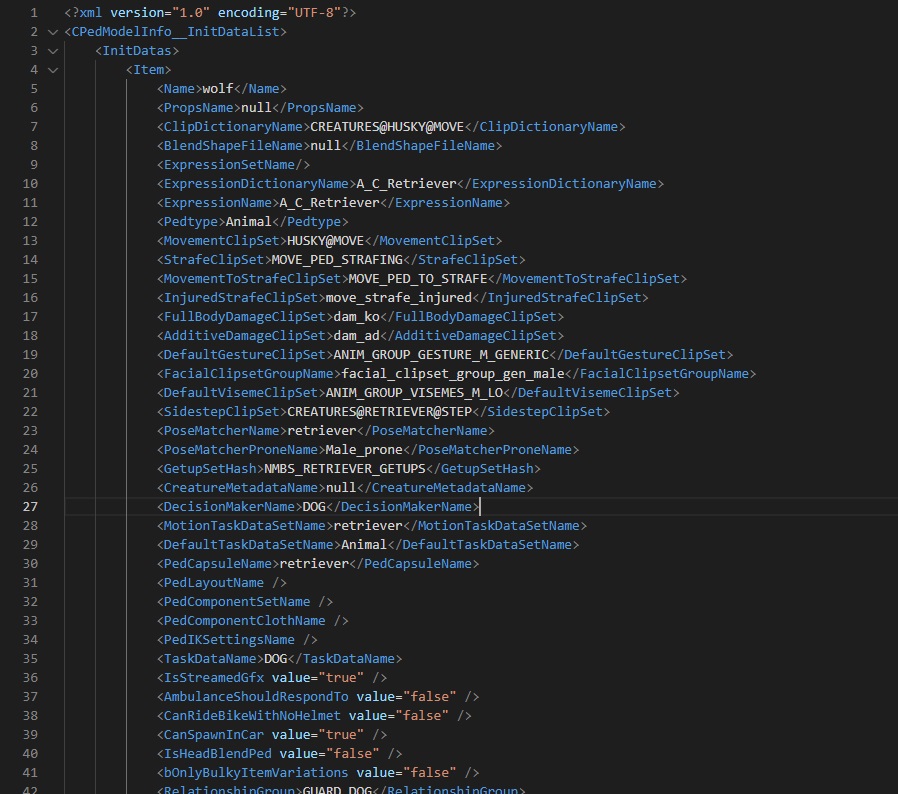
Prepare .meta file
You can find the meta files for each ped using OpenIV by searching for the file peds.ymt. Once you have found the right file you need to copy the part. It looks like this

There are more lines of text, but my monitor does not cover that much text, sad isn’t it? It is important to copy the selected text from to .
After that you have to put this text to peds.meta in your new ped file.
Step 6
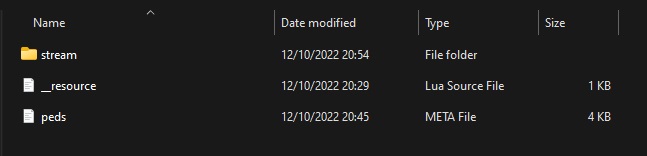
Move the ped file to the server resource
After transferring the file, the only thing left to do is to add the ensure wolf command to the server.cfg file and turn on your server. In this case the spawnname of this ped is wolf, you can change this name in the peds.meta file.
Results
End
If you have any questions, feel free to ask!